My Garage
My Account
Cart
Genuine Chevrolet Monte Carlo Shock Absorber
Suspension Shock Absorber- Select Vehicle by Model
- Select Vehicle by VIN
Select Vehicle by Model
orMake
Model
Year
Select Vehicle by VIN
For the most accurate results, select vehicle by your VIN (Vehicle Identification Number).
9 Shock Absorbers found
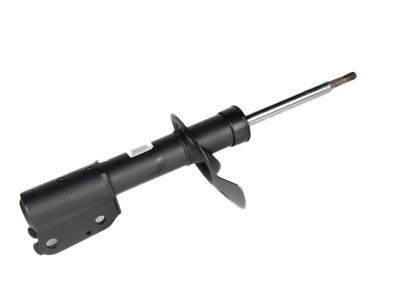
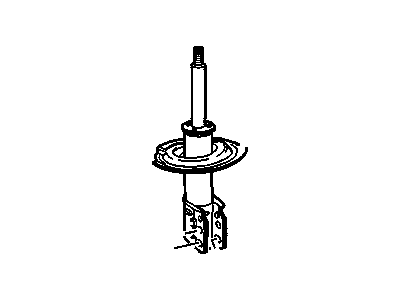
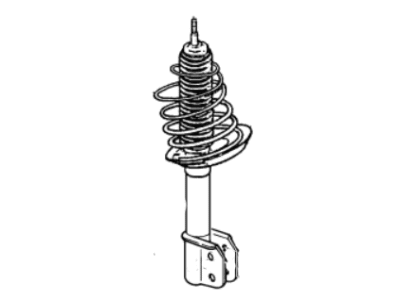
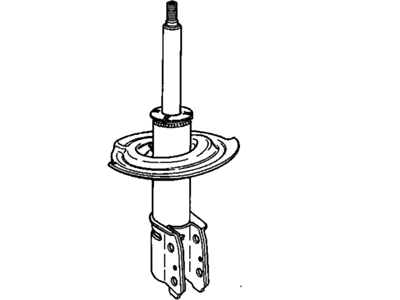
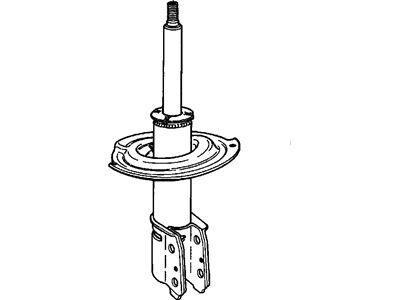
Chevrolet Monte Carlo Front Suspension Strut Assembly
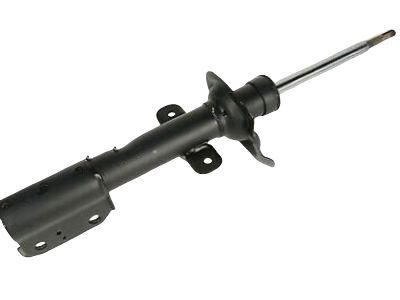
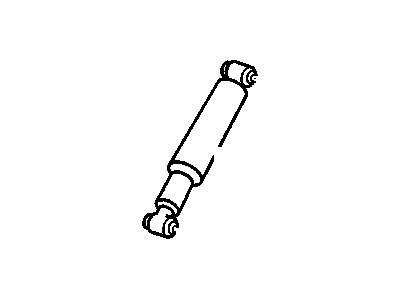
Part Number: 88965467$110.17 MSRP: $212.92You Save: $102.75 (49%)Chevrolet Monte Carlo Rear Suspension Strut Assembly
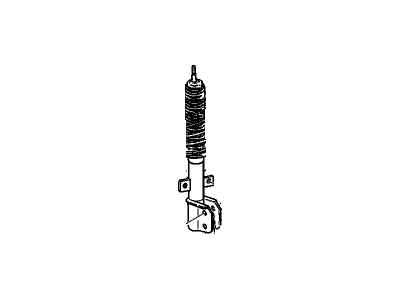
Part Number: 88983864$89.14 MSRP: $162.09You Save: $72.95 (46%)Ships in 1-2 Business DaysChevrolet Monte Carlo Front Shock Absorber Assembly
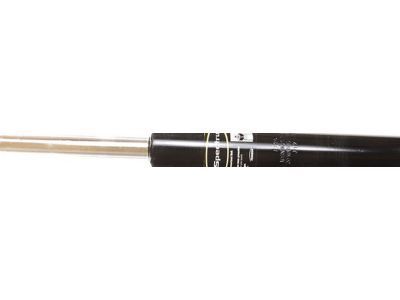
Part Number: 88945324$56.88 MSRP: $102.02You Save: $45.14 (45%)
Chevrolet Monte Carlo Shock Absorber
The likewise extremely important Shock Absorber of Chevrolet Monte Carlo vehicles is a component of the suspension system that functions together with the struts. This is because the Shock Absorber causes the dissipation of Kinetic Energy into heat hence minimizing the instances of bouncing and vibrations that compromise handling and on car stability. Different Models of Monte Carlo vehicles have used the following Shock Absorbers; Twin Tube and Mono Tube Shock absorbers which have different processes of regulating the flow of hydraulic fluid and offering improved suspension depending on the style of the drive. Other developments such as PSD and ASD go deeper into the Shock Absorber's responses and new technologies like electrorheological and magnetorheological dampers make suspension systems semi-active and adaptive to achieve added comfort and control.
Each OEM Chevrolet Monte Carlo Shock Absorber we offer is competitively priced and comes with the assurance of the manufacturer's warranty for the part. Furthermore, we guarantee the speedy delivery of your orders right to your doorstep. Our hassle-free return policy is also in place for your peace of mind.
Chevrolet Monte Carlo Shock Absorber Parts Questions & Experts Answers
- Q: How to remove a rear shock absorber on Chevrolet Monte Carlo?A:To remove the strut, start by moving the side trim in the trunk compartment to expose the strut upper mounting fasteners. Loosen the mounting fasteners without removing them and pull off the rubber cap on top of the strut if it is equipped. Loosen the rear wheel lug nuts, block the front wheels, and raise the rear of the vehicle on jackstands. Remove the rear wheels and detach the stabilizer bar link from the strut. Mark the relationship of the strut to the knuckle for reference during installation. Remove the strut-to-knuckle nuts by holding the oval-shaped bolt heads with a wrench and striking the end with a hammer to push them out of the knuckle and strut. Separate the strut from the rear knuckle, remove the upper mounting nuts, and secure the rear knuckle to prevent damage. To inspect the strut, check for leaking fluid, dents, cracks, and other damage. Inspect the coil spring for chips or cracks in the coating and the spring seat for cuts and deterioration. If any issues are found, proceed to the strut disassembly procedure. To install the strut, guide the knuckle into the strut range and position the upper part of the strut to mount it to the body. Install the upper mounting nuts finger-tight and use a soft-face hammer or mallet to install the bolts. Align the marks and tighten the nuts to the proper torque specifications. Install the stabilizer bar link, wheel, and lug nuts. Lower the vehicle and tighten the lug nuts to the correct torque specifications. Finally, tighten the upper mounting nuts and have the wheel alignment checked and adjusted if necessary.
Related Chevrolet Monte Carlo Parts
Browse by Year
2007 Shock Absorber 2006 Shock Absorber 2005 Shock Absorber 2004 Shock Absorber 2003 Shock Absorber 2002 Shock Absorber 2001 Shock Absorber 2000 Shock Absorber 1999 Shock Absorber 1998 Shock Absorber 1997 Shock Absorber 1996 Shock Absorber 1995 Shock Absorber 1988 Shock Absorber 1987 Shock Absorber 1986 Shock Absorber 1985 Shock Absorber 1984 Shock Absorber 1983 Shock Absorber 1982 Shock Absorber
