My Garage
My Account
Cart
Genuine Chevrolet Monte Carlo Piston
Engine Pistons- Select Vehicle by Model
- Select Vehicle by VIN
Select Vehicle by Model
orMake
Model
Year
Select Vehicle by VIN
For the most accurate results, select vehicle by your VIN (Vehicle Identification Number).
24 Pistons found
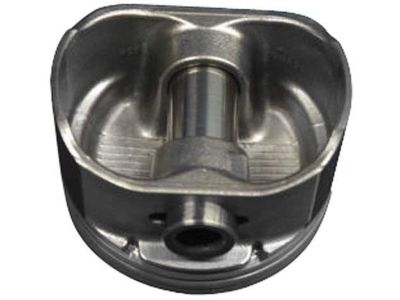
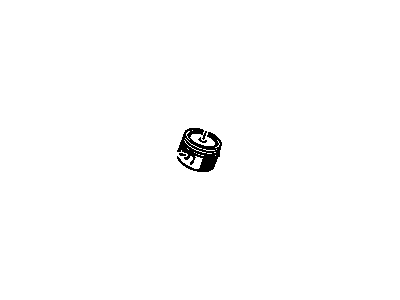
Chevrolet Monte Carlo Piston Asm,(W/ Pinion)
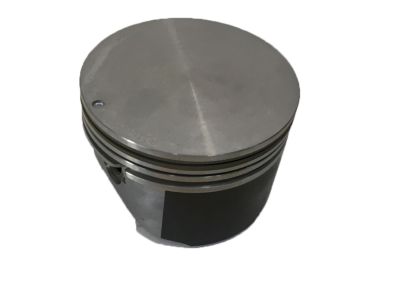
Part Number: 89060486$43.24 MSRP: $71.58You Save: $28.34 (40%)Ships in 1-2 Business DaysChevrolet Monte Carlo Piston Asm,(W/ Pinion)
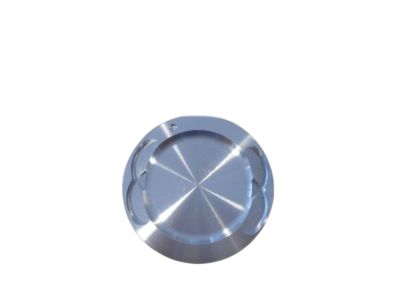
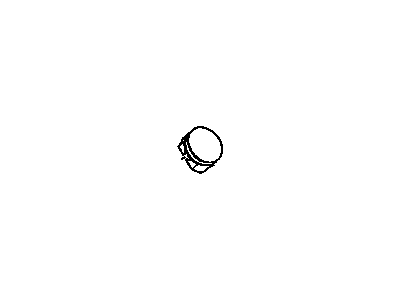
Part Number: 89018065$33.82 MSRP: $61.20You Save: $27.38 (45%)Ships in 1-2 Business DaysChevrolet Monte Carlo Piston Asm,(W/ Pinion)
Part Number: 89060483$123.89 MSRP: $198.60You Save: $74.71 (38%)Chevrolet Monte Carlo Piston Assembly, (W/ Connect Rod)
Part Number: 12578021$50.12 MSRP: $101.06You Save: $50.94 (51%)Chevrolet Monte Carlo Piston Assembly, (W/ Pinion)
Part Number: 12578023$50.12 MSRP: $101.06You Save: $50.94 (51%)Chevrolet Monte Carlo Piston Assembly, (W/ Pinion)
Part Number: 12564669$50.12 MSRP: $101.06You Save: $50.94 (51%)Chevrolet Monte Carlo Piston Asm,(W/ Pinion)
Part Number: 24505806$60.44 MSRP: $121.88You Save: $61.44 (51%)Chevrolet Monte Carlo Piston Asm,(W/ Pinion)(0.020" Oversize)
Part Number: 12539086$43.95 MSRP: $279.78You Save: $235.83 (85%)Ships in 1-2 Business DaysChevrolet Monte Carlo Piston, (W/Pinion)
Part Number: 12539085$104.07 MSRP: $163.76You Save: $59.69 (37%)
| Page 1 of 2 |Next >
1-20 of 24 Results
Chevrolet Monte Carlo Piston
Piston in Chevrolet Monte Carlo automobiles is an element of internal combustion engine and critical in transforming force of combustion to the energy required in motor movement. It is the Piston that has the important function of turning force created by expanding gases into crankshaft movement for the highest efficiency. In the models of Chevrolet Monte Carlo various kinds of Pistons have been used at various times These include the trunk Pistons for both the petrol as well as Diesel engines which are useful to support side force and contain oil Rings. Further, Racing Pistons are lightweight and made with high tensile strength for high RPM requirements of racing application. The design modifications like the slipper and deflector Pistons also add the improvements of the Chevrolet Monte Carlo in terms of efficiency and performance, which speaks volumes of the improvement made in the engineering of Chevrolet Monte Carlo.
Each OEM Chevrolet Monte Carlo Piston we offer is competitively priced and comes with the assurance of the manufacturer's warranty for the part. Furthermore, we guarantee the speedy delivery of your orders right to your doorstep. Our hassle-free return policy is also in place for your peace of mind.
Chevrolet Monte Carlo Piston Parts Questions & Experts Answers
- Q: What steps must be taken before removing the piston and connecting rod assemblies on Chevrolet Monte Carlo?A:Before the decomposition of the piston and connecting rod assemblies, the cylinder head and oil pan must be and removed. As for any ridges at the upper limit of ring travel they shall be removed with a ridge reamer presuming that failure to do so may lead to piston breakage, and you should attempt this with the flat part of your fingernail. Bolted some flanges Back, flipped the engine so that the Crankshaft is upright again and then drilled off the remaining ridges. Measure the connecting rod endplay with feeler gauges before proceeding to remove the main bearing cap assembly and connecting rods and the same must meet factory standard endplay plus or minus a tolerable amount. Identify the connecting rods and their respective caps, then remove the connecting rod cap bolts and the first connecting rod cap together with the bearing insert-be careful not to let the bearing insert fall. Remove the connecting rod/piston assembly through the top of the engine, employing a wooden or plastic hammer handle, if you can. Do this for the rest of the cylinders, and put back the connecting rod caps and the bearing inserts in their prospective rods with the old inserts being left in place so as not to be damaged. The pistons and the connecting rods are now available for detailed assessment and for being serviced. Before fitting new piston rings also measure the ring end gaps and which piston rings should be fitted should be of the same brand as that of pistons. Piston /connecting rod assemblies and new ring sets need to be laid out in sets for easy installation. Place the top ring into the first cylinder and check its end gap using the feeler gauges because it should be as per prescribed standard. If the gap is too small, one should be very keen to start filing the ring ends to increase the size of the gap. Repeat the same to each ring and it is important that the rings, piston, and cylinders should be in set. Once the end gaps are right, then place the rings on the pistons starting with the oil control ring then the middle, and top rings in the right orientation. Don't install until the cylinder walls are clean, the edge has been chamfered and the crankshaft has been fitted. Remove old bearing inserts and thoroughly wash the connecting rod bearing cap surfaces and bearing bush surfaces and fit in the new bearings without applying any lubricant. Install the piston ring gaps facing in the appropriate directions, apply a suitable amount of piston/ring lubricant and make use of the piston ring compressor to safely place the piston into the cylinder. Verify the connecting rod bearing oil clearance with Plastigage, after the cleaning of the surfaces from the oil. In the case where the clearance is not as required, check on the bearing sizes and journal diameter. As in the previous step, it is checked, a layer of grease should be uniformly distributed on the bearing faces, the connecting rod and cap should be reinstalled with bolts tightened to the specified torque. Follow the same process to the other assemblies while maintaining high levels of cleanliness and proper orientation. Last, turn with the crankshaft to examine if there is binding, and see the bearing clearances of the con rod end, and adjust if the new components were fitted.
