My Garage
My Account
Cart
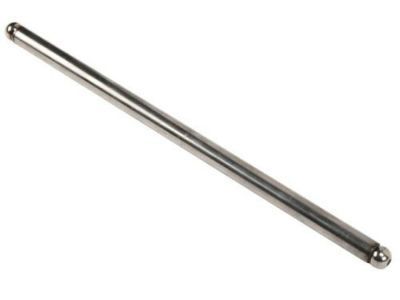
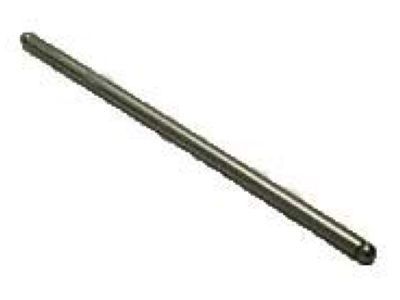
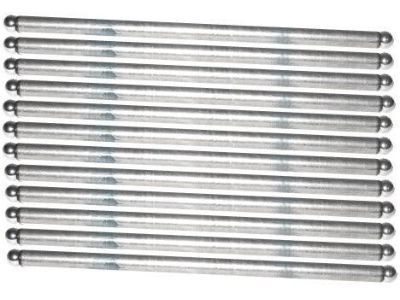
Genuine Chevrolet Monte Carlo Pushrod
Valve Push Rod- Select Vehicle by Model
- Select Vehicle by VIN
Select Vehicle by Model
orMake
Model
Year
Select Vehicle by VIN
For the most accurate results, select vehicle by your VIN (Vehicle Identification Number).
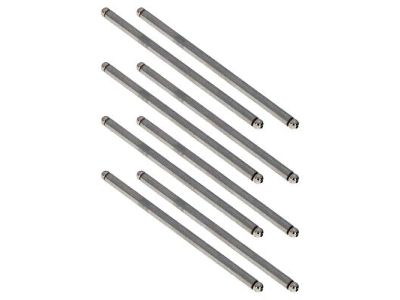
9 Pushrods found
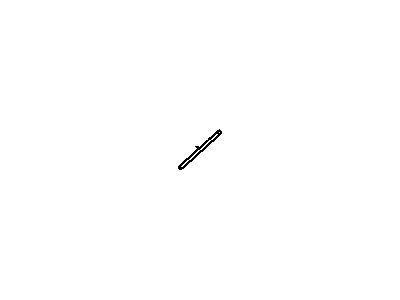
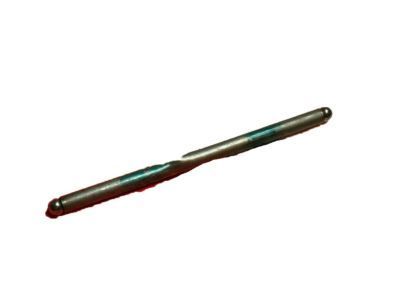
Chevrolet Monte Carlo Rod,Valve Push
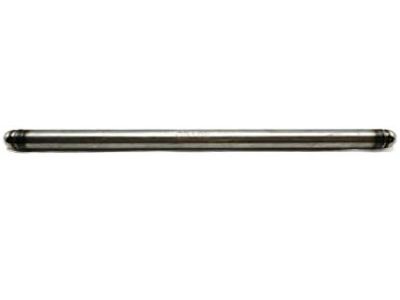
Part Number: 10238852$18.68 MSRP: $30.90You Save: $12.22 (40%)Ships in 1-2 Business DaysChevrolet Monte Carlo Rod Assembly, Valve Push
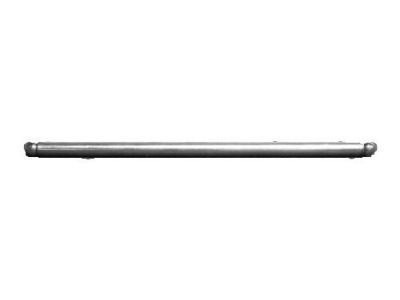
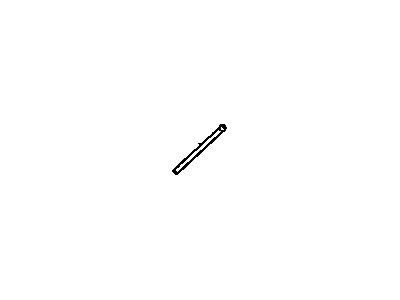
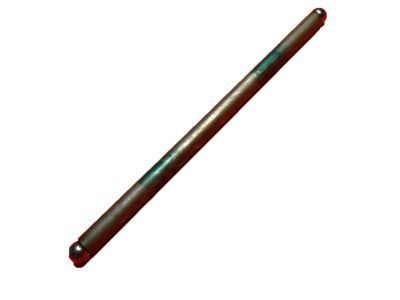
Part Number: 12577692$9.65 MSRP: $15.39You Save: $5.74 (38%)Ships in 1-3 Business DaysChevrolet Monte Carlo Rod Assembly, Valve Push
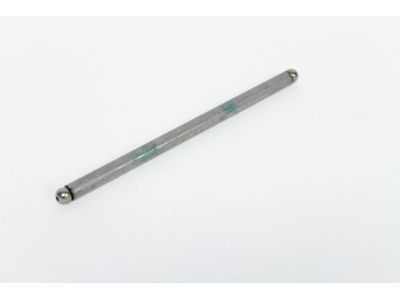
Part Number: 12577693$15.36 MSRP: $25.42You Save: $10.06 (40%)Ships in 1-3 Business DaysChevrolet Monte Carlo Rod Assembly, Valve Push
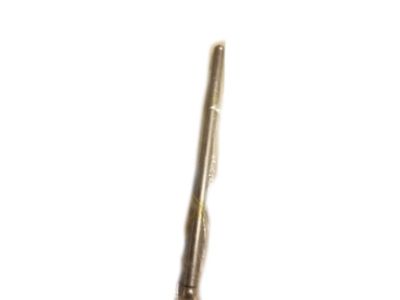
Part Number: 14095256$16.76 MSRP: $26.37You Save: $9.61 (37%)Ships in 1-3 Business DaysChevrolet Monte Carlo Rod, Valve Push
Part Number: 24504406$10.72 MSRP: $17.74You Save: $7.02 (40%)Ships in 1-3 Business DaysChevrolet Monte Carlo Rod Assembly, Valve Push (144Mm) *Yellow Inside Diameter
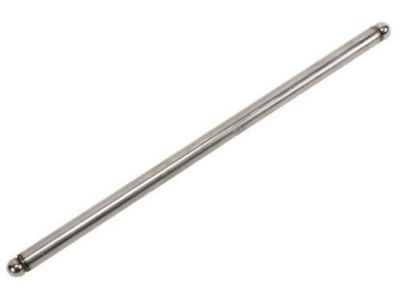
Part Number: 10166354$3.98 MSRP: $6.27You Save: $2.29 (37%)Chevrolet Monte Carlo Rod Assembly, Valve Push (152Mm) *Gree*Green Inside Diameter
Part Number: 10166355$3.94 MSRP: $6.20You Save: $2.26 (37%)
Chevrolet Monte Carlo Pushrod
Each OEM Chevrolet Monte Carlo Pushrod we offer is competitively priced and comes with the assurance of the manufacturer's warranty for the part. Furthermore, we guarantee the speedy delivery of your orders right to your doorstep. Our hassle-free return policy is also in place for your peace of mind.
Chevrolet Monte Carlo Pushrod Parts Questions & Experts Answers
- Q: How to detach the valve covers and reinstall the rocker arms and Pushrod while ensuring proper inspection and lubrication in V8 engine on Chevrolet Monte Carlo?A:Detach the valve covers from the Cylinder Heads, then loosen the rocker arm pivot bolts one at a time to remove the rocker arms and bolts, followed by the pivot support pedestal, ensuring to keep track of the rocker arm positions for reinstallation. Store each set of rocker components separately in marked plastic bags. Remove the pushrods and store them separately to avoid mixing them up, noting the arrow indicating the front of the engine. Inspect each rocker arm for wear, cracks, and damage, particularly at the contact points with the pushrods and valve stems, and check the pivot bearings for binding and roughness; if damaged, the entire rocker arm will need replacement. Ensure the hole at the pushrod end of each rocker arm is clear, and inspect the pushrods for cracks and excessive wear, checking that the oil hole is not clogged and rolling each pushrod across a piece of plate glass to detect any bending. Lubricate the lower end of each pushrod with clean engine oil or assembly lube and reinstall them in their original locations, ensuring they seat completely in the lifter socket. Apply engine assembly lube to the ends of the valve stems and upper ends of the pushrods to prevent damage during initial start-up, then apply clean engine oil to the pivot shaft and bearing of each rocker arm before loosely installing them in their original locations without tightening the bolts. Rotate the crankshaft until the number one piston is at TDC, then tighten the intake valve rocker arms for cylinders 1, 3, 4, and 5, and the exhaust rocker arms for cylinders 1, 2, 7, and 8, ensuring each bolt is tightened to the specified torque. Rotate the crankshaft 360 degrees and tighten the intake valve rocker arms for cylinders 2, 6, 7, and 8, and the exhaust rocker arms for cylinders 3, 4, 5, and 6, again ensuring each bolt is tightened to the specified torque. Finally, install the valve covers, start the engine, and listen for unusual valve train noises while checking for oil leaks at the valve cover gaskets.
