My Garage
My Account
Cart
Genuine Chevrolet Silverado Crankshaft Seal
- Select Vehicle by Model
- Select Vehicle by VIN
Select Vehicle by Model
orMake
Model
Year
Select Vehicle by VIN
For the most accurate results, select vehicle by your VIN (Vehicle Identification Number).
15 Crankshaft Seals found
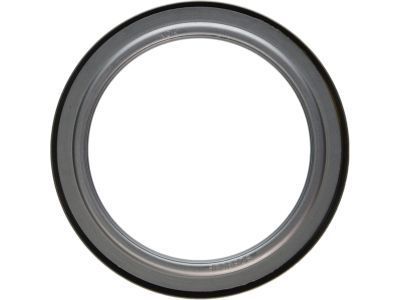
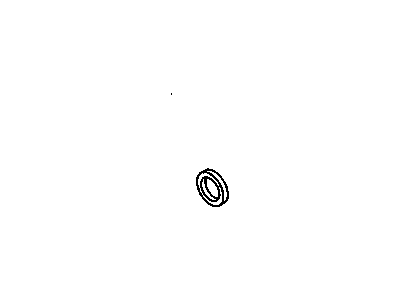
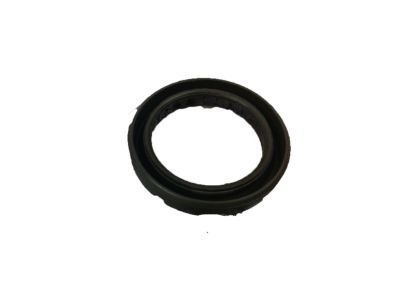
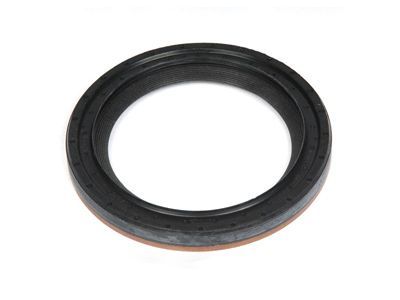
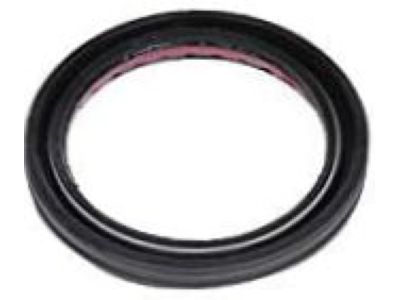
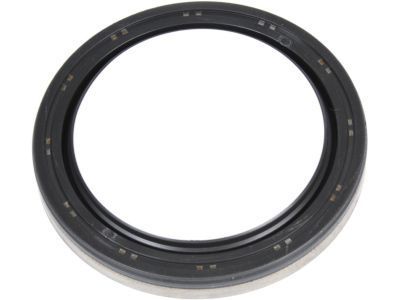
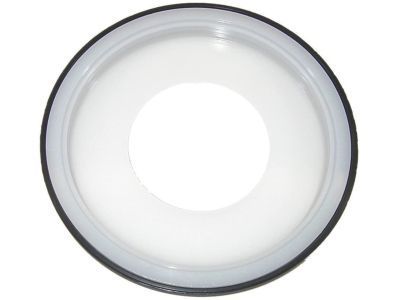
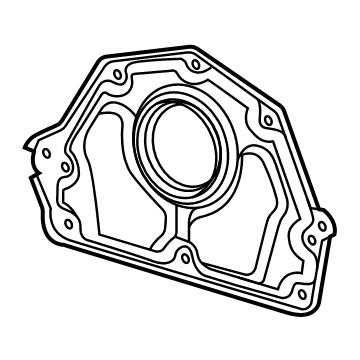
Chevrolet Silverado Seal,Crankshaft Rear Oil
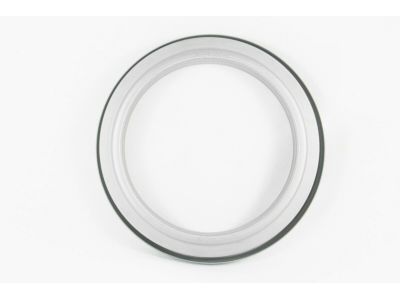
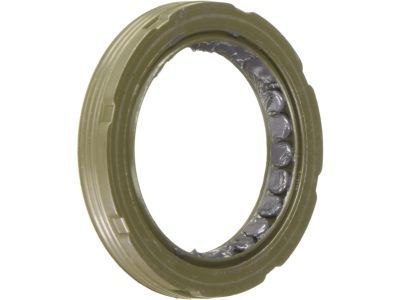
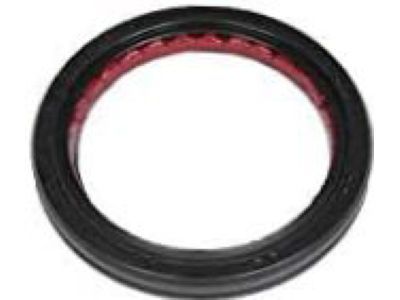
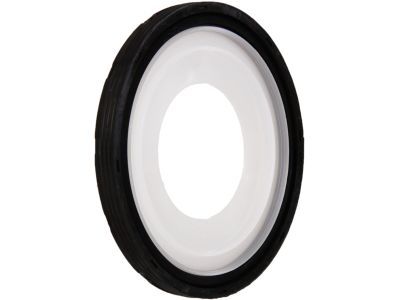
Part Number: 97209342$47.69 MSRP: $81.54You Save: $33.85 (42%)Ships in 1-2 Business DaysChevrolet Silverado Seal Asm,Crankshaft Front Oil
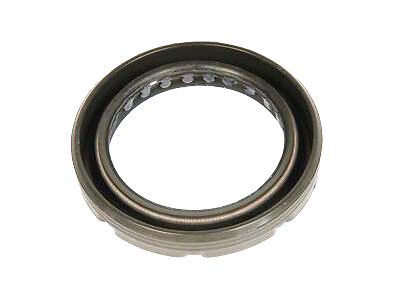
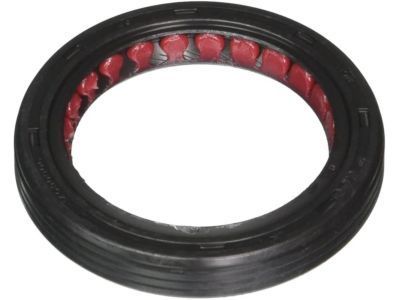
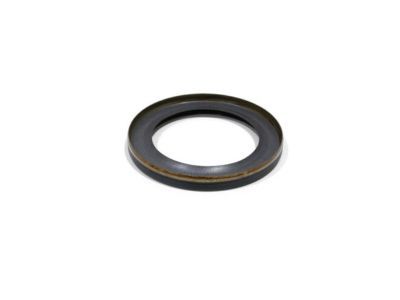
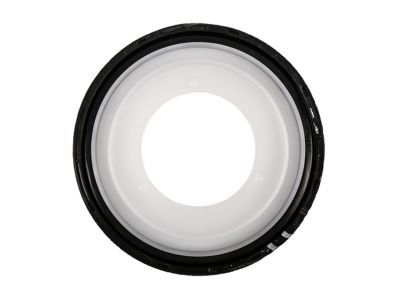
Part Number: 97209341$40.63 MSRP: $69.48You Save: $28.85 (42%)Ships in 1-2 Business DaysChevrolet Silverado Seal,Crankshaft Front Oil
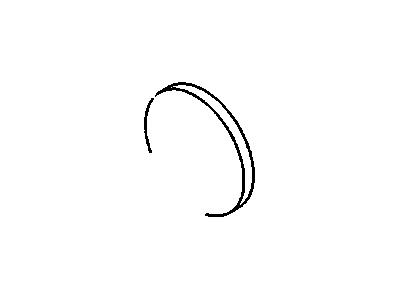
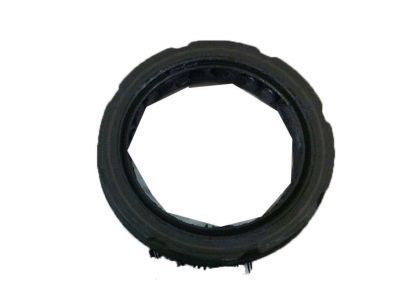
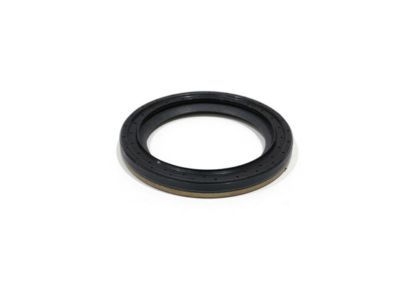
Part Number: 10128316$21.39 MSRP: $35.40You Save: $14.01 (40%)Ships in 1-2 Business DaysChevrolet Silverado Seal,Crankshaft Front Oil
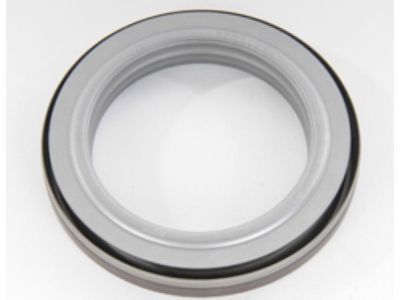
Part Number: 14090906$18.33 MSRP: $30.33You Save: $12.00 (40%)Ships in 1-2 Business DaysChevrolet Silverado Seal Assembly, Crankshaft Front Oil
Part Number: 12580743$15.97 MSRP: $26.45You Save: $10.48 (40%)Ships in 1-3 Business DaysChevrolet Silverado Seal,Crankshaft Front Oil
Part Number: 10228655$21.16 MSRP: $35.01You Save: $13.85 (40%)Ships in 1-2 Business DaysChevrolet Silverado Seal Assembly, Crankshaft Front Oil
Part Number: 12634614$13.22 MSRP: $21.09You Save: $7.87 (38%)Chevrolet Silverado Seal Kit,Crankshaft Rear Oil
Part Number: 89060436$24.13 MSRP: $39.93You Save: $15.80 (40%)Ships in 1-3 Business DaysChevrolet Silverado Seal Assembly, Crankshaft Rear Oil
Part Number: 12665076$25.55 MSRP: $42.27You Save: $16.72 (40%)Ships in 1-3 Business DaysChevrolet Silverado Seal, Cr/Shf Frt (O Ring)
Part Number: 12693989$4.24 MSRP: $7.02You Save: $2.78 (40%)Ships in 1-2 Business DaysChevrolet Silverado Seal,Crankshaft Rear Oil
Part Number: 12554314$34.26 MSRP: $56.69You Save: $22.43 (40%)Ships in 1-3 Business DaysChevrolet Silverado Seal Assembly, Cr/Shf Frt Oil
Part Number: 55509254$8.55 MSRP: $14.16You Save: $5.61 (40%)Chevrolet Silverado SEAL-CR/SHF RR OIL
Part Number: 40009072$11.95 MSRP: $19.05You Save: $7.10 (38%)Ships in 1-3 Business DaysChevrolet Silverado Seal Kit,Crankshaft Rear Oil
Part Number: 89018163$31.47 MSRP: $52.08You Save: $20.61 (40%)Ships in 1-2 Business DaysChevrolet Silverado Seal,Crankshaft Rear Oil
Part Number: 12587621$37.39 MSRP: $63.95You Save: $26.56 (42%)Ships in 1-3 Business Days
Chevrolet Silverado Crankshaft Seal
Each OEM Chevrolet Silverado Crankshaft Seal we offer is competitively priced and comes with the assurance of the manufacturer's warranty for the part. Furthermore, we guarantee the speedy delivery of your orders right to your doorstep. Our hassle-free return policy is also in place for your peace of mind.
Chevrolet Silverado Crankshaft Seal Parts Questions & Experts Answers
- Q: How to replace front Crankshaft Seal on 4.3L V6 engine on Chevrolet Silverado?A:Remove the crankshaft pulley and vibration damper. Note how the seal is installed-the new one must be installed to the same depth and facing the same way. Carefully pry the Crankshaft Seal out of the cover with a seal puller or a large screwdriver. If the Crankshaft Seal is being replaced with the timing chain cover removed, support the cover on top of two blocks of wood and drive the Crankshaft Seal out from the backside with a hammer and punch. Clean the seal bore to remove any old seal material and corrosion. Position the new Crankshaft Seal in the bore with the seal lip (usually the side with the spring) facing IN(toward the engine). A small amount of oil applied to the outer edge of the new Crankshaft Seal will make installation easier. Drive the Crankshaft Seal into the bore with a seal driver or a large socket and hammer until it's completely seated. Select a socket that's the same outside diameter as the Crankshaft Seal and make sure the new Crankshaft Seal is pressed into place until it bottoms against the cover flange. Check the surface of the damper that the Crankshaft Seal rides on. If the surface has been grooved from long-time contact with the seal, a press-on sleeve may be available to renew the sealing surface. This sleeve is pressed into place with a hammer and a block of wood. Lubricate the seal lips with engine oil and reinstall the vibration damper. Use a vibration damper installation tool to press the damper onto the crankshaft. Install the vibration damper-to-crankshaft bolt and tighten it to the torque specifications. Install the crankshaft pulley and tighten the bolts to the torque specifications. The remainder of installation is the reverse of removal.
Related Chevrolet Silverado Parts
Browse by Year
2024 Crankshaft Seal 2023 Crankshaft Seal 2022 Crankshaft Seal 2021 Crankshaft Seal 2020 Crankshaft Seal 2019 Crankshaft Seal 2018 Crankshaft Seal 2017 Crankshaft Seal 2016 Crankshaft Seal 2015 Crankshaft Seal 2014 Crankshaft Seal 2013 Crankshaft Seal 2012 Crankshaft Seal 2011 Crankshaft Seal 2010 Crankshaft Seal 2009 Crankshaft Seal 2008 Crankshaft Seal 2007 Crankshaft Seal 2006 Crankshaft Seal 2005 Crankshaft Seal 2004 Crankshaft Seal 2003 Crankshaft Seal 2002 Crankshaft Seal 2001 Crankshaft Seal 2000 Crankshaft Seal 1999 Crankshaft Seal
