My Garage
My Account
Cart
Genuine Chevrolet Tracker Intake Manifold
Engine Intake Manifold- Select Vehicle by Model
- Select Vehicle by VIN
Select Vehicle by Model
orMake
Model
Year
Select Vehicle by VIN
For the most accurate results, select vehicle by your VIN (Vehicle Identification Number).
10 Intake Manifolds found
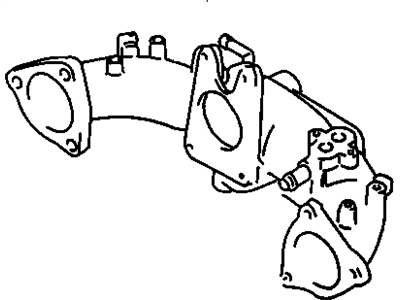
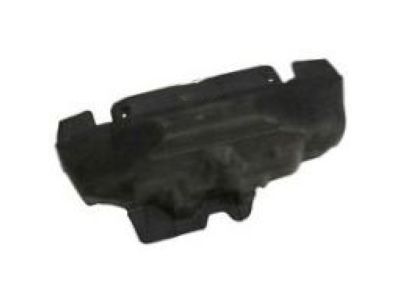
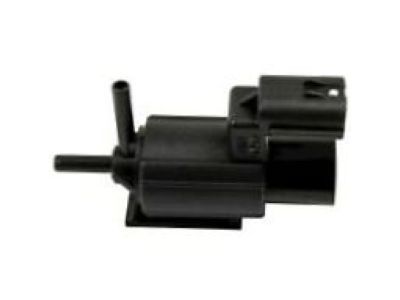
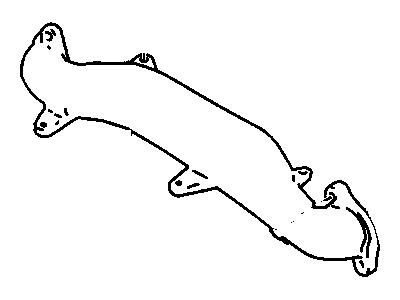
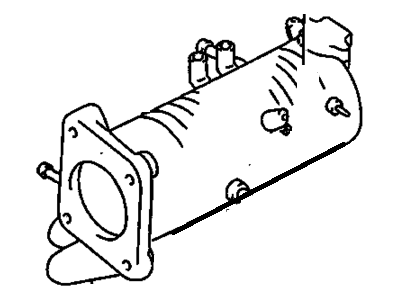
Chevrolet Tracker Collector, Intake (On Esn)
Part Number: 91176133$133.80 MSRP: $350.18You Save: $216.38 (62%)Ships in 1-2 Business Days
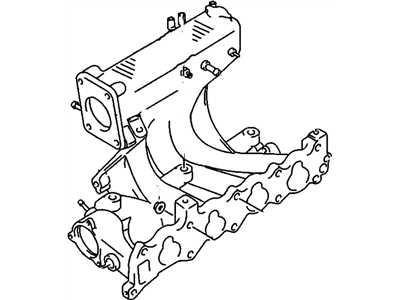
Chevrolet Tracker Intake Manifold
Intake Manifold found on Chevrolet Tracker is as integral part of the car's engine responsible for supplying air or a mixture of air and fuel to the car's cylinder with the aim of getting the maximum power from the engine. Usually, they are made of plastic for lesser weight and for heat dissipation and the shape of the intake manifold is designed in such a way that its runners are balanced for proper air mixture for combustion. Some manifolds have coolant passages and sensors to improve the function of the engine, while ones deliver more horsepower and torque due to the better distribution of air/fuel mixtures. Additional adaptations include variable length intakes that can control the speed as well as pressure of the airflow to match the load engine conditions hence creating highly powerful and fuel-efficient engines.
Each OEM Chevrolet Tracker Intake Manifold we offer is competitively priced and comes with the assurance of the manufacturer's warranty for the part. Furthermore, we guarantee the speedy delivery of your orders right to your doorstep. Our hassle-free return policy is also in place for your peace of mind.
Chevrolet Tracker Intake Manifold Parts Questions & Experts Answers
- Q: How to remove the intake manifold in DOHC engine on Chevrolet Tracker?A:The intake manifold removal procedure begins by relieving the fuel injection system pressure first and later disconnecting the negative battery cable. Also, drain the cooling system and remove the air intake duct between the air cleaner housing and the throttle body. Each electrical connection should be labelled prior to disconnecting it carefully as such include those for Exhaust Gas Recirculation (EGR) valve connector, Idle Air Control (IAC) valve connector, Throttle Position (TP) sensor connector, Evaporative Emissions (EVAP) canister purge valve connector, ground terminal on the intake manifold, Manifold Differential Pressure (MDP)/Manifold Absolute Pressure (MAP) sensor connector. Some of these hoses include brake booster hose, PCV hose, fuel pressure regulator vacuum hose, canister purge hose, vacuum hose, coolant hoses and breather hose from throttle body. Disconnect throttle cable, and if equipped with automatic transmissions, disconnect throttle valve cable too. The throttle body must be removed along with fuel rail and fuel injectors in case you want to replace intake manifold. Do not forget to take off two intake manifold stiffener plates as well as detach coolant pipe from the intake manifold next. Furthermore there is a need to remove mounting bolts and nuts for intake manifold before carefully taking it out of engine by avoiding prying it apart between gasket sealing surfaces or tapping on their throttle bodies under no circumstances. Then completely clean mating surfaces and install the manifold together with a new gasket-tighten bolts and nuts slowly in a crisscross pattern. Finally install remaining components back in reverse order; add coolant; run engine; check for leaks or problems.
Related Chevrolet Tracker Parts
Browse by Year
2004 Intake Manifold 2003 Intake Manifold 2002 Intake Manifold 2001 Intake Manifold 2000 Intake Manifold 1999 Intake Manifold 1998 Intake Manifold 1997 Intake Manifold 1996 Intake Manifold 1995 Intake Manifold 1994 Intake Manifold 1993 Intake Manifold 1992 Intake Manifold 1991 Intake Manifold 1990 Intake Manifold 1989 Intake Manifold
