My Garage
My Account
Cart
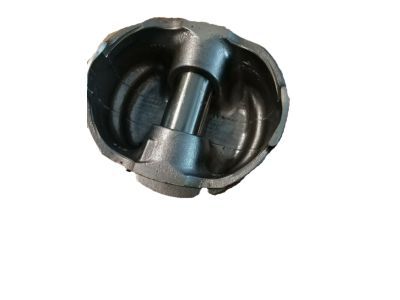
Genuine Chevrolet Trailblazer Piston
Engine Pistons- Select Vehicle by Model
- Select Vehicle by VIN
Select Vehicle by Model
orMake
Model
Year
Select Vehicle by VIN
For the most accurate results, select vehicle by your VIN (Vehicle Identification Number).
13 Pistons found
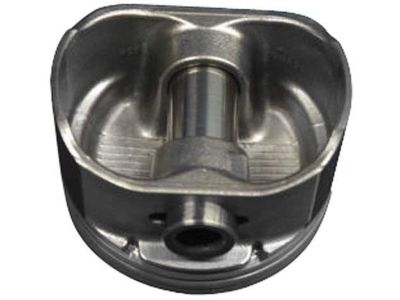
Chevrolet Trailblazer Piston Asm,(W/ Pinion)
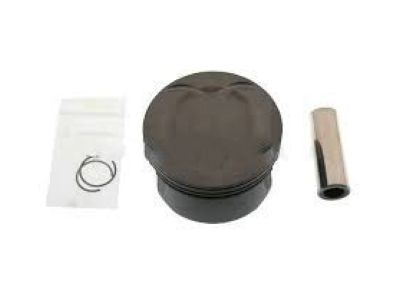
Part Number: 89060486$43.24 MSRP: $71.58You Save: $28.34 (40%)Ships in 1-2 Business DaysChevrolet Trailblazer Piston Kit,Engine
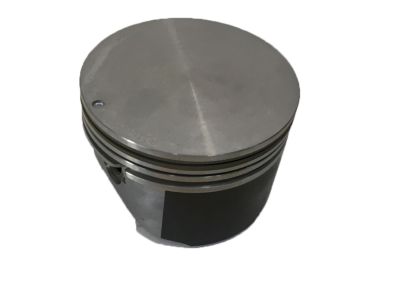
Part Number: 19178305$86.55 MSRP: $138.04You Save: $51.49 (38%)Ships in 1-3 Business DaysChevrolet Trailblazer Piston Asm,(W/ Pinion)
Part Number: 89060483$123.89 MSRP: $198.60You Save: $74.71 (38%)Chevrolet Trailblazer PISTON KIT,.
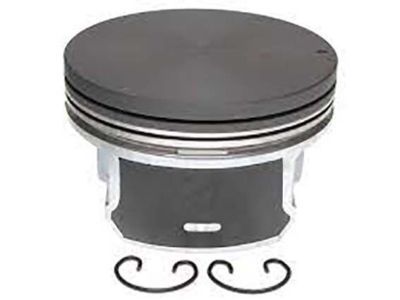
Part Number: 12710889$16.97 MSRP: $27.07You Save: $10.10 (38%)Ships in 1-3 Business DaysChevrolet Trailblazer Piston Kit (.5Mm Outside)
Part Number: 19178568$133.44 MSRP: $212.82You Save: $79.38 (38%)Ships in 1-3 Business DaysChevrolet Trailblazer Piston Assembly
Part Number: 12663172$16.40 MSRP: $26.16You Save: $9.76 (38%)Ships in 1-3 Business DaysChevrolet Trailblazer Piston Asm,(W/ Pinion)
Part Number: 89060484$89.29 MSRP: $197.06You Save: $107.77 (55%)Ships in 1-2 Business Days
Chevrolet Trailblazer Piston
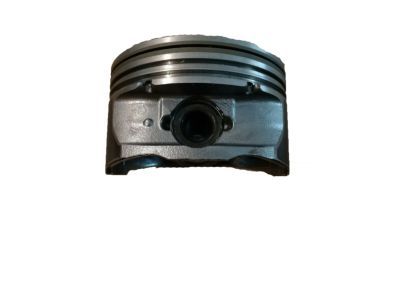
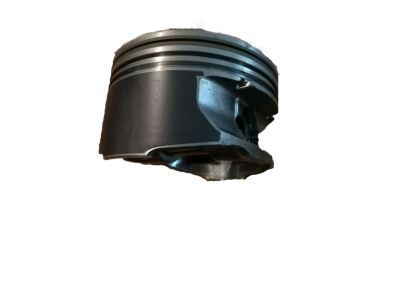
Its being Chevrole Trailblazer vehicle implies that Piston plays an essential role of converting combustion power into energy within internal combustion engine that is needed within the vehicle. As we know, the Piston's function is to transfer force from expanding gases to the crankshaft, thus, it is a significant factor in maximizing an engine's performance. Usually made of aluminum alloys for the purpose of Strength and low weight, the Piston is made in such a manner that it can withstand pressures and temperatures, and might include Cooling CAVITIES fed with oil. Through the years, various types of Pistons have been employed in Chevrolet Trailblazer car models which have the trunk pistons for both petrol and Diesel engine types and they tend to support side force and they also incorporate the oil rings. Furthermore, racing pistons are utilized where ignition speed is important depending on the RPMs and they maximize light weight thus not compromising strength. The different Piston designs available in Chevrolet Trailblazer vehicles is to cater for the performance, efficiency, and durability of the engine all through the performance of the vehicle.
Each OEM Chevrolet Trailblazer Piston we offer is competitively priced and comes with the assurance of the manufacturer's warranty for the part. Furthermore, we guarantee the speedy delivery of your orders right to your doorstep. Our hassle-free return policy is also in place for your peace of mind.
Chevrolet Trailblazer Piston Parts Questions & Experts Answers
- Q: What steps must be taken before removing the piston and connecting rod assemblies, and how should the installation of new piston rings be performed on Chevrolet Trailblazer?A:Before being able to take out the piston and connecting rod assemblies they need to be disassembled by having to take off the cylinder head and the oil pan. Place a fingernail, index finger, to look for any ridges at the maximum of the ring travel, which are stripped off with a proper tool so as not to cause the piston to break. Once again flipping the engine over turn it so the Crankshaft is oriented up after the method of removing the ridges mentioned above. Inspection of the connecting rod end play with a feeler gauge, should be done to see if it is within the service limit, if it is beyond this limit, then it may be necessary to replace the connecting rods. Label each of the connecting rods and their respective caps to tell apart them while loosening the cap bolts to the required torque level at which the bolts can be removed easily. Twist off the first connecting rod cap and the bearing insert should stay in place without falling out, push out the connecting rod / piston combination through the top of the engine. Do the same for the rest of the cylinders and tighten the caps and inserts as not to cause any misalignments. The pistons and connecting rods of the engines are now prepared for checks and refurbishment if necessary. When replacing the piston rings make sure that the ring end gaps are correct, as well as the piston ring side clearance. Arrange the cylinder/piston and connecting rods along with new rings in a manner according to matching of the piston/connecting rod assemblies. Put the top ring into the first cylinder with the end of the ring flush with the cylinder walls and then feel for the end gap with feeler gauges. If the gap is not right, then, erase it gradually by grinding the ring ends. Do this for each ring, to make sure that each one is matched up correctly with the pistons and cylinders. After adjustments of the above gaps, the rings must be fitted on the pistons, in the sequence of the oil control ring, followed by the middle and the upper ring, with the Vs facing upwards. It is also important to note that prior to installation cylinder walls should be clean, edges of the cylinder should be chamfered and the crankshaft fitted. Remove and discard the old bearing inserts with a clean anc clean tool and a small tap install the new bearing inserts into the connecting rod and cap without using any lubrication to ensure that the inserts are fitted properly. Align the piston ring gaps at 90 degrees interval and apply oil to the piston as well as all piston rings, for putting of this ring, a piston ring compressor is most appropriate. Place the piston/connecting rod assembly direct into the cylinder bore in the right formation with out any forceful means. Following the installation, it is required to measure the oil clearance of the connecting rod bearing by using Plastigage and ascertain the size and the condition of the bearing inserts. If the clearance is other than as specified, cleanliness and journal diameter should be checked before contemplating a rebore. Clean off the Plastigage and coat the bearing surfaces with fresh grease and place the rod cap complete with new bolts and tighten to manufacturers recommendation. This is done for the remaining assemblies, making sure that each of them does not have dirt, and is well oriented. Last, turn the crankshaft to see if there is any bind, or interference, and to check the connecting rod end play once more, in relation to the standard an.keras of tolerance.
