My Garage
My Account
Cart
Genuine GMC Sierra Transfer Case
Speed Transfer Case- Select Vehicle by Model
- Select Vehicle by VIN
Select Vehicle by Model
orMake
Model
Year
Select Vehicle by VIN
For the most accurate results, select vehicle by your VIN (Vehicle Identification Number).
110 Transfer Cases found
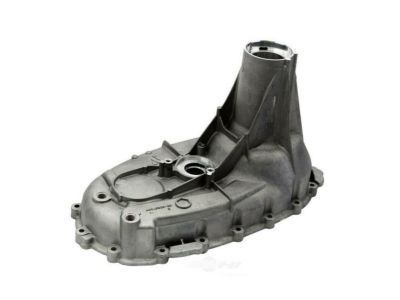
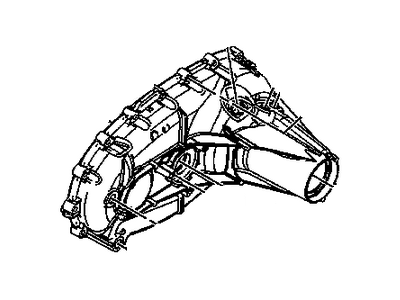
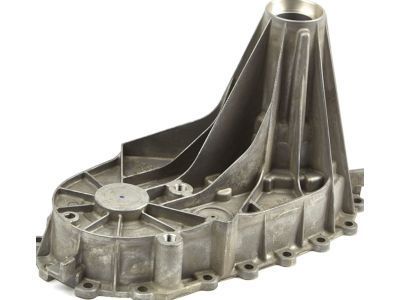
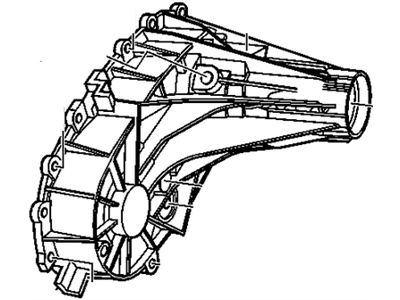
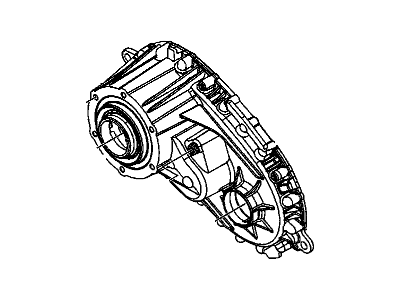
GMC Sierra Transfer Case Rear Case
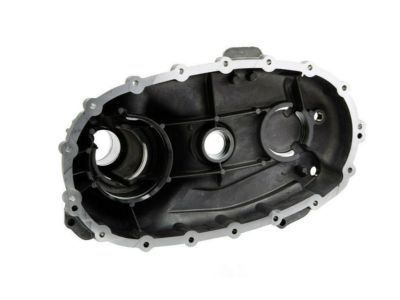
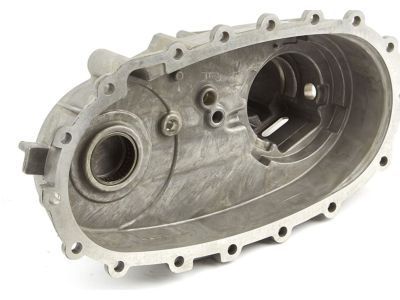
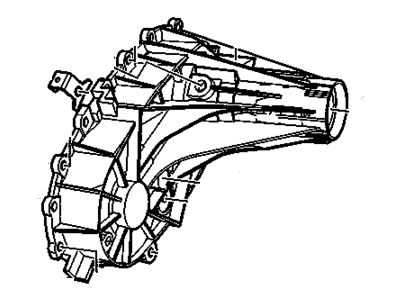
Part Number: 23253658$188.19 MSRP: $297.43You Save: $109.24 (37%)Ships in 1-2 Business DaysGMC Sierra Transfer Case Assembly (Rear Half)
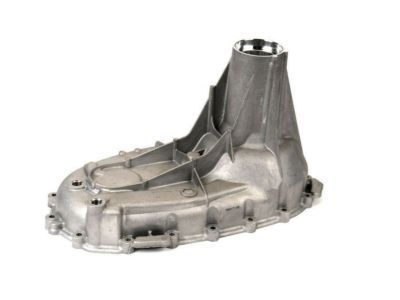
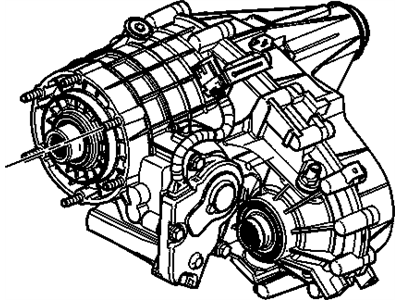
Part Number: 23253659$178.88 MSRP: $296.05You Save: $117.17 (40%)Ships in 1-2 Business DaysGMC Sierra Rear Half Transfer Case
Part Number: 12474949$524.23 MSRP: $1134.23You Save: $610.00 (54%)Ships in 1-2 Business DaysGMC Sierra Transfer Case Assembly (Blackwall 4485)(Code Mm)
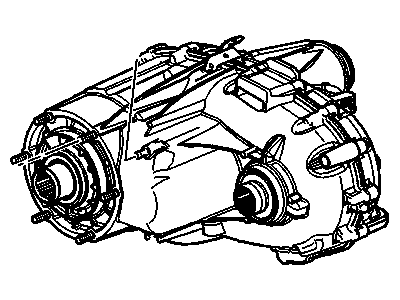
Part Number: 24246762$3093.25 MSRP: $3499.14You Save: $405.89 (12%)Ships in 1-3 Business DaysGMC Sierra Transfer Case Rear Case
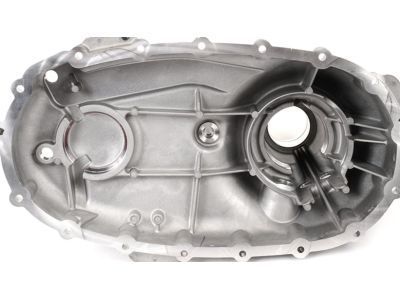
Part Number: 23254567$271.20 MSRP: $448.86You Save: $177.66 (40%)Ships in 1-2 Business DaysGMC Sierra Transfer Case (Rear Half)
Part Number: 12473226$431.81 MSRP: $688.69You Save: $256.88 (38%)Ships in 1-2 Business DaysGMC Sierra Transfer Case (Rear Half)
Part Number: 12478092$935.15 MSRP: $1484.72You Save: $549.57 (38%)Ships in 1-2 Business DaysGMC Sierra Transfer Case Assembly (Front Half)
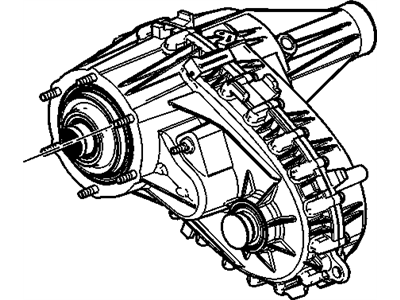
Part Number: 19132934$323.41 MSRP: $535.27You Save: $211.86 (40%)Ships in 1-3 Business DaysGMC Sierra Transfer Case Assembly
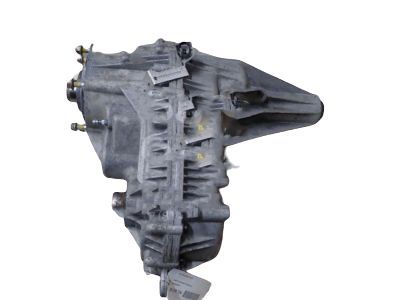
Part Number: 87842231$2649.24 MSRP: $2985.00You Save: $335.76 (12%)GMC Sierra Transfer Case Assembly
Part Number: 85580976$1261.40 MSRP: $1415.06You Save: $153.66 (11%)Ships in 1-3 Business DaysGMC Sierra Transfer Case Assembly
Part Number: 84467434$2082.60 MSRP: $2348.75You Save: $266.15 (12%)Ships in 1-3 Business DaysGMC Sierra Transfer Case (Remanufacture)
Part Number: 24228420$2950.02 MSRP: $3330.00You Save: $379.98 (12%)Ships in 1-3 Business DaysGMC Sierra Transfer Case Assembly
Part Number: 85580977$1086.75 MSRP: $1217.47You Save: $130.72 (11%)GMC Sierra Transfer Case Assembly
Part Number: 87842230$2003.04 MSRP: $2258.75You Save: $255.71 (12%)Ships in 1-2 Business DaysGMC Sierra CASE ASM,TRFER (REMAN)<SEE GUIDE/CONTACT BFO>
Part Number: 19125975$3020.54 MSRP: $3409.78You Save: $389.24 (12%)Ships in 1-3 Business DaysGMC Sierra Transfer Case Assembly
Part Number: 85580975$1141.98 MSRP: $1279.94You Save: $137.96 (11%)Ships in 1-3 Business DaysGMC Sierra Transfer Case Assembly
Part Number: 87842224$1935.51 MSRP: $2182.36You Save: $246.85 (12%)Ships in 1-3 Business DaysGMC Sierra Transfer Case Assembly (Goodwrench Remanufacture) (W/ Gears) Nvg261 Hd1
Part Number: 24228435$2316.41 MSRP: $2613.25You Save: $296.84 (12%)Ships in 1-3 Business DaysGMC Sierra Transfer Case Assembly (Reman)
Part Number: 19125667$2909.14 MSRP: $3283.75You Save: $374.61 (12%)Ships in 1-3 Business DaysGMC Sierra Transfer Case Assembly
Part Number: 87842228$2007.24 MSRP: $2258.75You Save: $251.51 (12%)
| Page 1 of 6 |Next >
1-20 of 110 Results
GMC Sierra Transfer Case
Each OEM GMC Sierra Transfer Case we offer is competitively priced and comes with the assurance of the manufacturer's warranty for the part. Furthermore, we guarantee the speedy delivery of your orders right to your doorstep. Our hassle-free return policy is also in place for your peace of mind.
GMC Sierra Transfer Case Parts Questions & Experts Answers
- Q: How to remove and install a transfer case on GMC Sierra?A:To remove the transfer case, start by disconnecting the cable from the negative terminal of the battery and putting the transfer case in the 2WD High position (if applicable). Then, raise the vehicle and support it securely on jackstands, remove the stone shields (if equipped), and drain the transfer case lubricant. Next, remove the front and rear driveshafts, unplug all electrical connectors, detach the vent hose from the top of the transfer case, and disconnect the shift linkage (if applicable). Raise the transmission enough to remove the crossmember, support the transfer case with a jack, and remove the transfer case mounting nuts. Finally, move the transfer case and jack toward the rear of the vehicle until it's clear of the transmission. To install the transfer case, replace the gasket with a new one and tighten the transmission-to-transfer case nuts to the torque specifications. On manually shifted models, be sure to adjust the transfer case shift linkage.
Related GMC Sierra Parts
Browse by Year
2024 Transfer Case 2023 Transfer Case 2022 Transfer Case 2021 Transfer Case 2020 Transfer Case 2019 Transfer Case 2018 Transfer Case 2017 Transfer Case 2016 Transfer Case 2015 Transfer Case 2014 Transfer Case 2013 Transfer Case 2012 Transfer Case 2011 Transfer Case 2010 Transfer Case 2009 Transfer Case 2008 Transfer Case 2007 Transfer Case 2006 Transfer Case 2005 Transfer Case 2004 Transfer Case 2003 Transfer Case 2002 Transfer Case 2001 Transfer Case 2000 Transfer Case 1999 Transfer Case
