My Garage
My Account
Cart
Genuine GMC Sonoma Camshaft
Cam- Select Vehicle by Model
- Select Vehicle by VIN
Select Vehicle by Model
orMake
Model
Year
Select Vehicle by VIN
For the most accurate results, select vehicle by your VIN (Vehicle Identification Number).
12 Camshafts found
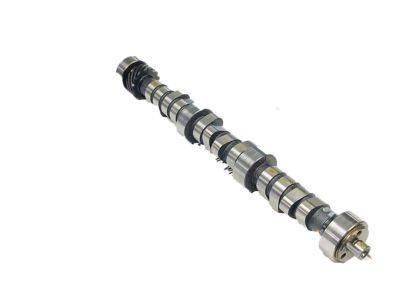
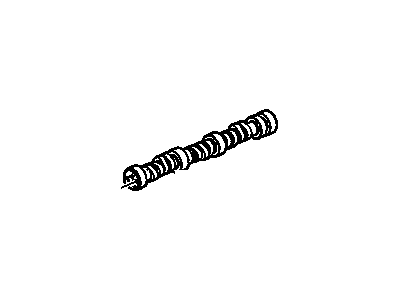
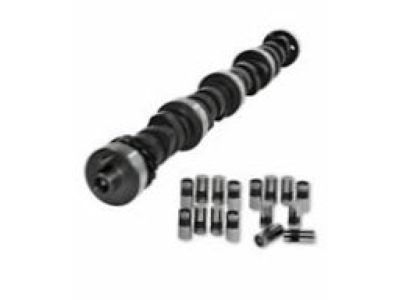
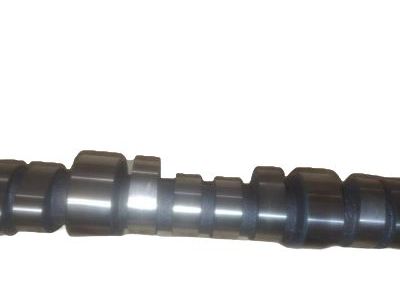
GMC Sonoma Camshaft,Engine
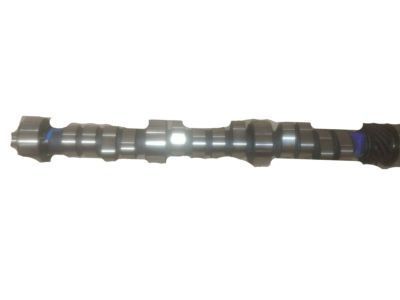
Part Number: 10241691$348.60 MSRP: $556.00You Save: $207.40 (38%)Ships in 1-3 Business DaysGMC Sonoma Camshaft Assembly, Overhead Vlv
Part Number: 12703806$347.53 MSRP: $566.42You Save: $218.89 (39%)Ships in 1-3 Business Days
GMC Sonoma Camshaft
The Camshaft in GMC Sonoma cars is extremely critical in controlling the operation of the intake and exhaust valves necessary for air and fuel mixture for combustion. These camshafts can be block mounted or cylinder head mounted and depending on the type they are OHV, SOHC and DOHC engines use different mechanisms to operate the valves. The movement of the valves is timed with the help of a camshaft which is connected to the crankshaft in the car. To further improve the accelerating potential of the vehicle or in accordance to the changes made and the performance goals set, performance camshafts can be fitted on the vehicle. These performance camshafts are usually characterized by a figure that has a higher lift and longer duration; this helps to enhance the airflow and therefore power at high RPMs. Source Compression ratio, the type of transmission fitted in a car, and weight also play an important role in selecting a camshaft to obtain specific results. Also, the lobe separation angle of the camshaft can affect indicated torque, rpm range, and idling, therefore having potentials for adjusting the characteristics of motor vehicle engines.
Each OEM GMC Sonoma Camshaft we offer is competitively priced and comes with the assurance of the manufacturer's warranty for the part. Furthermore, we guarantee the speedy delivery of your orders right to your doorstep. Our hassle-free return policy is also in place for your peace of mind.
GMC Sonoma Camshaft Parts Questions & Experts Answers
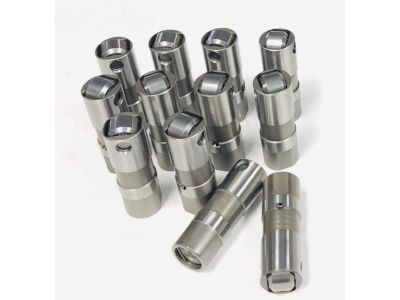
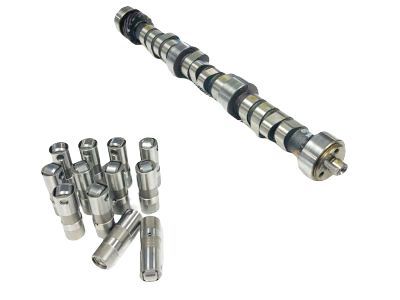
- Q: How to remove and install Camshaft and Lash Adjuster on 4.3L V6 engine on GMC Sonoma?A:Rocker arms can be pivoted away from the Pushrods by removing the valve covers and loosening the rocker arm nuts before removal to measure camshaft lobe lift. The plunger on a dial indicator is to be positioned directly above the first pushrod, which is mounted on the engine. Disconnect the engine's electrical connectors from the distributor. Rotate the engine very slowly until it comes to rest with this pushrod sitting against its lowest point (base circle of camshaft lobe) then zero dial readout. As an effect of rotating crankshaft in normal direction indicator needle reaches its highest peak and starts reversing showing maximum cam lobe lift. Write this down and make check for all lobes comparing results obtained. If cam lobe lift is 0.003 inches less than specified, there will be a need for new camshaft installation since there has been a wear out of cam lobe. Also, remove fan shrouds, fan, radiator and condenser if applicable. Carefully remove them while properly labeling and storing before lifting off Lash Adjuster retainer. One must always be careful never to try to extract a camshaft with the Lash Adjusters left inside. Lash Adjuster removal from bores can also take different directions depending on what one wants to do next or how many Lash Adjusters are being replaced at once or maybe whether one has no other option but replace all of them because they are so bad that individual replacement would not solve anything here otherwise there could be no further discussion where others may simply call for removal with every other thing remaining intact Some other methods may include using tongs or pliers etc., By holding onto this chain while forcing it outwards (meaning our efforts are aimed at removing without damaging crankcase bearings which are located near bottom part). At this juncture, note carefully how two torx screws have been used here as well as appropriate directionality provided by manufacturer themselves. Three 6-inch long, 5/16-18 bolts can be threaded into the camshaft sprocket bolt holes to serve as handles when pulling on the camshaft, thus preventing any possible damage to bearings straight out. During an examination, there are several features that indicate damage in form of wear of cam lobes and bearing journals. Obtain a micrometer and take measurements of each cam journal's diameter and also determine height of every cam lobe using these results compared against appropriate tolerances. Should any journal have a diameter less than what it ought to be, then replace the particular camshaft. The procedure for changing these bearings is normally outsourced to automotive machine shops due to difficulties involved since they use specific tools and are manned by experts in this field. Once again, lubricate both camshaft bearing journals along with the cams lobes utilizing assembly lube meant for these parts, then gently slide it into block without damaging those sensitive lower ends of crankcase bearings near mounting points near crankcase face. As soon as position (dowel pin) after pivoting cylinder head in clockwise direction has been reached (that means 3 o'clock), lock it through tightening the thrust plate. By aligning dowel pins also confirming position of balancer shaft timing marks install balance shaft drive gear accordingly. Next, install the Timing Chain and gears in their right place using clean engine oil on Lash Adjusters when returning them into their respective bores because old Lash Adjusters may be reused if one is not installing new cams together with new Lash Adjusters too as was mentioned above or which case always follows after changing some worn out stock ones Finally, do everything else you did back but change oil before starting engine and put another filter.
