My Garage
My Account
Cart
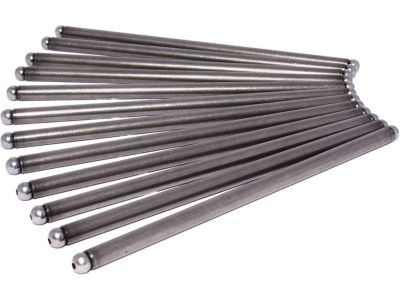
Genuine GMC Sonoma Pushrod
Valve Push Rod- Select Vehicle by Model
- Select Vehicle by VIN
Select Vehicle by Model
orMake
Model
Year
Select Vehicle by VIN
For the most accurate results, select vehicle by your VIN (Vehicle Identification Number).
6 Pushrods found
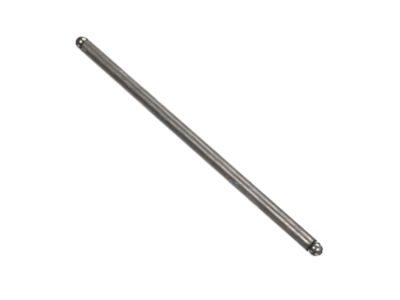
GMC Sonoma Rod Assembly, Valve Push
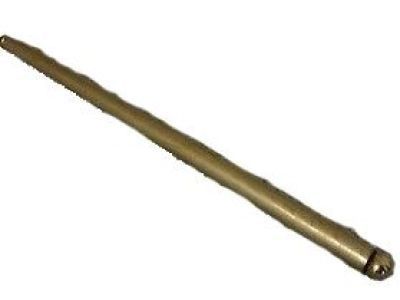
Part Number: 10241740$14.89 MSRP: $23.75You Save: $8.86 (38%)Ships in 1-3 Business DaysGMC Sonoma Rod Assembly, Valve Push
Part Number: 476525$17.46 MSRP: $18.97You Save: $1.51 (8%)Ships in 1-2 Business DaysGMC Sonoma Rod,Valve Push
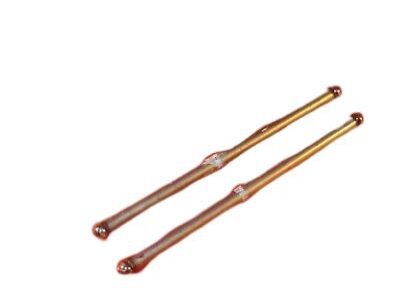
Part Number: 10046173$12.05 MSRP: $19.20You Save: $7.15 (38%)Ships in 1-3 Business DaysGMC Sonoma Rod Assembly, Valve Push
Part Number: 24575409$5.31 MSRP: $14.49You Save: $9.18 (64%)Ships in 1-2 Business Days
GMC Sonoma Pushrod
Each OEM GMC Sonoma Pushrod we offer is competitively priced and comes with the assurance of the manufacturer's warranty for the part. Furthermore, we guarantee the speedy delivery of your orders right to your doorstep. Our hassle-free return policy is also in place for your peace of mind.
GMC Sonoma Pushrod Parts Questions & Experts Answers
- Q: How to remove the Pushrod and Rocker Arm on 4.3L V6 engine on GMC Sonoma?A:To remove the valve covers, first detach them from the Cylinder Heads. Proceed by loosening and removing rocker arm stud nuts, starting from the front of one cylinder head. Keep these nuts in separate containers that are labeled so you can put them back correctly. On 1998 models and prior ones, in case only pushrods have to be removed, loosen each nut just enough to enable you rotate the rocker arms out of the way for pushrod removal. Instead of using pivot balls, roller-rocker arms on model year 2000 and later are retained by bolts. Put away rocker arms and pivot balls with nuts for reinstallation later on. Take out pushrods and keep them apart to avoid mix up during installation utilizing a perforated cardboard box which allows organized storage. Examine each rocker arm for wear, cracks or any other damage focusing on areas where rocker arm faces contact with pushrods and valve stems. Make sure that hole at the pushrod end of each rocker arm is open and inspect rocker arm pivot area for wear, cracks or galling. In particular, replace all worn roller rocker arms along with new pivot balls on 2000 and newer models. Check whether there are cracks or excessive wear on pushrods by rolling them on a flat surface to see if they are bent. To install, lubricate lower end of every single pushrod using clean engine oil or moly-base grease; seat in their original lifter positions; apply moly-base grease to valve stems as well as pushrod ends before placing the rocker arms over studs. Install pivot balls and nuts making sure that flat side of each nut faces pivot ball. Tighten down the rocker arm nuts properly. Reverse order reassemble remaining components; start engine then check for valve cover leaks as well as valvetrain noise (Haines). Note too that most models do not require a valve adjustment except specific instructions provided here for valve adjustment on 1994 VIN Z engines including setting the engine to TDC, aligning timing marks, and adjusting rocker arm nuts for specified valves at TDC for each cylinder.
