My Garage
My Account
Cart
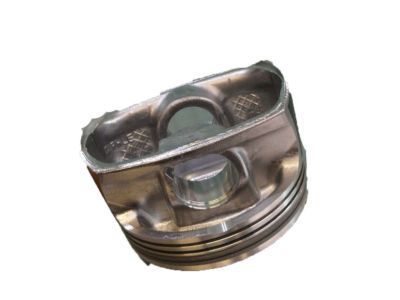
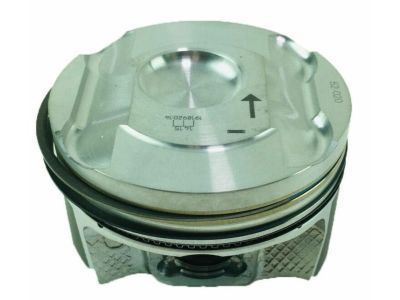
Genuine GMC Terrain Piston
Engine Pistons- Select Vehicle by Model
- Select Vehicle by VIN
Select Vehicle by Model
orMake
Model
Year
Select Vehicle by VIN
For the most accurate results, select vehicle by your VIN (Vehicle Identification Number).
17 Pistons found
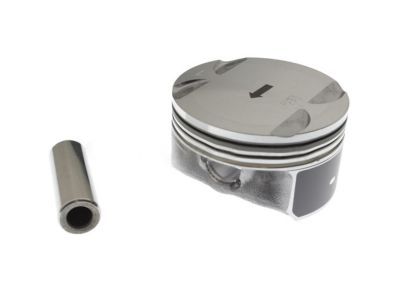
GMC Terrain Piston Kit
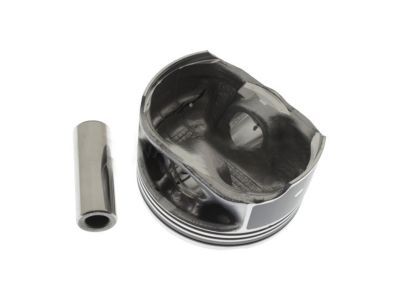
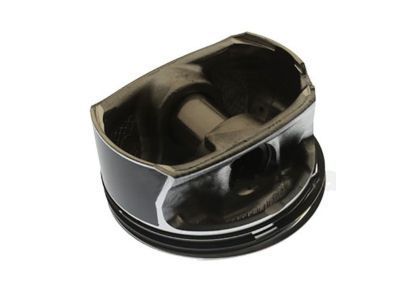
Part Number: 12646457$52.80 MSRP: $127.82You Save: $75.02 (59%)Ships in 1-3 Business DaysGMC Terrain Piston, (W/Pinion)
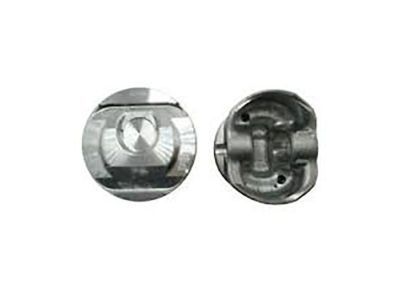
Part Number: 12631195$38.65 MSRP: $63.95You Save: $25.30 (40%)Ships in 1-3 Business DaysGMC Terrain Piston, (W/Pinion)
Part Number: 12631196$38.65 MSRP: $63.95You Save: $25.30 (40%)Ships in 1-2 Business DaysGMC Terrain Piston Assembly, (W/ Pinion)
Part Number: 12674548$19.49 MSRP: $32.26You Save: $12.77 (40%)GMC Terrain Piston Assembly, (W/ Pin & Cmprn & Oil Ring)(Lh)
Part Number: 12686358$32.32 MSRP: $51.53You Save: $19.21 (38%)Ships in 1-2 Business DaysGMC Terrain Piston Assembly, (W/ Pin & Cmprn & Oil Ring)(Rh)
Part Number: 12686359$32.32 MSRP: $51.53You Save: $19.21 (38%)Ships in 1-2 Business DaysGMC Terrain Piston Assembly, .
Part Number: 12705528$51.39 MSRP: $80.86You Save: $29.47 (37%)Ships in 1-3 Business DaysGMC Terrain Piston Assembly
Part Number: 55598378$51.71 MSRP: $82.44You Save: $30.73 (38%)Ships in 1-3 Business DaysGMC Terrain Piston Assembly, (W/ Pinion)
Part Number: 12654419$101.62 MSRP: $162.04You Save: $60.42 (38%)Ships in 1-3 Business DaysGMC Terrain Piston Assembly, (W/ Pinion)
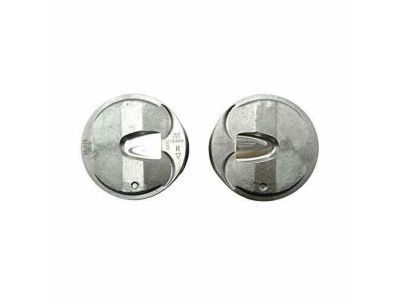
Part Number: 12654417$96.42 MSRP: $159.58You Save: $63.16 (40%)Ships in 1-3 Business DaysGMC Terrain Piston, (Machining) (Lh) (Lf1/Lfw, Inmetro)
Part Number: 19300903$297.84 MSRP: $492.95You Save: $195.11 (40%)Ships in 1-3 Business DaysGMC Terrain PISTON ASM-(W/ PIN)
Part Number: 12709528$23.67 MSRP: $39.17You Save: $15.50 (40%)Ships in 1-3 Business DaysGMC Terrain Piston Assembly, (W/ Pinion)
Part Number: 12654420$103.70 MSRP: $165.41You Save: $61.71 (38%)Ships in 1-3 Business DaysGMC Terrain Piston Assembly
Part Number: 55598380$103.73 MSRP: $171.63You Save: $67.90 (40%)Ships in 1-3 Business DaysGMC Terrain Piston Assembly, (W/ Pinion)
Part Number: 12654418$99.33 MSRP: $164.38You Save: $65.05 (40%)Ships in 1-3 Business DaysGMC Terrain Piston, (Machining) (Rh) (Lf1/Lfw, Inmetro)
Part Number: 19300904$297.84 MSRP: $492.95You Save: $195.11 (40%)Ships in 1-3 Business Days
GMC Terrain Piston
Piston in GMC Terrain vehicles is one of the internal combustion engines where heat energy from combustion is changed into mechanical energy needed in the mobility of the vehicle. It works by transmitting force resulted from expanding gases to the crankshaft to enhance the engines performance. There are many piston designs used in GMC Terrain models, trunk pistons for both petrol and diesel engines are used which further has ability of supporting side force and lubrication is done through oil rings. Further, GMC Terrain reliance on the slipper piston for high-speed petrol engine balance and improved efficiency than racing pistons, which are designed with lightweight strength to maintain an optimum RPM upwards mechanically. The selection of the piston type draws a line on the performance of the engine due to design factors such as handling pressure and temperature with a view of enhancing the functionality of GMC Terrain vehicles.
Each OEM GMC Terrain Piston we offer is competitively priced and comes with the assurance of the manufacturer's warranty for the part. Furthermore, we guarantee the speedy delivery of your orders right to your doorstep. Our hassle-free return policy is also in place for your peace of mind.
GMC Terrain Piston Parts Questions & Experts Answers
- Q: What steps should be taken before removing the piston and connecting rod assemblies on GMC Terrain?A:Before actual disassembly of the piston and connecting rod assemblies, some of the cylinder head and also the oil pan must be dismantled. The top end of the ring groove needs to be scraped with a fingernail; indelible ridges here must be reamed off as failure will cause a ring burst which will need a new piston. When you have cleared the ridges, ensure the engine is rotated in a manner that the Crankshaft is on the top. Measure the dimension of the crank to engine block with feeler gauges which should be less than service limit, if not this is preferred by replacing a new connecting rod. All the connecting rods should be marked to indicate the four cylinders they belong to then, the connecting cap bolts should be removed, however the old connecting cap bolts should be retained for the purpose of the oil clearance exercise. Slowly lift the first connecting rod cap and push the bearing insert out of the cylinder head; the insert must not fall out, and the connecting rod/piston assembly must be pushed out through the top of the engine. Do the same for the other cylinders and then replace the connecting rod caps and bearing inserts; retaining the old ones to avoid loss in case they are needed later. Pistons and connecting rods are finally prepared for inspection and require overhaul. Whenever replacing the piston rings the end gaps need to be inspected and the piston ring side clearance should be set. Position the pistons /connecting rods assemblies and the new rings on checker boards in order to ensure matching before installation. Fit the top ring into the first cylinder and align it as well as possible with the cylinder walls, measure the end gap with the feeler gauges. If it is too small wash with water and if the gap is too narrow filing the ring ends will serve as the best way of widening it. Do this again and again, for each ring; follow the right sequences as well as the orientation in its installation. Just for installation, the cylinder walls must be clean, the edges have to be chamfered and the crankshaft is to be inserted. Remove any dirt from the bearing inserts and set the new ones in the connecting rod and cap, without any lubrication, and make sure they are well positioned. Align the gaps of the piston rings rightly and grease the piston and the rings and its installation may be done with the help of piston ring compressor. Slide in the piston / connecting rod assembly into the cylinder ensuring that the connecting rod is under the crankshaft journal. There should also be a check of connecting rod bearing oil clearance by way of Plastigage and ensure that the width is to the standard prescribed. If the clearance is wrong then cleanliness should be established and the journal diameter can be considered for new bearing inserts. After confirming the clearance, it will be necessary to lubricate the bearing faces, replace the rod cap with new bolts and tighten in accordance with the necessary parameters. This should be repeated for all the assemblies, and it is essential to keep them clean, and oriented in the right directions throughout the stages of the process. Last of all, turn the engine over with the crankshaft to feel for binding and for checking the connecting rod end play; adjust if any new component has been changed.
