My Garage
My Account
Cart
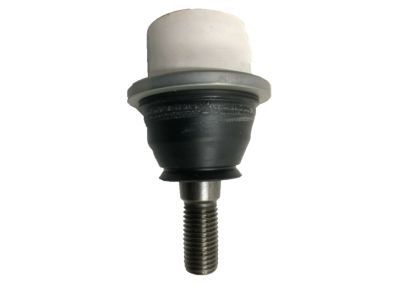
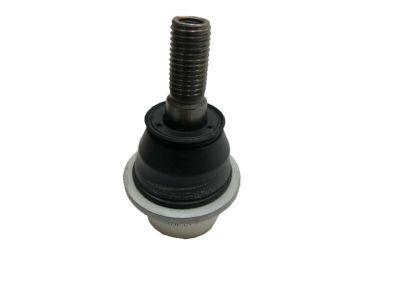
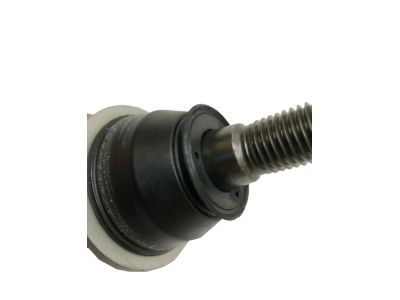
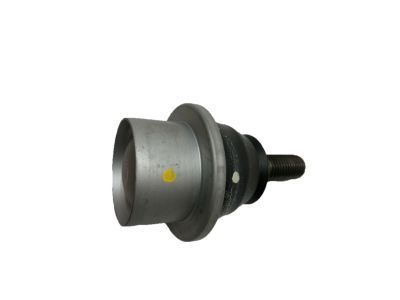
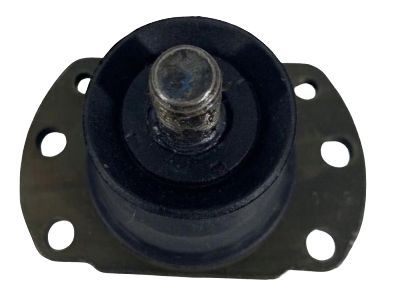
Genuine Oldsmobile Ball Joint
Control Arm Joint- Select Vehicle by Model
- Select Vehicle by VIN
Select Vehicle by Model
orMake
Model
Year
Select Vehicle by VIN
For the most accurate results, select vehicle by your VIN (Vehicle Identification Number).
16 Ball Joints found
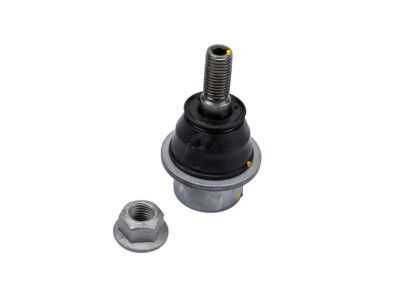
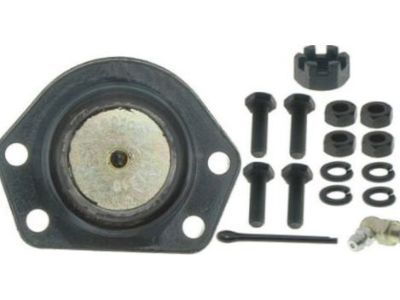
Oldsmobile Stud Kit,Front Lower Control Arm Ball
Part Number: 19133670$52.89 MSRP: $129.61You Save: $76.72 (60%)Ships in 1-2 Business DaysProduct Specifications- Other Name: STUD, Steering Knuckle Lower Control Arm Pivot; Lower Ball Joint
- Position: Front Lower
- Replaces: 22157319
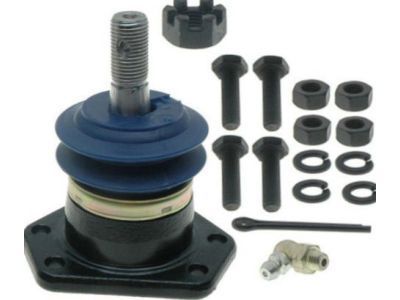
Oldsmobile Joint Kit,Front Upper Control Arm Ball
Part Number: 88911387$32.23 MSRP: $60.81You Save: $28.58 (47%)Ships in 1-3 Business DaysProduct Specifications- Other Name: STUD KIT, Steering Knuckle Upper Control Arm; Ball Joint, Upper Ball Joint
- Position: Front Upper
- Replaced by: 19460397
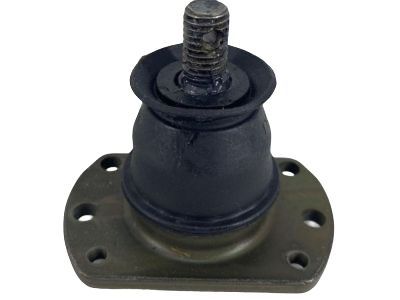
Oldsmobile Stud Kit,Front Lower Control Arm Ball
Part Number: 17989117$44.73 MSRP: $71.33You Save: $26.60 (38%)Ships in 1-3 Business DaysProduct Specifications- Other Name: STUD KIT, Front Wheel Lower Control Arm; Ball Joint, Lower Ball Joint
- Position: Front Lower
Oldsmobile Stud Kit,Front Upper Control Arm Ball
Part Number: 19133638$84.98 MSRP: $146.59You Save: $61.61 (43%)Ships in 1-2 Business DaysProduct Specifications- Other Name: STUD, Steering Knuckle Upper Control Arm; Upper Ball Joint
- Position: Front Upper
- Replaces: 22157320
Oldsmobile Stud Kit,Front Upper Control Arm Ball
Part Number: 19133669$67.57 MSRP: $165.60You Save: $98.03 (60%)Product Specifications- Other Name: STUD KIT, Steering Knuckle Upper Control Arm; Upper Ball Joint
- Position: Front Upper
- Replaces: 17980952
Oldsmobile Stud Kit,Front Lower Control Arm Ball
Part Number: 88965333$48.27 MSRP: $82.54You Save: $34.27 (42%)Ships in 1-2 Business DaysProduct Specifications- Other Name: STUD KIT, Front Wheel Lower Control Arm; Ball Joint, Lower Ball Joint
- Position: Front Lower
- Replaces: 88955451, 22157089
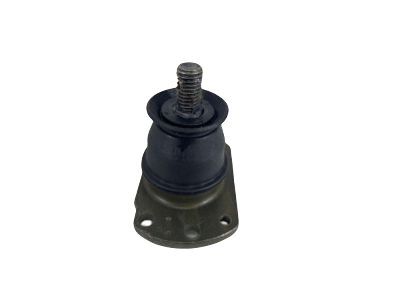
Oldsmobile Ball Joint,Upper Control Arm
Part Number: 9763761$31.90 MSRP: $64.31You Save: $32.41 (51%)Product Specifications- Other Name: BALL JOINT, Steering Knuckle Upper Control Arm; Ball Joint, Upper Ball Joint
- Position: Upper
Oldsmobile Stud Kit,Front Lower Control Arm Ball
Part Number: 88967438$53.01 MSRP: $106.88You Save: $53.87 (51%)Product Specifications- Other Name: STUD, Front Wheel Lower Control Arm; Ball Joint, Lower Ball Joint
- Position: Front Lower
- Replaces: 22157023
Oldsmobile Stud,Front Lower Control Arm Ball
Part Number: 9769579$113.82 MSRP: $229.51You Save: $115.69 (51%)Product Specifications- Other Name: STUD, Front Wheel Lower Control Arm; Ball Joint, Lower Ball Joint
- Position: Front Lower
Oldsmobile Stud Kit,Front Lower Control Arm Ball
Part Number: 88967425$64.90 MSRP: $107.41You Save: $42.51 (40%)Ships in 1-2 Business DaysProduct Specifications- Other Name: STUD KIT, Steering Knuckle Lower Control Arm Pivot; Lower Ball Joint
- Position: Front Lower
- Replaces: 22156908, 17980954
Oldsmobile Ball Joint Kit,Front Lower Control Arm
Part Number: 17988890$44.73 MSRP: $71.33You Save: $26.60 (38%)Ships in 1-3 Business DaysProduct Specifications- Other Name: BALL JOINT KIT, Front Wheel Lower Control Arm; Ball Joint, Lower Ball Joint
- Position: Front Lower
Oldsmobile STUD KIT,FRT LWR CONT ARM BALL
Part Number: 19416895$20.49 MSRP: $50.23You Save: $29.74 (60%)Product Specifications- Other Name: Ball Joint, Lower Ball Joint
- Position: Lower
- Replaces: 09767281, 9767281, 19122185
- Product Specifications
- Other Name: STUD KIT, Front Wheel Lower Control Arm; Ball Joint, Lower Ball Joint
- Position: Front Lower
- Product Specifications
- Other Name: STUD, Front Wheel Lower Control Arm; Ball Joint, Lower Ball Joint
- Position: Front Lower
- Replaces: 22112893
- Product Specifications
- Other Name: STUD KIT, Front Wheel Lower Control Arm; Ball Joint, Lower Ball Joint
- Position: Front Lower
- Product Specifications
- Other Name: BALL JOINT, Front Wheel Lower Control Arm; Ball Joint
- Position: Lower
Oldsmobile Ball Joint
Looking to acquire brand new parts? Consider exploring our extensive inventory of genuine Oldsmobile Ball Joints. Our offering of OEM Oldsmobile Ball Joints not only comes with competitive prices but also includes a manufacturer's warranty. For added convenience, we provide a hassle-free return policy and rapid delivery service. Shop with confidence on our platform.
Oldsmobile Ball Joint Parts Questions & Experts Answers
- Q: How are the Ball Joint on the outer tie-rods and central relay rod connected and How to their removal and installation on Oldsmobile Cutlass?A:The balljoints on the two outer tie-rods and the central relay rod are connected by a tapered ball stud in a tapered hole, secured with a castellated nut and cotter pin. The outer tie-rods are tubular, internally threaded sleeve types, secured to the tie-rod ends with clamps and bolts. To remove the balljoint, raise the front end of the car and remove the ball stud nut; if the tapered studs are wedged in, a gear puller or slotted steel wedges can be used, or a hammer can be applied to one side of the hole in the arm to help squeeze the taper out. Always keep the stud nut on the top of the stud threads to protect them from damage. Measure the length of exposed thread on each tie-rod end for reassembly, release the pinch bolts from the clamps, and unscrew the tie-rod end from the tie-rod sleeve. When installing new tie-rod ends, ensure they are screwed into the sleeves the same amount as the originals. After installation, check the toe-in, paying attention to the position of the clamps if doing it yourself. If the balljoints on the central relay rod are worn, the relay rod must be replaced as an assembly, and the toe-in should be checked afterward. If the idler arm needs removal, disconnect it first at the frame mounting and then at the idler arm end using the same procedure as for other steering linkage joints.
