My Garage
My Account
Cart
Genuine Oldsmobile Cutlass Ball Joint
Control Arm Joint- Select Vehicle by Model
- Select Vehicle by VIN
Select Vehicle by Model
orMake
Model
Year
Select Vehicle by VIN
For the most accurate results, select vehicle by your VIN (Vehicle Identification Number).
6 Ball Joints found
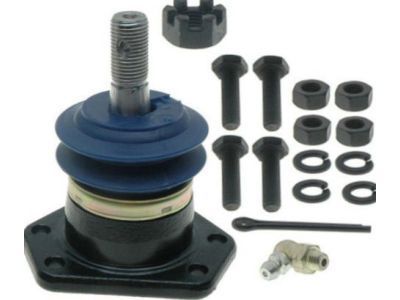
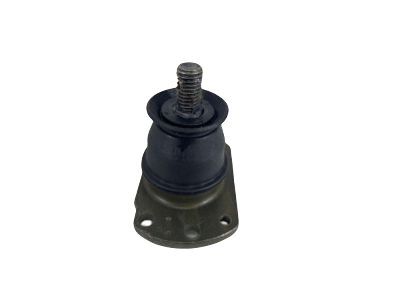
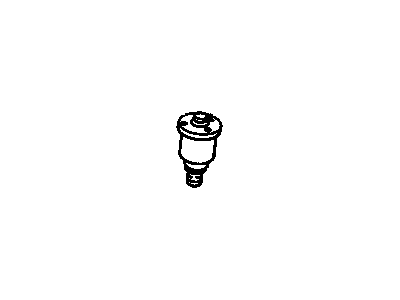
Oldsmobile Cutlass Joint Kit,Front Upper Control Arm Ball
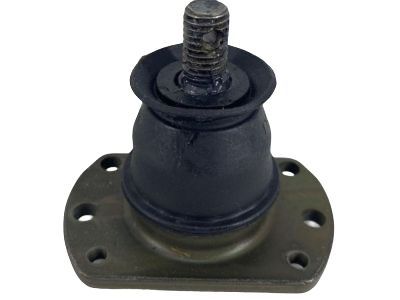
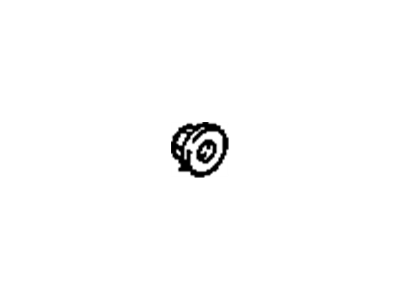
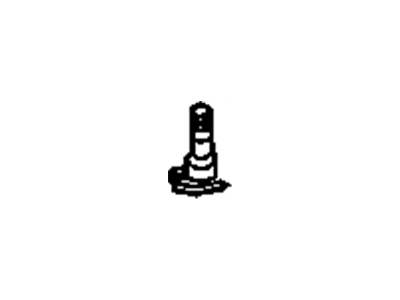
Part Number: 88911387$32.23 MSRP: $60.81You Save: $28.58 (47%)Ships in 1-3 Business DaysOldsmobile Cutlass Stud Kit,Front Lower Control Arm Ball
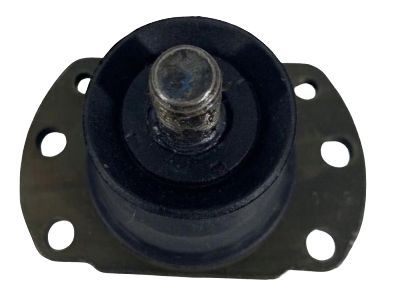
Part Number: 17989117$44.73 MSRP: $71.33You Save: $26.60 (38%)Ships in 1-3 Business DaysOldsmobile Cutlass Stud Kit,Front Lower Control Arm Ball
Part Number: 88967438$53.01 MSRP: $106.88You Save: $53.87 (51%)Oldsmobile Cutlass Ball Joint Kit,Front Lower Control Arm
Part Number: 17988890$44.73 MSRP: $71.33You Save: $26.60 (38%)Ships in 1-3 Business DaysOldsmobile Cutlass STUD KIT,FRT LWR CONT ARM BALL
Part Number: 19416895$20.49 MSRP: $50.23You Save: $29.74 (60%)
Oldsmobile Cutlass Ball Joint
BALL JOINT is an intermediate section that joins the control arms with the steering knuckles in suspension movements and steering action in Oldsmobile Cutlass automobiles. It permits both the vertical and the lateral movements so that it can respond to the nature of the road and action by the driver. Primarily made of steel, Ball Joint consists of bearing stud and socket separated by rubber boot to minimize the access of contaminants and to hold the lubricant. Some of the Oldsmobile Cutlass models may contain load bearing Ball Joints because the manufacturer may classify Ball Joints into two- load bearing and non load bearing Ball Joints. Load-bearing Ball Joints located in rear-wheel drive automobiles bear the weight of the car while non-load-bearing Ball Joints are only used to help keep the wheels aligned without having to bear the weight of the car. Ball Joints like any other part on a vehicle can wear out due to usage and lack of greasing and it may exhibit signs such as noise, misalignment. Suspension upgrades like the Ball Joints can be adjusted because those who modify the suspension systems of their car's need considerable handling and alignment including Oldsmobile Cutlass.
Each OEM Oldsmobile Cutlass Ball Joint we offer is competitively priced and comes with the assurance of the manufacturer's warranty for the part. Furthermore, we guarantee the speedy delivery of your orders right to your doorstep. Our hassle-free return policy is also in place for your peace of mind.
Oldsmobile Cutlass Ball Joint Parts Questions & Experts Answers
- Q: How to replace the upper and lower ball joints on Oldsmobile Cutlass?A:In order to remove the upper ball joint, lift the front wheel of the automobile and later remove the wheel. Second, remove the upper ball stud cotter pin and then loosen ball stud nut one turn only. Pop out the ball stud using a ball joint separator or a tool that is fitting to get the job done and the lower Control Arm should be supported to prevent dropping due to spring pressure. Loosen and take off the upper ball joint stud and set the Steering Knuckle to the side. Place the upper arm in the air and hold it in position with a conveniently placed block of wood. Assess for movement in and out-observe whether there is any lateral play or if the head moves around in the socket; if affirmative then arthroplasty. To remove the rivets kindly use a grinding wheel in order to avoid causing a damage on the control arm or the ball joint seat. While refitting the new ball joint it is fixed on the control arm, then tightened with nuts and bolts with appropriate torque. Loosen at least one of the tension rods, put the car on the elevators to raise the front so that the ball stud collar pin hole is aligned with the length of the vehicle and then remove the wooden block. The ball stud has to be mated to the tapered hole in the steering knuckle, make sure that this hole is free from debris and damage. Fit the stud nut and tighten it to the required torque, then further tighten in order that the cotter pin holes line up and replace the cotter pin with a new one. Install a lubrication nipple and re-grease it as often as prescribed; afterwards, fit the wheel and lower the vehicle. As for the lower ball joint, it is necessary to jack up the front part of the car and then, turning the nut counter clockwise, to remove the ball stud cotter pin. As done to the upper ball joint, you have to press out the ball joint stud. Pry off the lower stud nut by opening it and loosen the knuckle from the bottom of the tire; pull the wheel and tire up at the same time. Raise the upper control arm and take out the wheel and put a wooden block of 2 x 4 inch in between the frame and the control arm. IN some circumstances it may be necessary to loosen or remove the tie-rod from the steering knuckle. Mount the appropriate size of a vise and tubular spacers to press the lower ball joint off from the control arm. If the Bleed vent is located on the new replacement ball joint facing inside the rubber boot then turn the ball stud cotter pin hole to the same direction as the length of the vehicle. Take out the wooden block and be sure that the tapered hole of the steering knuckle is intact and clean, then the ball stud nest into the steering knuckle. Screw the stud nut in place, torque tighten to values indicated then further tighten to align the pin holes for installation of a new cotter pin. Screw a lubrication nipple and put a recommended quantity of grease into it , then install the wheel and turn the tie-rod back in if it was removed; bring the vehicle back to the ground.
