My Garage
My Account
Cart
Genuine Oldsmobile Cutlass Engine Mount
Engine Motor Mount- Select Vehicle by Model
- Select Vehicle by VIN
Select Vehicle by Model
orMake
Model
Year
Select Vehicle by VIN
For the most accurate results, select vehicle by your VIN (Vehicle Identification Number).
60 Engine Mounts found
Oldsmobile Cutlass Bracket, Engine Mount Strut & Engine Lift
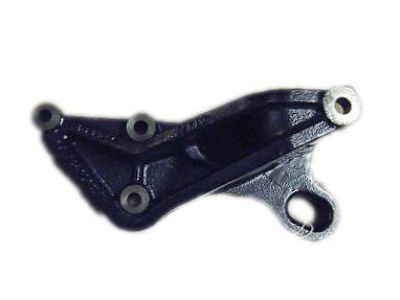
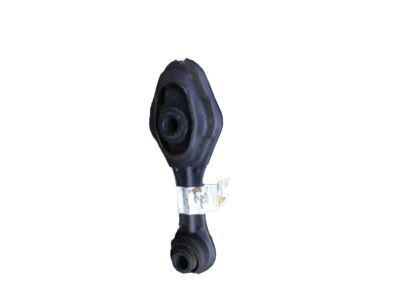
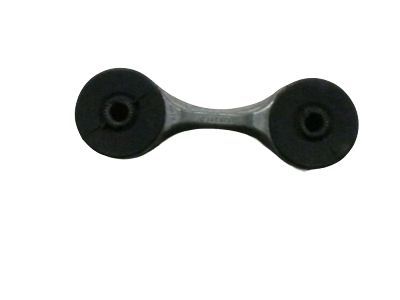
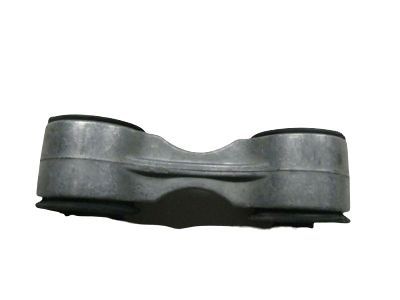
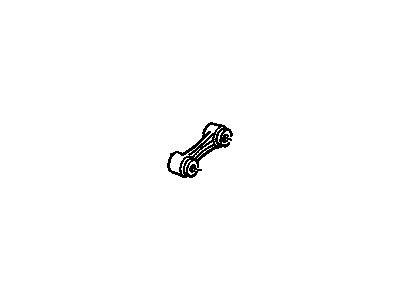
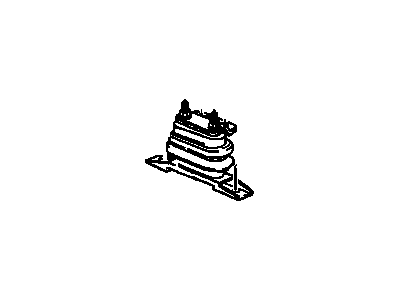
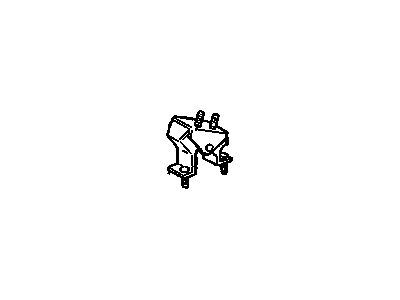
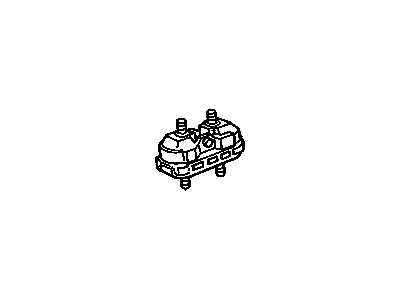
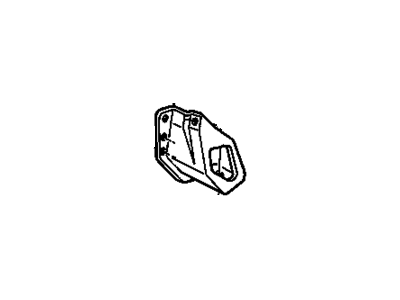
Part Number: 12594433$30.47 MSRP: $61.44You Save: $30.97 (51%)Oldsmobile Cutlass Engine Mount Bracket
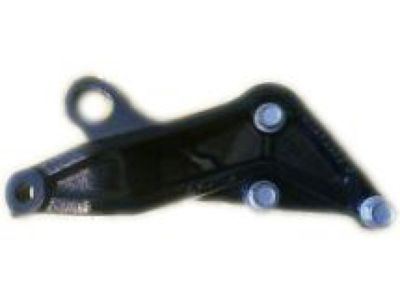
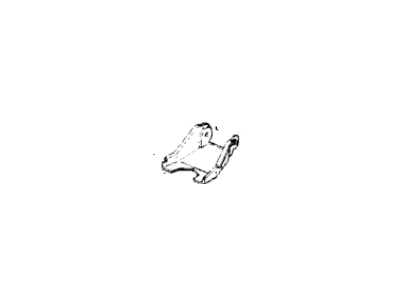
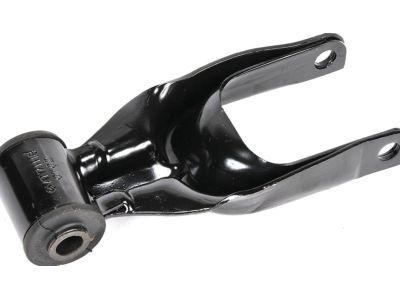
Part Number: 24504187$46.61 MSRP: $77.14You Save: $30.53 (40%)Ships in 1-2 Business DaysOldsmobile Cutlass Mount Assembly, Engine *White
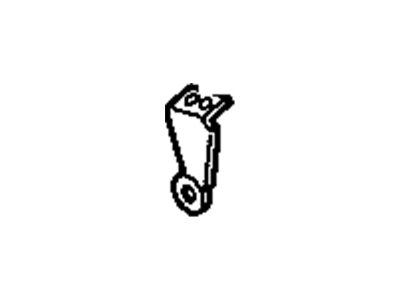
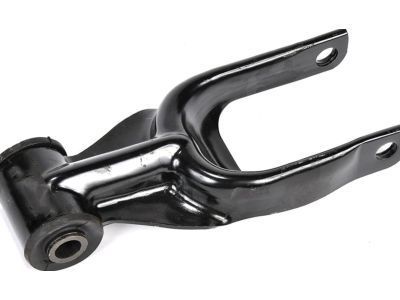
Part Number: 10448575$69.31 MSRP: $118.53You Save: $49.22 (42%)Ships in 1-3 Business DaysOldsmobile Cutlass Strut Assembly, Engine Mount *Orange
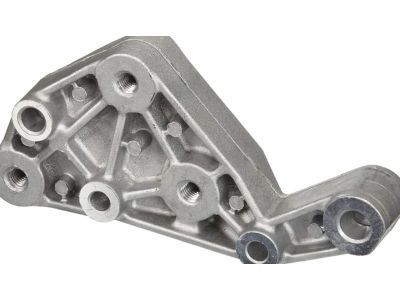
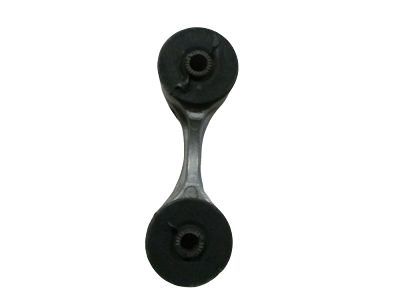
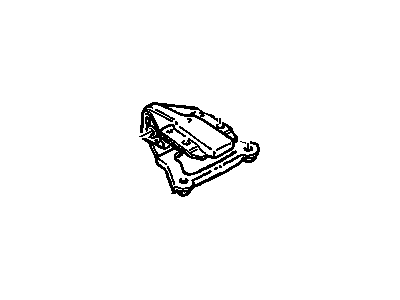
Part Number: 22145939$15.12 MSRP: $50.58You Save: $35.46 (71%)Ships in 1-2 Business DaysOldsmobile Cutlass Strut,Engine Mount
Part Number: 22188174$32.79 MSRP: $100.52You Save: $67.73 (68%)Ships in 1-2 Business DaysOldsmobile Cutlass Bracket, Engine Mount Strut
Part Number: 10110480$24.65 MSRP: $44.33You Save: $19.68 (45%)Oldsmobile Cutlass Bracket, Engine Mount Strut
Part Number: 10114751$13.05 MSRP: $17.11You Save: $4.06 (24%)Oldsmobile Cutlass Strut,Engine Mount
Part Number: 14077778$49.86 MSRP: $100.52You Save: $50.66 (51%)Oldsmobile Cutlass Strut Assembly, Engine Mount *Yellow
Part Number: 22112737$49.86 MSRP: $100.52You Save: $50.66 (51%)Oldsmobile Cutlass Bracket, Torque Reaction Rod
Part Number: 10066638$93.77 MSRP: $189.12You Save: $95.35 (51%)Oldsmobile Cutlass F, Brace
Part Number: 14094489$13.05 MSRP: $18.75You Save: $5.70 (31%)Ships in 1-2 Business DaysOldsmobile Cutlass Bracket, Engine Mount Strut
Part Number: 10232891$137.10 MSRP: $195.31You Save: $58.21 (30%)Ships in 1-2 Business DaysOldsmobile Cutlass Engine Mount
Part Number: 22657322$107.94 MSRP: $168.30You Save: $60.36 (36%)Ships in 1-2 Business Days
| Page 1 of 3 |Next >
1-20 of 60 Results
Oldsmobile Cutlass Engine Mount
Each OEM Oldsmobile Cutlass Engine Mount we offer is competitively priced and comes with the assurance of the manufacturer's warranty for the part. Furthermore, we guarantee the speedy delivery of your orders right to your doorstep. Our hassle-free return policy is also in place for your peace of mind.
Oldsmobile Cutlass Engine Mount Parts Questions & Experts Answers
- Q: How to inspect and replace the front and rear engine mounts in V6 engine on Oldsmobile Cutlass?A:To inspect the front mount, raise the engine slightly to create tension on the rubber mount using a hoist or jack placed under the forward edge of the oil pan, and check for heat cracks on the hard rubber surface, rubber separating from the metal plate, or splits through the center. For the rear mount, elevate the vehicle and push up and down on the transmission tailshaft while observing the mount; if the rubber separates from the metal plate or the tailshaft moves excessively, replace the mount. If there is movement between the mount's metal plate and the attachment point, tighten the bolts or screws. To replace the front mount, relieve tension by raising the engine slightly, then remove the engine mount-to-engine block bolts and the through-bolt before taking out the mount. Install the new mount with through-bolts and nuts, followed by the engine mount-to-engine block bolts, ensuring they are torqued to specifications. For the rear mount replacement, raise the engine to relieve weight, remove the bolts attaching the crossmember to the mount, and then take out the mount-to-transmission bolts before removing the engine mount. Finally, install the new mount on the transmission, aligning and starting the crossmember-to-mount bolts while lowering the transmission onto the mount, and torque-tighten the bolts.
Related Oldsmobile Cutlass Parts
Browse by Year
1999 Engine Mount 1998 Engine Mount 1997 Engine Mount 1996 Engine Mount 1995 Engine Mount 1994 Engine Mount 1993 Engine Mount 1992 Engine Mount 1991 Engine Mount 1990 Engine Mount 1989 Engine Mount 1988 Engine Mount 1987 Engine Mount 1986 Engine Mount 1985 Engine Mount 1984 Engine Mount 1983 Engine Mount 1982 Engine Mount
