My Garage
My Account
Cart
Genuine Oldsmobile Water Pump
H2O Pump- Select Vehicle by Model
- Select Vehicle by VIN
Select Vehicle by Model
orMake
Model
Year
Select Vehicle by VIN
For the most accurate results, select vehicle by your VIN (Vehicle Identification Number).
28 Water Pumps found
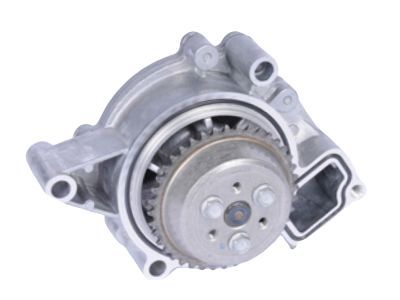
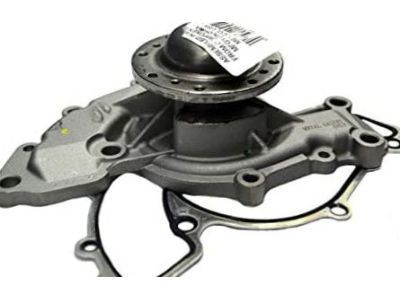
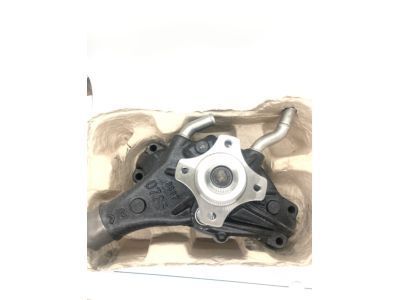
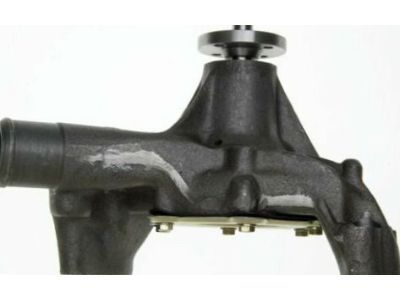
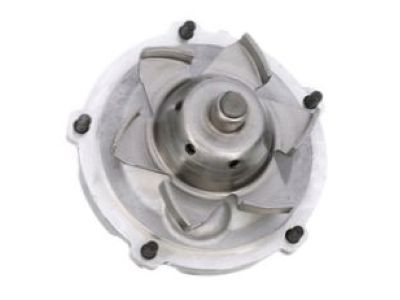
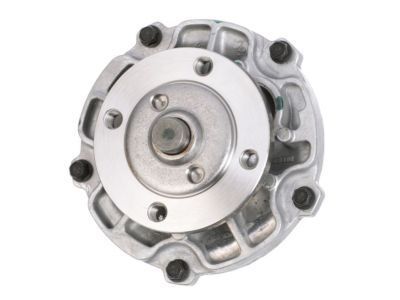
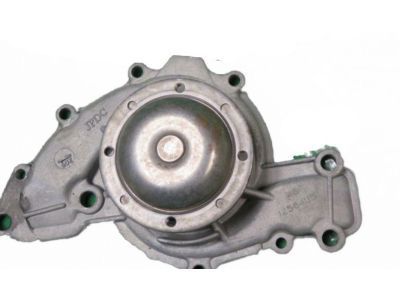
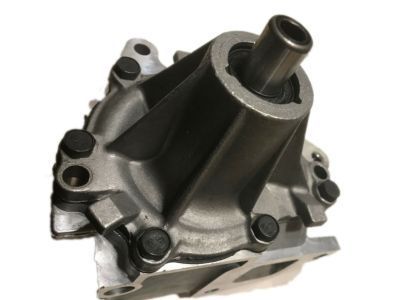
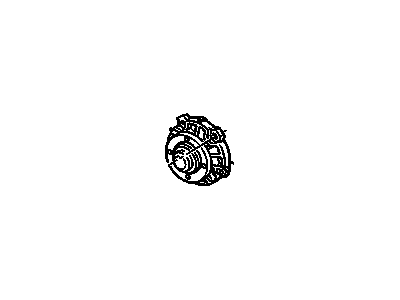
Oldsmobile Water Pump Assembly
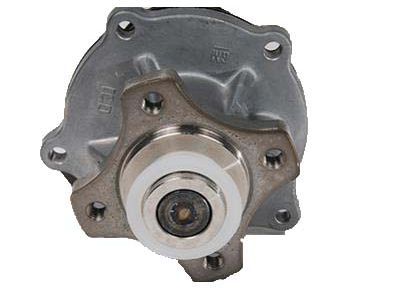
Part Number: 12630084$202.40 MSRP: $394.54You Save: $192.14 (49%)Ships in 1-3 Business DaysProduct Specifications- Other Name: Pump Assembly, Water ; Pump, Engine Coolant; Water Pump
- Replaces: 12585226, 12591894, 12624936, 19181920, 24467301, 24439798
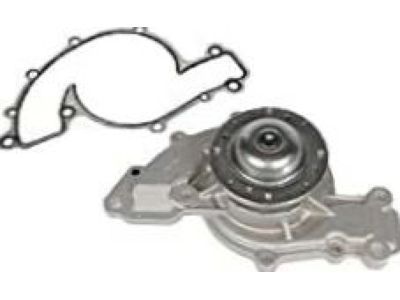
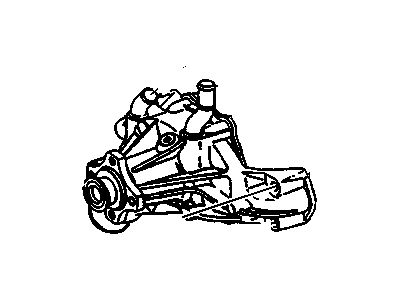
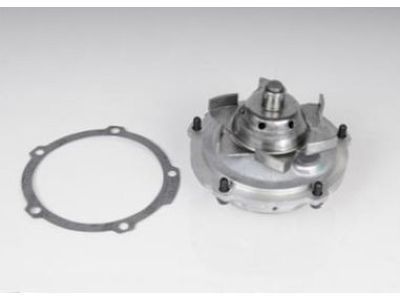
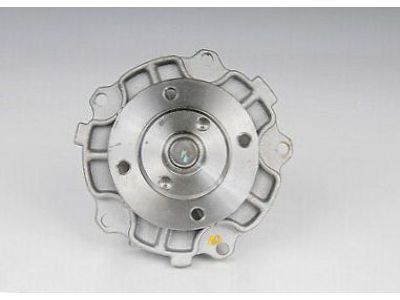
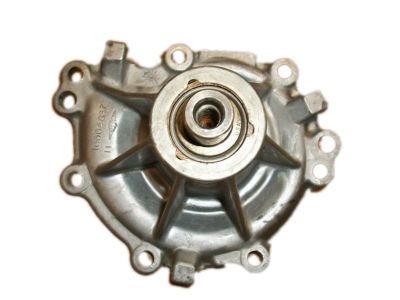
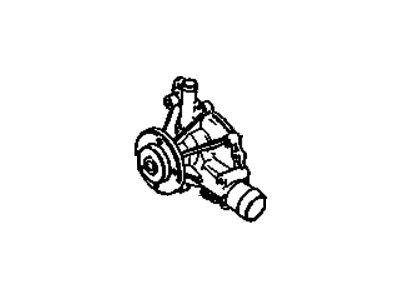
Oldsmobile Engine Coolant Pump Kit
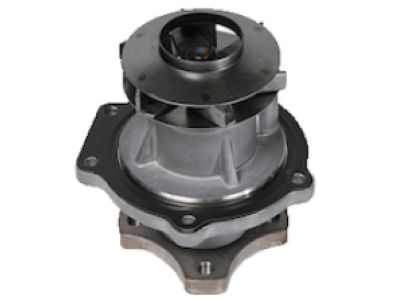
Part Number: 19209288$131.16 MSRP: $255.64You Save: $124.48 (49%)Ships in 1-2 Business DaysProduct Specifications- Other Name: Pump Kit,Water; Fan Blade, Water Pump, Water Pump Assembly
- Replaces: 89017813, 89060462, 12482903, 12537829, 89018214
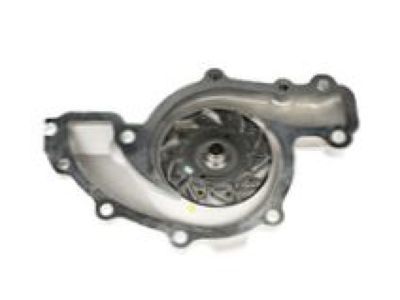
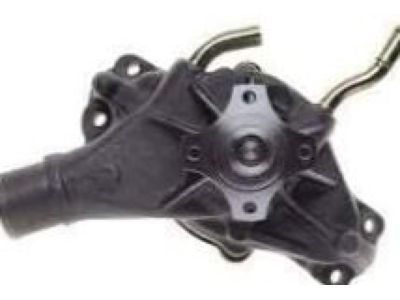
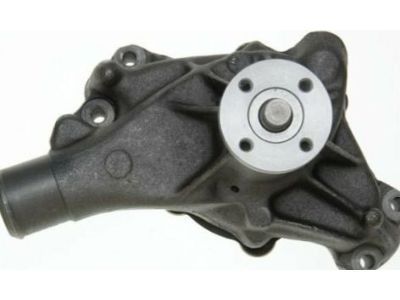
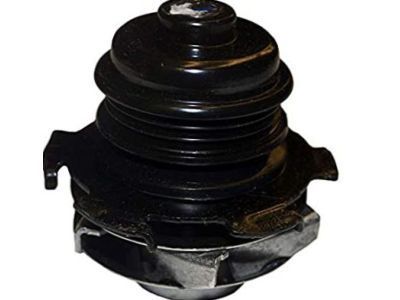
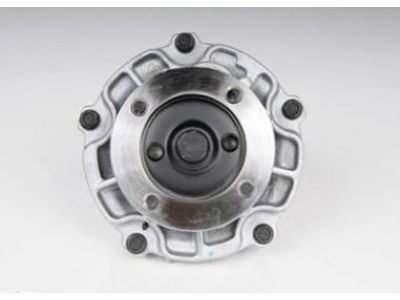
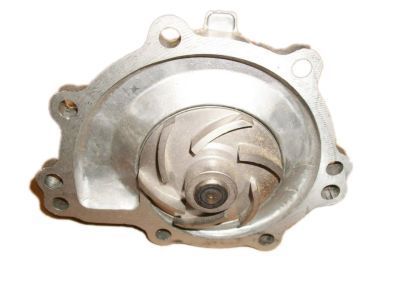
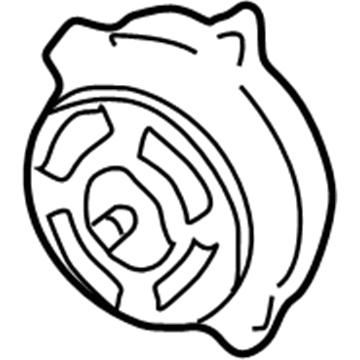
Oldsmobile Engine Coolant Pump Kit
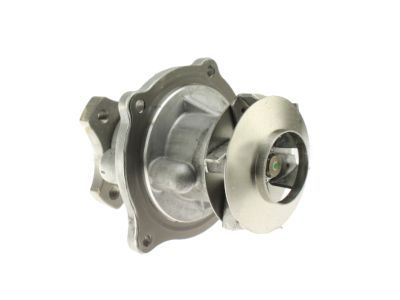
Part Number: 89060527$233.97 MSRP: $456.07You Save: $222.10 (49%)Ships in 1-3 Business DaysProduct Specifications- Other Name: Pump Kit,Water; Water Pump, Water Pump Assembly
- Replaces: 12528917, 89017748, 12532528
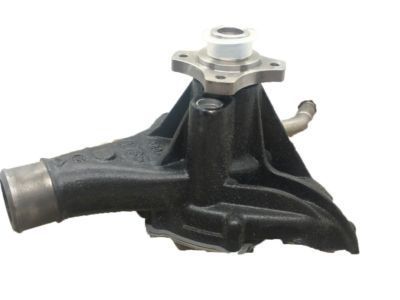
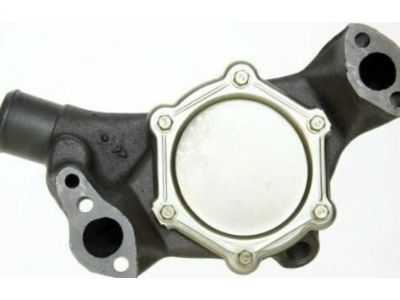
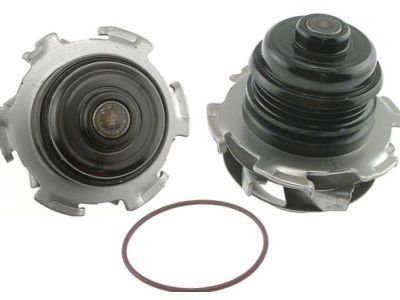
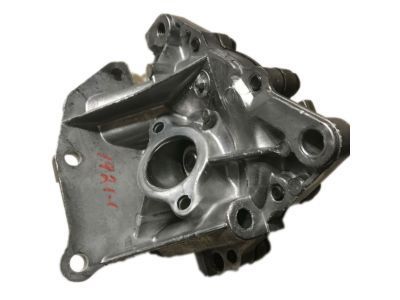
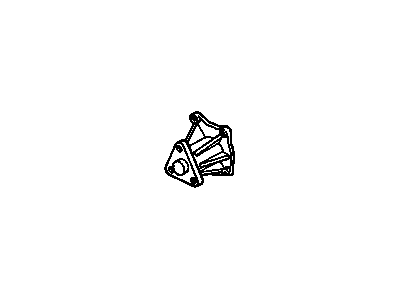
Oldsmobile Water Pump Kit
Part Number: 19417097$137.69 MSRP: $268.39You Save: $130.70 (49%)Ships in 1-2 Business DaysProduct Specifications- Other Name: Pump Kit,Wat; Water Pump, Water Pump Assembly
- Replaces: 19201601, 88894005, 12532531, 12532529, 12369487
Oldsmobile Engine Coolant Pump Kit
Part Number: 19210509$85.25 MSRP: $166.18You Save: $80.93 (49%)Ships in 1-2 Business DaysProduct Specifications- Other Name: Pump Kit,Water ; Pump Kit, Engine Coolant; Water Pump, Water Pump Assembly
- Replaces: 12487361, 88894344, 07490007, 12529993, 12365639, 7490007, 89017900, 89017467
Oldsmobile Water Pump Kit
Part Number: 89017269$132.31 MSRP: $257.90You Save: $125.59 (49%)Ships in 1-2 Business DaysProduct Specifications- Other Name: Pump Kit,Water; Water Pump, Water Pump Assembly
- Product Specifications
- Other Name: Pump Kit,Water; Water Pump
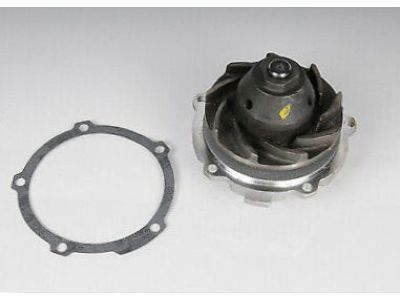
Oldsmobile Engine Coolant Pump (W/Gasket & Bolts)
Part Number: 12537495$33.09 MSRP: $179.32You Save: $146.23 (82%)Ships in 1-2 Business DaysProduct Specifications- Other Name: Pump Kit, Water (W/Gasket & Bolts); Water Pump, Water Pump Assembly
- Replaces: 12537892, 12536421
Oldsmobile Water Pump Kit
Part Number: 12482919$70.63 MSRP: $133.27You Save: $62.64 (47%)Ships in 1-3 Business DaysProduct Specifications- Other Name: Pump Kit,Water; Water Pump, Water Pump Assembly
- Replaces: 12537417, 12537135
Oldsmobile Engine Coolant Pump Kit
Part Number: 12491038$94.23 MSRP: $230.74You Save: $136.51 (60%)Ships in 1-2 Business DaysProduct Specifications- Other Name: Pump Kit,Water ; Pump Kit, Engine Coolant; Water Pump, Water Pump Assembly
- Replaces: 12458920, 10181327
Oldsmobile Engine Coolant Pump Kit
Part Number: 12508606$18.48 MSRP: $129.37You Save: $110.89 (86%)Ships in 1-2 Business DaysProduct Specifications- Other Name: Pump Kit,Water ; Pump Kit, Engine Coolant; Water Pump, Water Pump Assembly
- Product Specifications
- Other Name: Pump,Water; Water Pump
- Replaces: 24576952
- Product Specifications
- Other Name: Pump Kit,Water
- Replaces: 12360448
- Product Specifications
- Other Name: Pump,Water; Water Pump, Water Pump Assembly
- Product Specifications
- Other Name: Pump Kit,Water ; Pump Kit, Engine Coolant; Pump, Water Pump
- Product Specifications
- Other Name: Pump Kit,Water; Pump, Water Pump
- Product Specifications
- Other Name: Pump Kit,Water; Pump, Water Pump, Water Pump Assembly
- Product Specifications
- Other Name: Pump Kit, Water ; Pump, Engine Coolant; Water Pump, Water Pump Assembly
- Product Specifications
- Other Name: Pump Kit,Water; Water Pump Assembly
- Product Specifications
- Other Name: Pump Kit,Water; Water Pump, Water Pump Assembly
- Replaces: 12363169, 12518443
| Page 1 of 2 |Next >
1-20 of 28 Results
Oldsmobile Water Pump
Looking to acquire brand new parts? Consider exploring our extensive inventory of genuine Oldsmobile Water Pumps. Our offering of OEM Oldsmobile Water Pumps not only comes with competitive prices but also includes a manufacturer's warranty. For added convenience, we provide a hassle-free return policy and rapid delivery service. Shop with confidence on our platform.
Oldsmobile Water Pump Parts Questions & Experts Answers
- Q: How to remove and install a water pump on Oldsmobile Cutlass?A:Disconnect the negative battery cable. Drain the radiator. Reaching inside the radiator shroud, remove the bolts which secure the fan to the water pump hub. Remove the fan and spacer(if equipped). A thermostatic fan clutch must remain in the "in car"osition. If equipped with a two-piece radiator shroud, remove the upper half of the shroud for better access to the water pump. It is now necessary to loosen and remove all drivebelts from the water pump pulley. The number of belts will depend upon model, year.and equipment Loosen the adjusting and pivot bolts of each affected component (air pump, alternator, air conditioning compressor) and push the component inward to loosen the belt enough to be removed from the water pump pulley. Disconnect and remove all mounting brackets which are attached to the water pump. These may include on late model vehicles the alternator, air conditioning compressor, and power steering brackets. Disconnect the lower radiator hose, heater hose, and bypass hose at the water pump. Remove the remaining bolts which secure the water pump to the front cover of the engine. Lift the water pump housing straight out of the front cover and then away from the engine. If installing a new or rebuilt water pump, transfer all fittings and studs to the new water pump (If a replacement pump is used, transfer all hose fittings from the old pump to the new). Clean the gasket surfaces of the front cover completely using a gasket scraper or putty knife. Use a thin coat of gasket sealant on the new gaskets and install the new water pump. Place the pump into position on the front cover and secure loosely with the bolts. Do not torque-tighten these bolts until all brackets have been installed to their original position on the water pump. Tighten all water pump bolts to torque specifications. Install the engine components in the reverse order or removal,tightening the appropriate fasteners to torque specifications. Adjust all drivebelts to the proper tension. Connect the negative battery cable and fill the radiator with a mixture of ethylene glycol antifreeze and water in a 50/50 mixture. Start the engine and allow to idle until the upper radiator hose gets hot. Check for leaks. With engine hot, fill with more coolant mixture until the level is at the bottom of the filler neck. Install radiator cap and check coolant level periodically over the next few miles of driving.
