My Garage
My Account
Cart
Genuine Pontiac Fiero Ignition Coil
Ignition Coil Resistor- Select Vehicle by Model
- Select Vehicle by VIN
Select Vehicle by Model
orMake
Model
Year
Select Vehicle by VIN
For the most accurate results, select vehicle by your VIN (Vehicle Identification Number).
4 Ignition Coils found
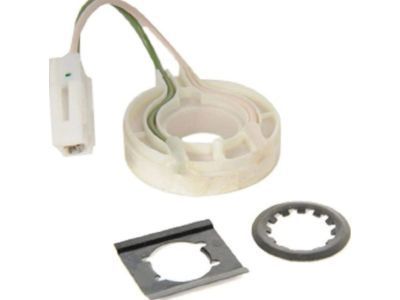
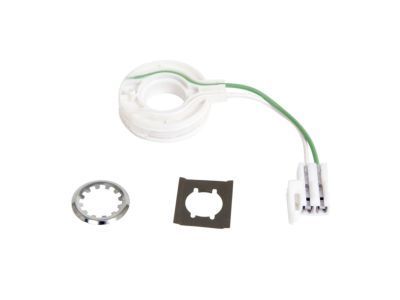
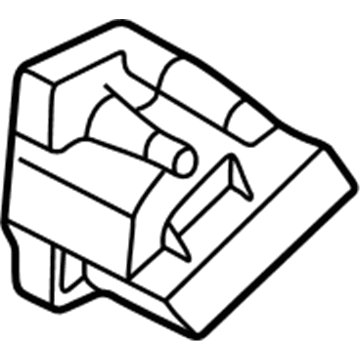
Pontiac Fiero Distributor Ignition Pickup
Part Number: 10495089$26.24 MSRP: $52.22You Save: $25.98 (50%)Pontiac Fiero COIL ASM,IGN
Part Number: 19418991$52.18 MSRP: $107.70You Save: $55.52 (52%)Ships in 1 Business DayPontiac Fiero COIL KIT,IGN
Part Number: 19418995$41.50 MSRP: $114.58You Save: $73.08 (64%)Ships in 1-2 Business Days
Pontiac Fiero Ignition Coil
The Ignition Coil which is applied in Pontiac Fiero vehicles helps in the ignition system by turning the low voltage from the battery to the high voltage that are used in the ignition of the air/fuel mixture within cylinders. This comprises the primary and secondary winding that is always wound on an iron core which is enclosed in plastic epoxies. Dispersing voltage on the spark plugs, the methods are known as the distributor ignition system, the coil-on plug ignition system and also the wasted spark ignition system. An ignition coil malfunction can normally cause a no starts or rough running vehicle, poor performance and fuel economy. Preventive maintenance and observation plays a very important factor in the efficient running of the engine and in avoiding future complications.
Each OEM Pontiac Fiero Ignition Coil we offer is competitively priced and comes with the assurance of the manufacturer's warranty for the part. Furthermore, we guarantee the speedy delivery of your orders right to your doorstep. Our hassle-free return policy is also in place for your peace of mind.
Pontiac Fiero Ignition Coil Parts Questions & Experts Answers
- Q: How to remove and install an ignition coil on Pontiac Fiero?A:Disconnect the cable from the negative terminal of the battery. Unplug the coil high tension wire and both electrical leads from the coil. Remove both mounting nuts and remove the coil from the engine. Check the coil for opens and grounds by performing the following three tests with an ohmmeter. These three resistance checks will determine whether your separately mounted coil is good or bad. Using the ohmmeter's high scale, hook up the ohmmeter leads as shown. The ohmmeter should indicate a very high, or infinite, resistance value. If it doesn't, replace the coil. Using the low scale, hook up the leads as shown. The ohmmeter should indicate a very low, or zero resistance value. If it doesn't, replace the coil. Using the high scale, hook up the leads. The ohmmeter should not indicate an infinite resistance. If it does, replace the coil. Installation of the new or old coil is the reverse of the removal procedure. Remove the distributor. Turn the four latches and remove the cap and coil assembly from the lower housing. Connect an ohmmeter to both terminals of the cap coil assembly. The reading should be zero, or nearly zero. If it isn't, replace the coil. Connect the ohmmeter between each of the terminals of the coil assembly and the center contact of the cap. Use the high scale on the ohmmeter. Replace the coil only if both readings are infinite. Remove the coil cover attaching screws and lift off the cover. Remove the ignition coil mounting screws and lift the coil; with the leads, from the cap. Remove the ignition coil arc seal. Clean with a soft cloth and inspect the cap for defects. Replace if necessary. Assemble the new coil and cover in the cap. Install the distributor cap. Install the distributor in the engine.
