My Garage
My Account
Cart
Genuine Pontiac Fiero Engine Mount
Engine Motor Mount- Select Vehicle by Model
- Select Vehicle by VIN
Select Vehicle by Model
orMake
Model
Year
Select Vehicle by VIN
For the most accurate results, select vehicle by your VIN (Vehicle Identification Number).
7 Engine Mounts found
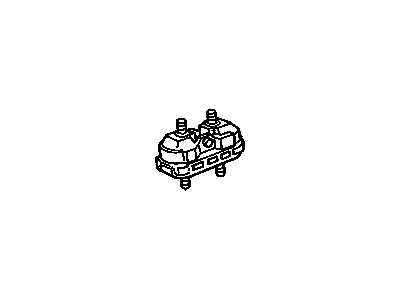
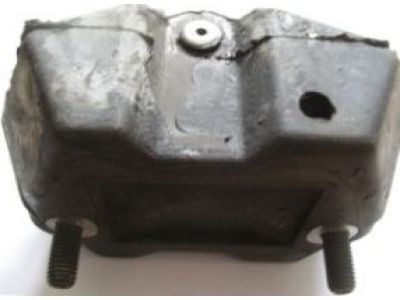
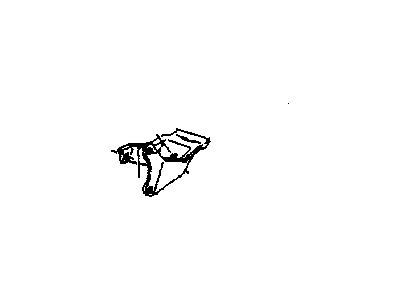
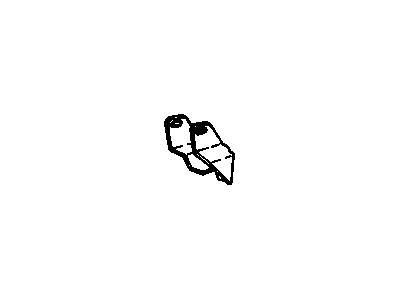
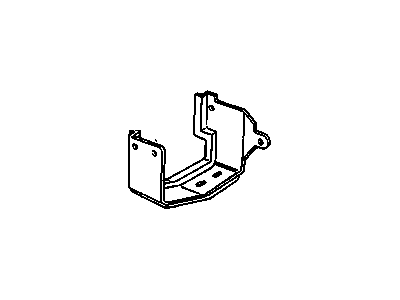
Pontiac Fiero Mount,Engine
Part Number: 17983984$242.44 MSRP: $383.18You Save: $140.74 (37%)Ships in 1-2 Business Days
Pontiac Fiero Engine Mount
Each OEM Pontiac Fiero Engine Mount we offer is competitively priced and comes with the assurance of the manufacturer's warranty for the part. Furthermore, we guarantee the speedy delivery of your orders right to your doorstep. Our hassle-free return policy is also in place for your peace of mind.
Pontiac Fiero Engine Mount Parts Questions & Experts Answers
- Q: Are the Engine Mount and transaxle mount non-adjustable and typically requiring service in V6 engine on Pontiac Fiero?A:The engine and transaxle mounts are rigidly attached and cannot be adjusted or ordinarily serviced, but they may wear out eventually. Broken or split mounts should be replaced as soon as possible because if not, the other mounts and the driveline components are further stressed causing damage other than a split mount. To check the status of the mounts, lift the engine with a floor jack and place a block of wood under the oil pan, to have the mount rubber in a small degree of tension. The signs of wear are therefore a hard rubber like surface compound which has heat checked, or the composite has separated from the metal back plate or split right through the centre. Start by removing the engine compartment lid, side cover panels which do not affect the position of the torsion rod retaining bolts; then Torque reaction strut bolt followed by lifting the vehicle on jack stands. Either by hoist or jack, raise the engine in an upward motion until the new mount is placed in position, thereafter, tightening the engine mount to cradle nuts and engine mount to bracket nuts to the recommended torque before lowering the vehicle. Following tightening of the torque reaction strut bolt, check the alignment of the transaxle mounts and align as needed to prevent the failure of a number of drivetrain components. For torque reaction strut, unbolt the strut to engine bracket as well as strut to chaise bolt and install the new rake tightening the bolts to the recommended torque. For the front transaxle mount, remove the mount to cradle nuts and support bracket, then support the engine and transaxle, then fit the new mount and tighten the necessary nuts. Last but not the least; for the rear transaxle mount, it requires support for the engine, removal of mount-to-cradle, as well as support bracket nuts, positioning of the new mount, and final and other related tightenings wherein after that lower the vehicle and replace the engine compartment lid and side cover panels.
