My Garage
My Account
Cart
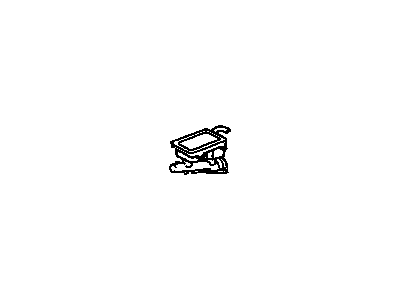
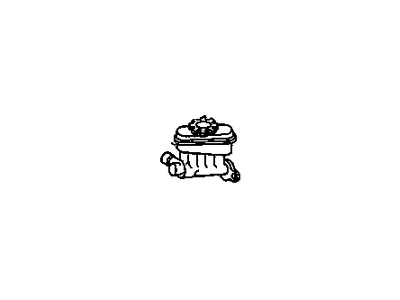
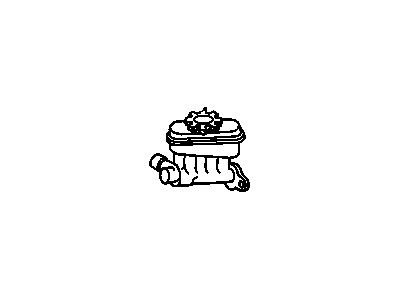
Genuine Pontiac Firebird Brake Master Cylinder
- Select Vehicle by Model
- Select Vehicle by VIN
Select Vehicle by Model
orMake
Model
Year
Select Vehicle by VIN
For the most accurate results, select vehicle by your VIN (Vehicle Identification Number).
7 Brake Master Cylinders found
Pontiac Firebird Brake Master Cylinder
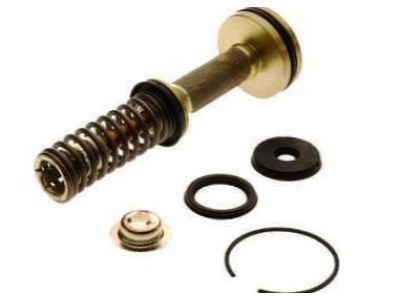
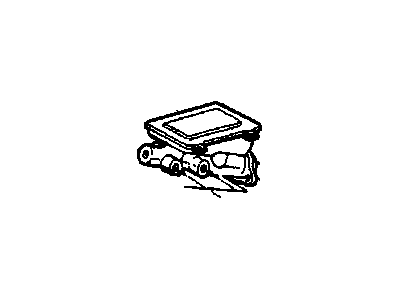
The Brake Master Cylinder is a very important part of the brake system in Pontiac Firebird where it helps in translating the pressure exerted by the driver's foot to hydraulic pressure. It can be said that it uses hydraulic system where pistons located in a cast iron or aluminum body compress brake fluid and through slave cylinders it applies pressure to the brake pads on rotors or drums to stop the vehicle. Currently, all Pontiac Firebird models employ the dual circuit master cylinder which was introduced in 1967, this means that there are two pistons to help prevent an accident in the event of hydraulic failure. It can have an integrated reservoir or a nylon or plastic external reservoir and the latter is used more often. The differences between the two styles are mainly in the construction and the way it is attached to the reservoir which determines the ease of maintenance and possible leakages. In conclusion, the Brake Master Cylinder is crucial for the proper and secure functioning of the braking system of the Pontiac Firebird.
Each OEM Pontiac Firebird Brake Master Cylinder we offer is competitively priced and comes with the assurance of the manufacturer's warranty for the part. Furthermore, we guarantee the speedy delivery of your orders right to your doorstep. Our hassle-free return policy is also in place for your peace of mind.
Pontiac Firebird Brake Master Cylinder Parts Questions & Experts Answers
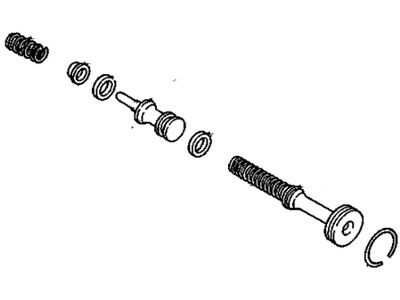
- Q: What steps should be taken before beginning the brake master cylinder overhaul procedure on Pontiac Firebird?A:The first thing to consider is that you should buy a brake master cylinder overhaul kit, which will contain all the replaceable parts important for fluid, especially rubber seal that are used in the operation of this part. Make sure that these parts are properly fixed in place and the correct way around without coming in contact with grease or any mineral based solvent. Recent the brake fluid area of the car and particularly the front fender and cowling section. Remove the brake line connections and put some rag or newspaper beneath the brake master cylinder to soak any dripping fluid. Take out the two mounting nuts, slightly adjust the bracket which retains the combination valve without the need of bending the hydraulic lines and take out the brake master cylinder. Most if not all the fluid in the reservoir should be emptied before lifting the cover along with the diaphragm, but get hold of the primary piston and pull down and remove the lock ring to get the primary piston assembly out gently. Do the same thing for the so-called 'secondary piston assembly'. Mount the brake master cylinder in a vise, as shown, and detach the reservoir from the cylinder body without dissecting the built-in non-serviceable quick take-up valve. Take out the reservoir rubber grommets and examine the cylinder bore for rust and or damage and replace the brake master cylinder body if any. Coat new grommets with silicone brake lube, fully insert them on its respective holes, and put brake master cylinder body to the reservoir with a rocking motion. Remove old seals on the secondary piston assembly and place new ones the cups of which should face outwards before fittings the spring retainer. Clean brake fluid should be used to lubricate the cylinder bore, before you put back the spring and the second piston. Remove the primary piston assembly, grease the new seal, and fit it with the lips turned away from the piston and fit this primary piston assembly into the bore and lock into place using the lock ring. Check up for any cracks or other defects in the hydraulic reservoir cover as well as the diaphragm and repair any of them that are defective. When the brake master cylinder is removed the hydraulic system needs to be bled, this may be done by filling and bench bleeding the brake master cylinder before fitting it. Thread the plugs into the outlet holes, then fill the two reservoirs with brake fluid, then unscrew a single plug while pressing the piston assembly to release the air inside; after which, screw the plug back in before the release of the piston. Gently tap the piston on each of the outlets to ensure that all the air is removed, refill the reservoirs, place the diaphragm and cover back in place but fill only up to the level of the divider as this is the maximum limit of filling. Last, re-fit the brake master cylinder, in the same way as it was removed with bleeding performed at the wheel bleed valves.
Related Pontiac Firebird Parts
Browse by Year
2002 Brake Master Cylinder 2001 Brake Master Cylinder 2000 Brake Master Cylinder 1999 Brake Master Cylinder 1998 Brake Master Cylinder 1997 Brake Master Cylinder 1996 Brake Master Cylinder 1995 Brake Master Cylinder 1994 Brake Master Cylinder 1993 Brake Master Cylinder 1992 Brake Master Cylinder 1991 Brake Master Cylinder 1990 Brake Master Cylinder 1989 Brake Master Cylinder 1988 Brake Master Cylinder 1984 Brake Master Cylinder 1983 Brake Master Cylinder 1982 Brake Master Cylinder
