My Garage
My Account
Cart
Genuine Pontiac G6 Cam Gear
Camshaft Gear- Select Vehicle by Model
- Select Vehicle by VIN
Select Vehicle by Model
orMake
Model
Year
Select Vehicle by VIN
For the most accurate results, select vehicle by your VIN (Vehicle Identification Number).
7 Cam Gears found
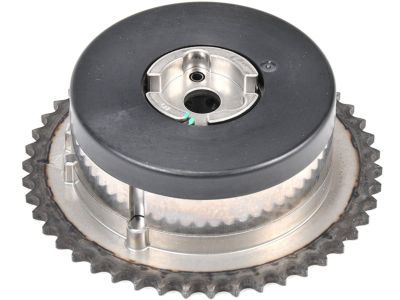
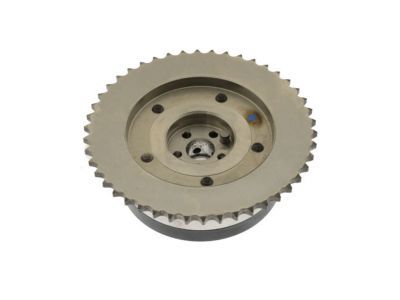
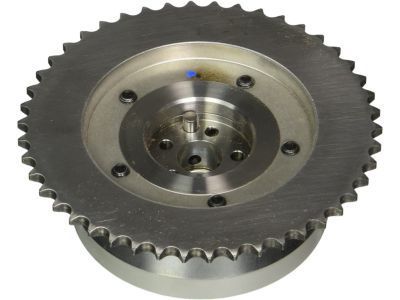
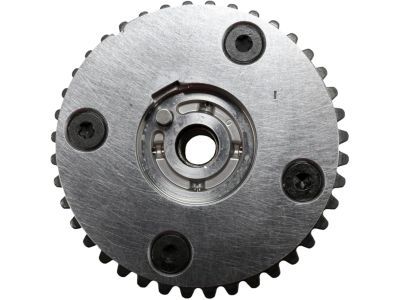
Pontiac G6 Actuator, Camshaft Position
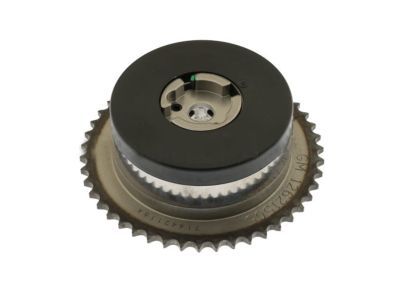
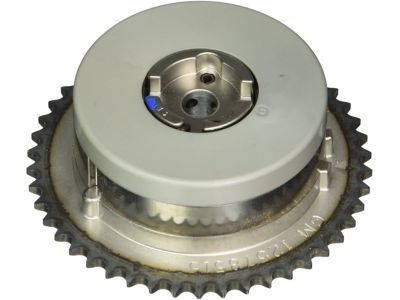
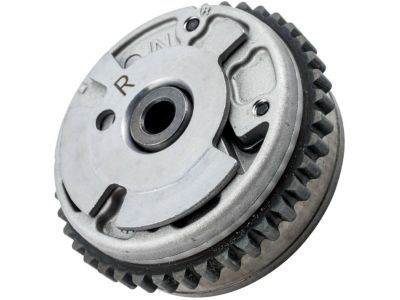
Part Number: 12621505$127.70 MSRP: $218.38You Save: $90.68 (42%)Pontiac G6 Actuator, Camshaft Position (Intake)
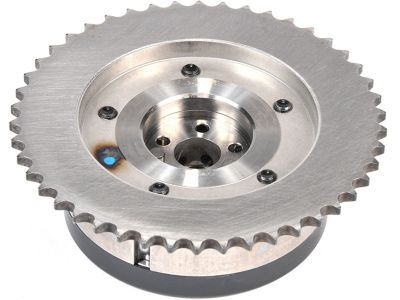
Part Number: 12578515$108.03 MSRP: $261.58You Save: $153.55 (59%)Ships in 1-2 Business DaysPontiac G6 Actuator Assembly, Camshaft Position
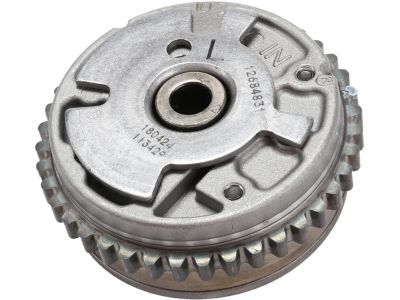
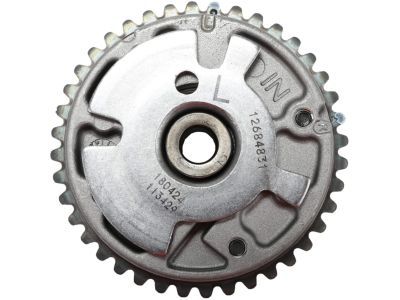
Part Number: 12684831$98.25 MSRP: $169.49You Save: $71.24 (43%)Ships in 1-3 Business DaysPontiac G6 Actuator Assembly, Camshaft Position
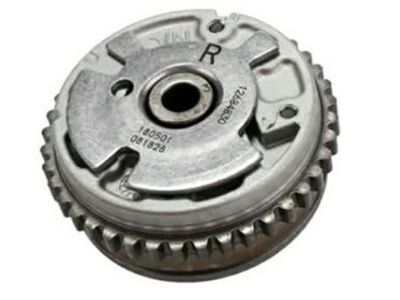
Part Number: 12684830$105.80 MSRP: $182.51You Save: $76.71 (43%)Ships in 1-3 Business DaysPontiac G6 Actuator Assembly, Camshaft Position
Part Number: 12665857$108.23 MSRP: $185.07You Save: $76.84 (42%)Ships in 1-2 Business DaysPontiac G6 Actuator Assembly, Camshaft Position
Part Number: 12622611$329.69 MSRP: $545.67You Save: $215.98 (40%)Ships in 1-2 Business Days
Pontiac G6 Cam Gear
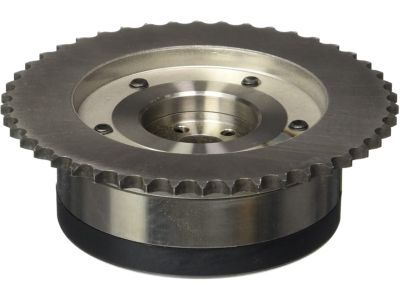
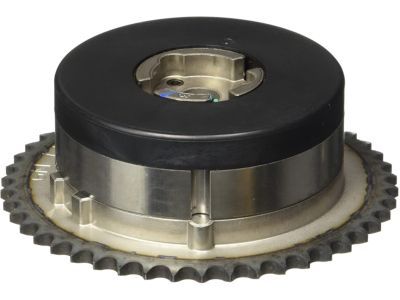
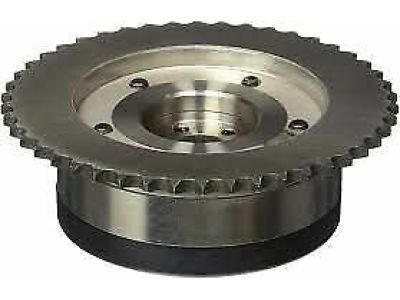
Cam Gear is a part linked with the camshaft used mainly on automobiles, especially in Pontiac G6, for control over the valve operation time. This pinpoint adjustment has a big contribution in improving the torque and horsepower of the vehicle, together with the possible advancement or retardation of timing. The sender information states that there are differences in the Cam Gear equipment of the Pontiac G6 models that may have existed and the differences were in the illustrated mechanisms of the provision of timing adjustment. The primary difference between these types is in their characteristics of how they work and these differences can define performance. All in all the Cam Gear plays a crucial role in enhancing the efficiency and power of the Pontiac G6 car model.
Each OEM Pontiac G6 Cam Gear we offer is competitively priced and comes with the assurance of the manufacturer's warranty for the part. Furthermore, we guarantee the speedy delivery of your orders right to your doorstep. Our hassle-free return policy is also in place for your peace of mind.
Pontiac G6 Cam Gear Parts Questions & Experts Answers
- Q: What are the steps and precautions involved in removing and reinstalling the Cam Gear and Timing Chain in 3.6L V6 engine on Pontiac G6?A:The timing system is sophisticated, and one is in big trouble if they get it wrong; as such, only professionals should attempt this process and one should seek professional advice if in doubt. Before detaching the timing chain(s) from its/their sprockets, make sure that all sprockets possess timing marks; in the absence of a mark on the crankshaft sprocket, a particular tool (EN 46111) must be used. This procedure requires two special tools to lock the Camshafts, namely the part numbers for these tools are; part no 46105-1 and part no 46105-2. This can be done by first disconnecting the negative terminal of the battery, then, relieve the fuel system pressure, drain the engine coolant, then remove the drive belt with the tensioner . Go ahead and pull the lower intake manifold, valve covers, water pump, power steering pump, crank shaft pulley then the crank and camshaft position sensors. Pull M15 connectors off the camshaft position actuator valves, delete the thermostat housing and unscrew the timing chain cover. Run the 10 mm x 1.5 mm bolt in the cover to loosen it lightly from the block and adjust the crankshaft sprocket with the timing mark on/with the oil pump housing. Check the camshaft timings before releasing the bolts of the timing chain tensioner and the guides of the timing chain. Do the same for the lower timing chain and the timing chain for the other cylinder head, the tensioners very sensitive. Check the timing chain cover for any signs of rust and clean all of the parts also check the guides and sprockets for wear or damage. Release the tension of the straps and make sure that the tensioners remain in their respective status, which is the retracted one. Before starting the engine the crankshaft should be rotated by hand with slight resistance to determine some problems. Position the crankshaft sprocket in such a manner that the Woodruff key is showing, and its timing marks are also properly visible; position the timing chains and guides and tensioners in their proper positions and align properly. Remove the old sealant form the block and cover, place a new seal down then apply RTV sealant before placing the timing chain cover, then fasten the bolts in the proper sequence. Last but not the least, the rest of the installation is in the exact opposite of the removal process.
