My Garage
My Account
Cart
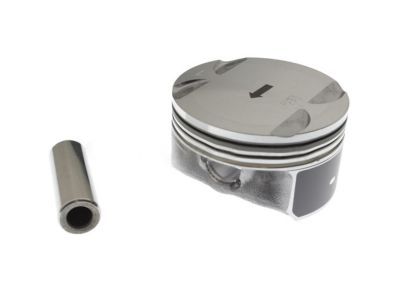
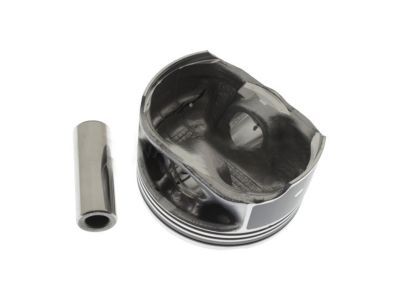
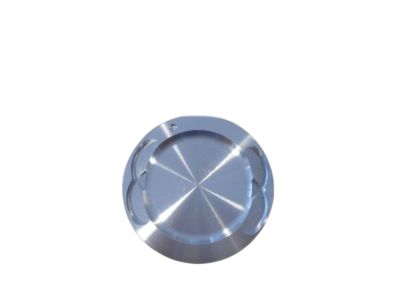
Genuine Pontiac G6 Piston
Engine Pistons- Select Vehicle by Model
- Select Vehicle by VIN
Select Vehicle by Model
orMake
Model
Year
Select Vehicle by VIN
For the most accurate results, select vehicle by your VIN (Vehicle Identification Number).
6 Pistons found
Pontiac G6 Piston Kit
Part Number: 12646457$52.80 MSRP: $127.82You Save: $75.02 (59%)Ships in 1-3 Business DaysPontiac G6 Piston Asm,(W/ Pinion)
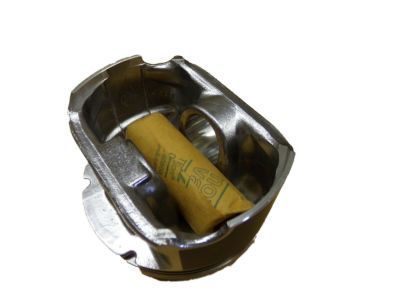
Part Number: 89018065$33.82 MSRP: $61.20You Save: $27.38 (45%)Ships in 1-2 Business DaysPontiac G6 Piston, (W/Pinion)
Part Number: 12590866$23.81 MSRP: $39.41You Save: $15.60 (40%)Ships in 1-3 Business DaysPontiac G6 Piston Asm,(W/ Pinion)(0.5Mm Oversize)
Part Number: 12584528$27.55 MSRP: $56.30You Save: $28.75 (52%)Ships in 1-2 Business DaysPontiac G6 Piston, (W/Pinion)
Part Number: 12585675$89.39 MSRP: $125.45You Save: $36.06 (29%)Ships in 1-2 Business Days
Pontiac G6 Piston
Each OEM Pontiac G6 Piston we offer is competitively priced and comes with the assurance of the manufacturer's warranty for the part. Furthermore, we guarantee the speedy delivery of your orders right to your doorstep. Our hassle-free return policy is also in place for your peace of mind.
Pontiac G6 Piston Parts Questions & Experts Answers
- Q: What steps should be taken prior to removing the piston and connecting rod assemblies on Pontiac G6?A:Before removing the assemblies of the piston and the connecting rod, all the cylinder head and all pan must be taken off. Their upper extent is approximately 1/4 inch below the cylinder top where, checking with your fingernail, you should look for any ridge left by carbon or wear; if it exists, the piston should be run through a ridge reamer. Once the ridge(s) has been removed, orient the engine so that the Crankshaft is in the ' upright ' position, Then measure the end-float on the connecting rod with feeler gauges to be within the service limit. The connecting rods and caps should be marked for identification then the connecting rod cap bolts will be loosened and the number one connecting rod cap and bearing insert will be removed without losing the insert. Sliding the connecting rod/piston assembly down through the top of the engine and if need be use a wooden or plastic hammer handle to push out the connecting rod/piston till you get to the other cylinders. To reassembly put the connecting rod caps and bearing inserts in the corresponding rods but retain the old bearing inserts in their positions during the process to avoid damaging them. The pistons and connecting rods are then taken for inspection and for renewal work to be performed on them if necessary. Piston rings should be examined for space between the ring ends before one puts on new piston rings, the correct rings should match the piston brand. Arrangement of Piston/Connecting rod and new rings for pairing for assembly convenience. Place the top ring into the first cylinder, align this ring with the cylinder wall, and check the end clearance with feeler gauges, if necessary, changing it. Starting with the oil control ring and then the middle and finally the top ring is correct when the gases are on the right of drawing and the combustion chamber 1 above is on the left as shown in figure 2. Ensure that the cylinder walls are free from oil and dirt, chamfer the corner of the bush for Journal bearing and ensure the crankshaft is fitted before the piston/connecting rod assemblies are fitted. Clean and coat the piston and rings with oil, set on the piston ring compressor and ease the assembly into the cylinder. To inspect the connecting rod bearing oil clearance, a Plastigage should be used, but first the surfaces must be cleaned of oil. If the clearance is other than as specified, the bearing inserts or journal diameter may be suspect. Remove all the Plastigage as it can be easily scraped off and apply a thin film of grease or assembly lube followed by the rod cap and new bolts and tighten to the recommended torque. The same process has to be applied for the rest of the assemblies with the additional condition of cleanliness and correct orientation of the part. Lastly, turn the engine over with the crankshaft to look for bind and measure, and adjust as needed, the connecting rod end play.
