My Garage
My Account
Cart
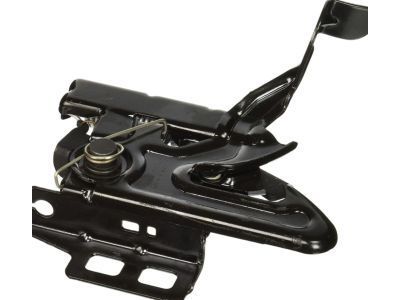
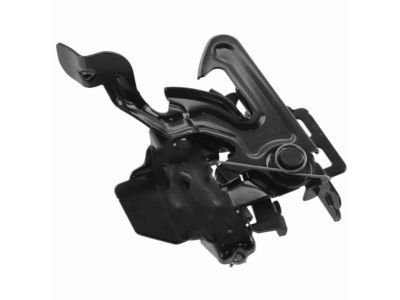
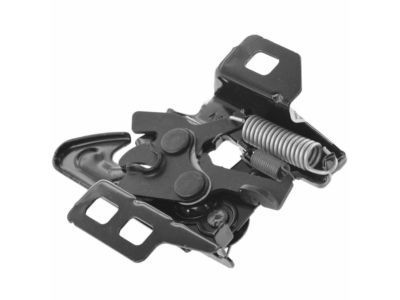
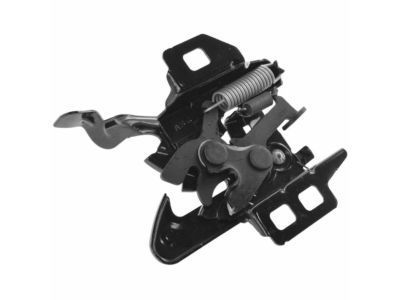
Genuine Pontiac Grand Prix Hood Latch
Engine Hood Latch- Select Vehicle by Model
- Select Vehicle by VIN
Select Vehicle by Model
orMake
Model
Year
Select Vehicle by VIN
For the most accurate results, select vehicle by your VIN (Vehicle Identification Number).
7 Hood Latches found
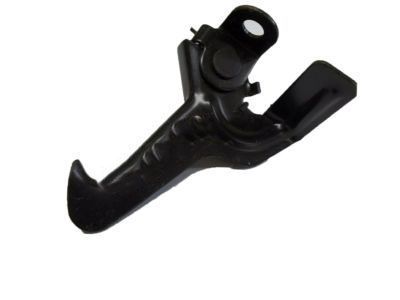
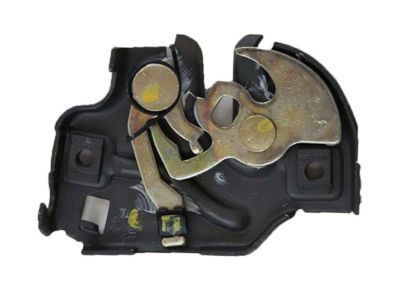
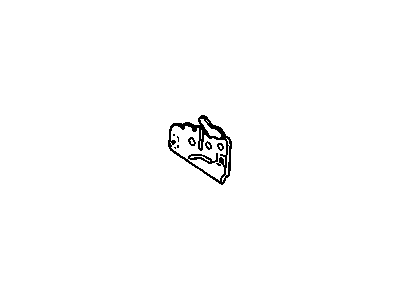
Pontiac Grand Prix Latch,Hood Primary
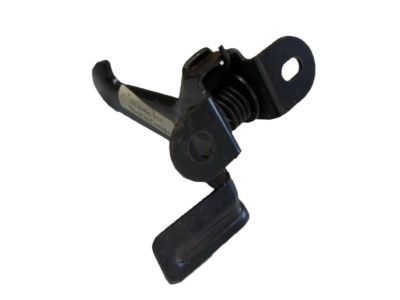
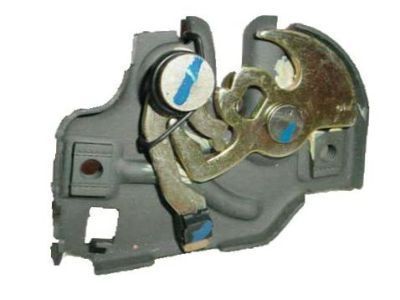
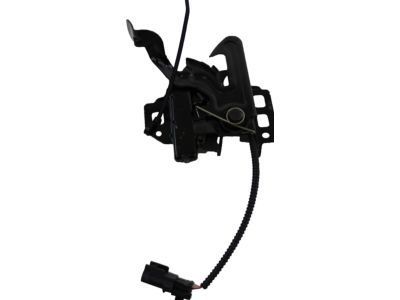
Part Number: 15757371$92.71 MSRP: $138.61You Save: $45.90 (34%)Ships in 1-3 Business DaysPontiac Grand Prix Hood Latch Assembly
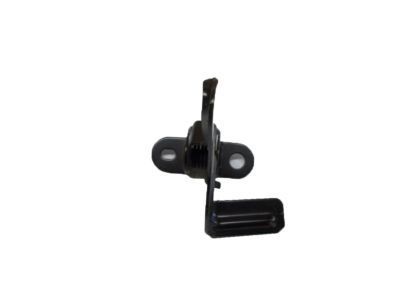
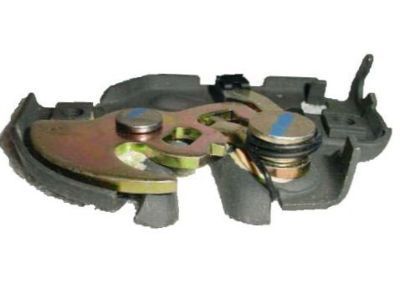
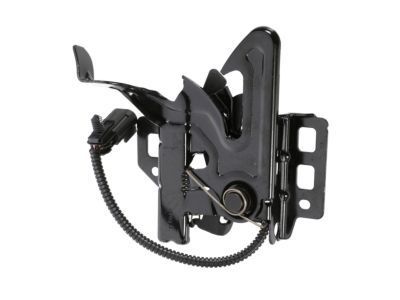
Part Number: 10305541$66.58 MSRP: $99.54You Save: $32.96 (34%)Ships in 1-3 Business DaysPontiac Grand Prix Hood Latch Assembly
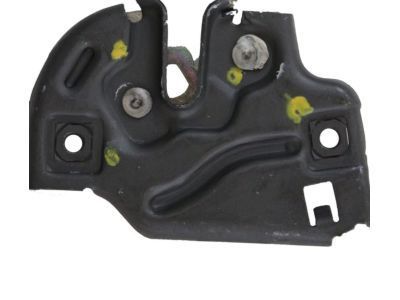
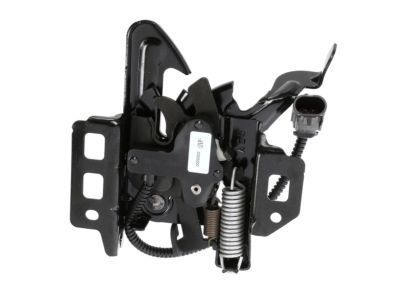
Part Number: 21999158$119.77 MSRP: $179.87You Save: $60.10 (34%)
Pontiac Grand Prix Hood Latch
This is a functional part since it play a very important role of holding the hood in place, thus preventing it from opening while the vehicle is being driven. This component is located underneath the front part of the hood in a manner that the engine, radiator as well as the battery will be well shielded while in use. For many years, there has been a change in the types of Hood Latch used in Pontiac Grand Prix thus offering safety and reliability. Though it is not important to differentiate between these styles with great precision, the principal mode stays the same in its attempt to preserve the closure of the hood, which protects the car's critical parts. The Hood Latch is an assembly that is part of the frame of the Pontiac Grand Prix and which has important roles in regards of the vehicle's practicality and security.
Each OEM Pontiac Grand Prix Hood Latch we offer is competitively priced and comes with the assurance of the manufacturer's warranty for the part. Furthermore, we guarantee the speedy delivery of your orders right to your doorstep. Our hassle-free return policy is also in place for your peace of mind.
Pontiac Grand Prix Hood Latch Parts Questions & Experts Answers
- Q: How to remove and install the Hood Cable and Hood Latch on Pontiac Grand Prix?A:Inside the passenger compartment, that means taking off the trim panel and, if one must go even further, lifting up the carpet as well. Take out the screws that hold the latch handle in place and free the handle; most models have the handle on the floor to the left of the driver; however, most later models have the handle near the floor, below the level of the dash panel, at the driver's side. In the engine compartment, disconnect the cable guides and grommet, outboard side; depending on the year and model of your car, you may have to remove air cleaner and duct assembly (if equipped), headlamp access panel (if equipped), and battery. Remove the final few inches of the cable from the latch; in some later models, the cable can be popped out of the latch very simply by unplugging the left headlight. Take a piece of string or thin wire of a proper length and join it to the end of the cable Pull the cable into the passenger compartment. Screw or join the string or wire to the new cable and then pull it back into the engine bay. Assemble the backplate with the cable and install the latch screws, and the trim panel. There is a groove surrounding the latch to assist in alignment when reinstalling, then the bolts that hold the hood latch to the radiator support are to be removed to take out the latch; on some vehicles, one will have to remove the front bumper fascia to access the hood latch. Pull the Hood release cable by taking out the cable from the latch carrier. Installation is the opposite of removal; set the latch so it's snug when the hood is closed and the auto hood bumpers are mildly squeezed.
Related Pontiac Grand Prix Parts
Browse by Year
2008 Hood Latch 2007 Hood Latch 2006 Hood Latch 2005 Hood Latch 2004 Hood Latch 1996 Hood Latch 1995 Hood Latch 1994 Hood Latch 1993 Hood Latch 1992 Hood Latch 1991 Hood Latch 1990 Hood Latch 1989 Hood Latch 1988 Hood Latch 1987 Hood Latch 1986 Hood Latch 1985 Hood Latch 1984 Hood Latch 1983 Hood Latch 1982 Hood Latch
