My Garage
My Account
Cart
Genuine Pontiac Grand Prix Instrument Cluster
Speedometer Instrument Cluster- Select Vehicle by Model
- Select Vehicle by VIN
Select Vehicle by Model
orMake
Model
Year
Select Vehicle by VIN
For the most accurate results, select vehicle by your VIN (Vehicle Identification Number).
39 Instrument Clusters found
Pontiac Grand Prix Instrument Cluster Assembly
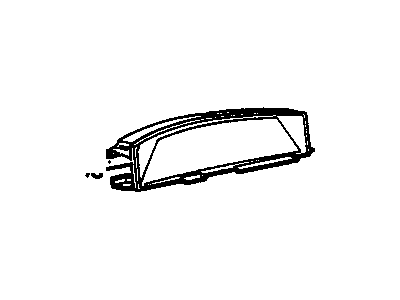
Part Number: 25799595$104.93 MSRP: $158.97You Save: $54.04 (34%)Ships in 1-3 Business DaysPontiac Grand Prix Instrument Cluster Assembly
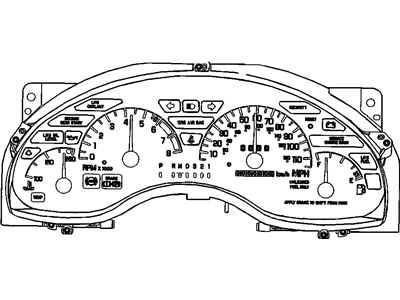
Part Number: 15888453$85.60 MSRP: $179.44You Save: $93.84 (53%)Ships in 1-2 Business DaysPontiac Grand Prix Instrument Cluster Assembly
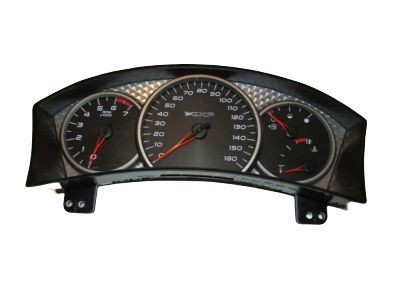
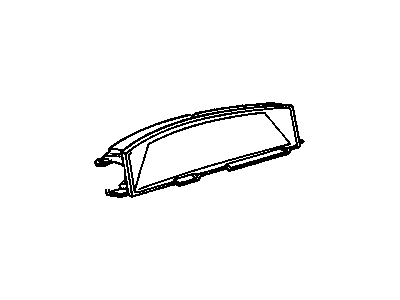
Part Number: 25799596$104.08 MSRP: $163.66You Save: $59.58 (37%)Ships in 1-3 Business DaysPontiac Grand Prix Instrument Panel Gage Cluster
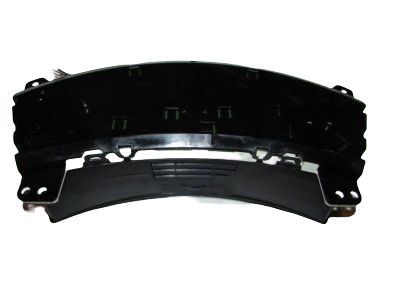
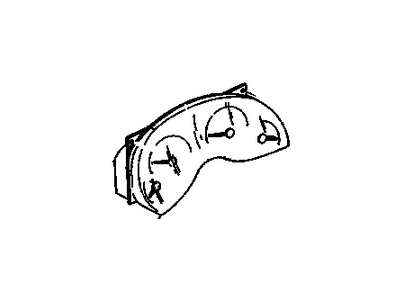
Part Number: 10351098$111.13 MSRP: $168.42You Save: $57.29 (35%)Ships in 1-3 Business DaysPontiac Grand Prix Instrument Panel Gage Cluster
Part Number: 15286998$122.95 MSRP: $193.31You Save: $70.36 (37%)Ships in 1-3 Business DaysPontiac Grand Prix Instrument Panel Gage Cluster
Part Number: 10351100$144.63 MSRP: $227.40You Save: $82.77 (37%)Ships in 1-3 Business DaysPontiac Grand Prix Instrument Panel Gage Cluster
Part Number: 10351101$144.63 MSRP: $227.40You Save: $82.77 (37%)Ships in 1-3 Business DaysPontiac Grand Prix Instrument Panel Gage Cluster
Part Number: 25799598$144.14 MSRP: $216.44You Save: $72.30 (34%)
| Page 1 of 2 |Next >
1-20 of 39 Results
Pontiac Grand Prix Instrument Cluster
The instrument cluster of Pontiac Grand Prix cars is an interior that lies behind the wheel which gives information to the driver about the performance of the car and the current road conditions. This cluster tends to comprise basic instruments like speedometers, tachometers, and fuel measuring instruments and in addition other lights and signs that communicate the engine conditions and other features like exterior lights and seat belt signals among others. Pontiac Grand Prix models that have been produced my several years have seen changes in designs of the Instrument Clusters as a result of manufacturing development. Compared to its beginning iterations that had more emphasis on the face's analog features, present generation iterations may have digital features integrated into face. Regardless of the style, the primary goal of the Pontiac Grand Prix Instrument Cluster remains the same: to let the driver know what is happening and avoid any mishap in operation of the vehicle. In order to achieve maximum efficiency, it is necessary to service or replace the faulty clusters on a continuous basis.
Each OEM Pontiac Grand Prix Instrument Cluster we offer is competitively priced and comes with the assurance of the manufacturer's warranty for the part. Furthermore, we guarantee the speedy delivery of your orders right to your doorstep. Our hassle-free return policy is also in place for your peace of mind.
Pontiac Grand Prix Instrument Cluster Parts Questions & Experts Answers
- Q: How to remove and install the instrument cluster on Pontiac Grand Prix?A:For models through 1996, begin by disconnecting the cable from the negative terminal, clear any lockout on the Theft Lock audio system if present. After that, unfasten the mounting screws for the instrument panel pad and the bezel to come out, take out the steering column bracket and lower the steering column, angling the tilt wheel to an almost flat position and placing the gear shift lever on the L1 position for column shift models. Go ahead and pull out the instrument panel cluster and again, loosening the mounting screws as well as disconnecting any interfering switches or controls. In its turn, installation proceeds in the reverse order to removal. Also for 1997 and later models the tilt steering wheel to the lowest position and put the gear shift lever to L1 position if has column shift lever. On Buick models, thus, do the following; Unscrew the two end covers on both ends of the instrument panel. Then, optional-B, first remove the lower sound insulator panels, and then the filler panels at the left and right ends of the dash. Removal of Grand Prix models requires the removal of the knee bolster panel and the mounting screws that are attached to the steering column and loosening of the steering column. On Buick models, take a screwdriver to the right part of the top of the dashboard as this frees a tab and with your hand pull the trim panel from the right to the left. For the models Grand Prix the bottom of the instrument cluster trim bezel must slide back to release; removing the fog lamp switch if any. When the trim bezel is out you should be able to access the instrument cluster mounting screws and remove the bolts, to disconnect the electrical connectors to the cluster and detach the cluster. Installation is performed in the reverse sequence.
Related Pontiac Grand Prix Parts
Browse by Year
2008 Instrument Cluster 2007 Instrument Cluster 2006 Instrument Cluster 2003 Instrument Cluster 2002 Instrument Cluster 2001 Instrument Cluster 2000 Instrument Cluster 1999 Instrument Cluster 1998 Instrument Cluster 1997 Instrument Cluster 1996 Instrument Cluster 1995 Instrument Cluster 1994 Instrument Cluster 1993 Instrument Cluster 1992 Instrument Cluster 1991 Instrument Cluster 1990 Instrument Cluster 1989 Instrument Cluster 1988 Instrument Cluster 1987 Instrument Cluster 1986 Instrument Cluster
