My Garage
My Account
Cart
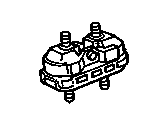
Genuine Pontiac Motor And Transmission Mount
Motor and Trans Mount- Select Vehicle by Model
- Select Vehicle by VIN
Select Vehicle by Model
orMake
Model
Year
Select Vehicle by VIN
For the most accurate results, select vehicle by your VIN (Vehicle Identification Number).
277 Motor And Transmission Mounts found
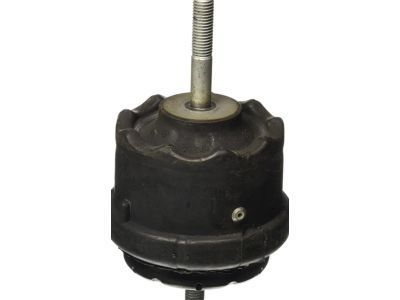
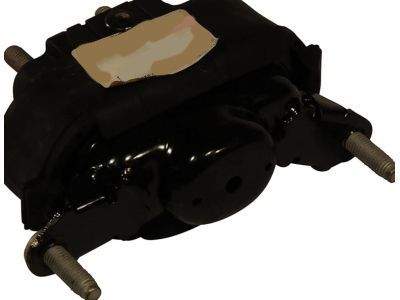
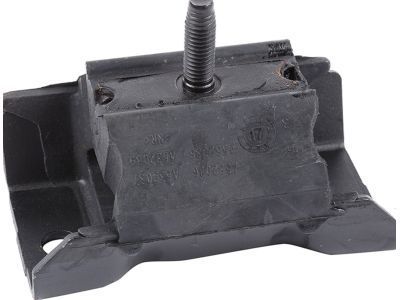
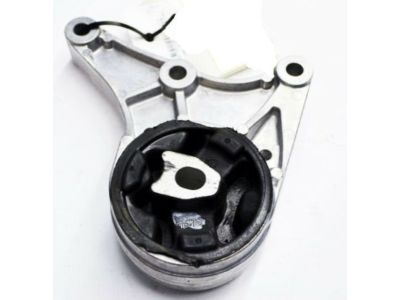
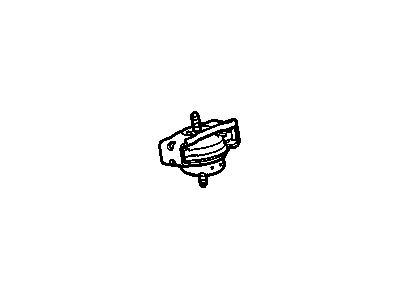
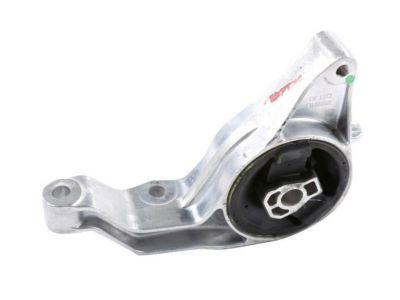
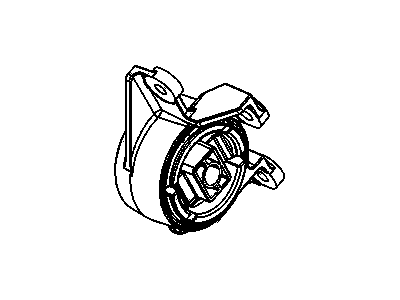
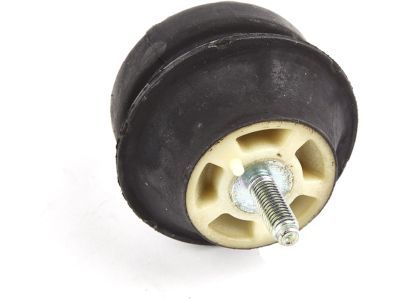
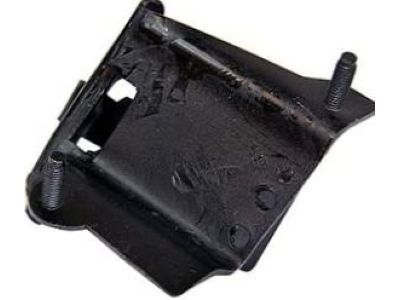
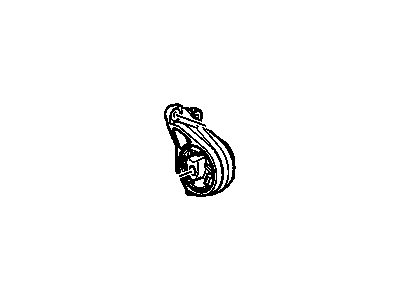
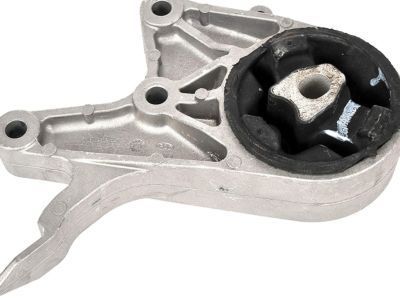
Pontiac Mount Assembly, Trans Rear
Part Number: 25731375$117.59 MSRP: $202.86You Save: $85.27 (43%)Ships in 1-3 Business DaysProduct Specifications- Other Name: MOUNT, Transmission Mounting; Front Mount
- Position: Rear
- Replaces: 25706433
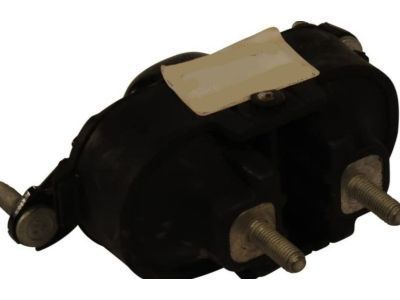
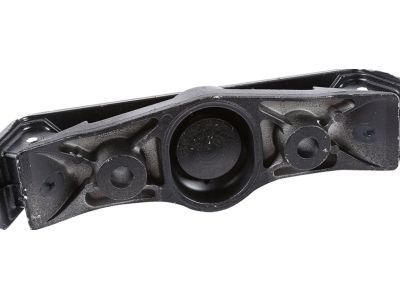
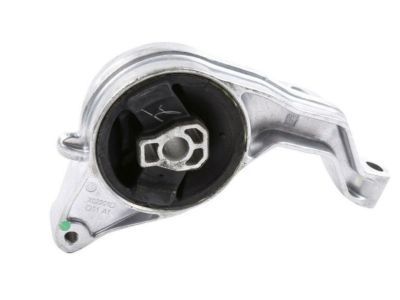
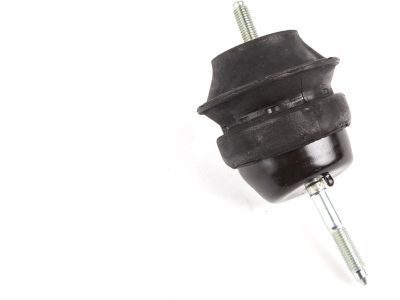
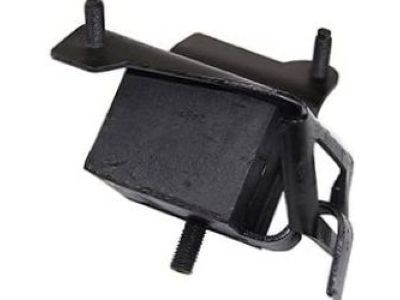
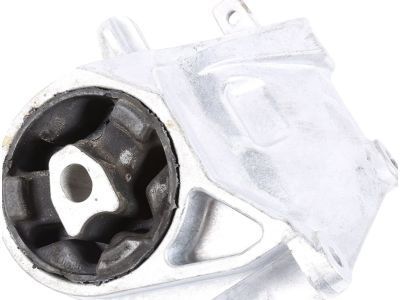
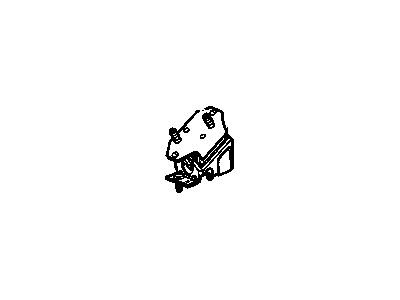
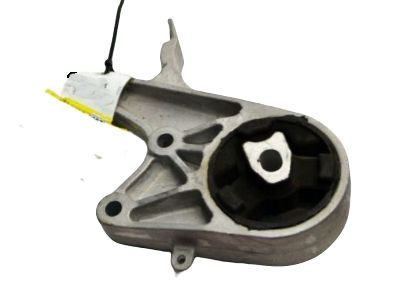
Pontiac Mount Assembly, Engine
Part Number: 22708433$121.61 MSRP: $193.56You Save: $71.95 (38%)Ships in 1-2 Business DaysProduct Specifications- Other Name: MOUNT, Engine Mount Dampening; Front Mount, Motor Mount, Mount
- Replaces: 22631724, 15141228
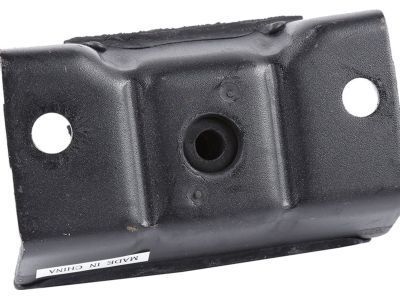
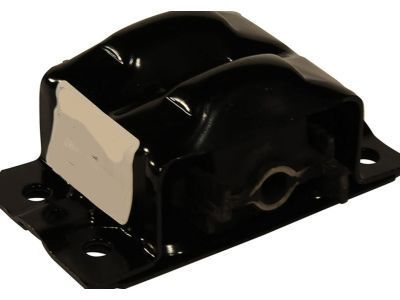
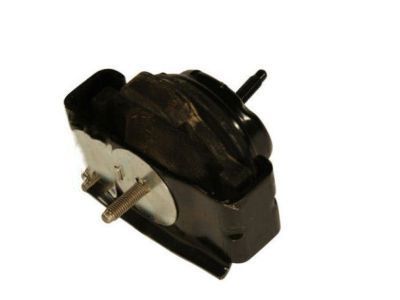
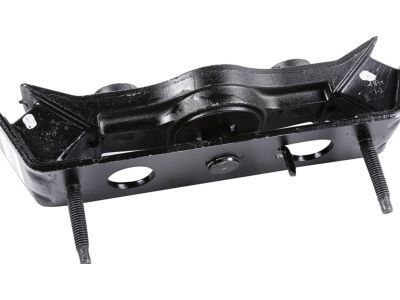
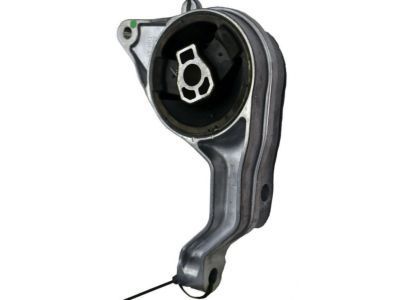
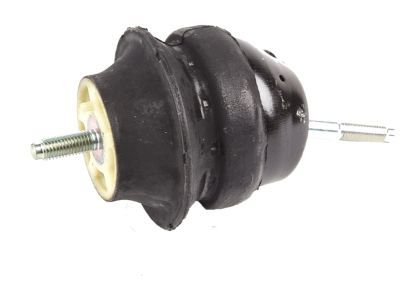
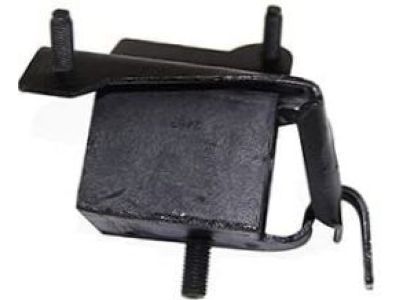
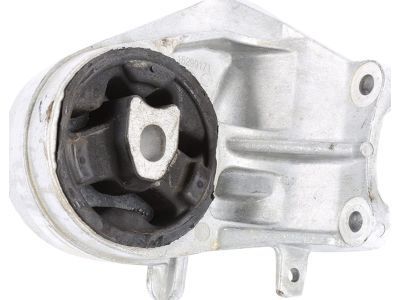
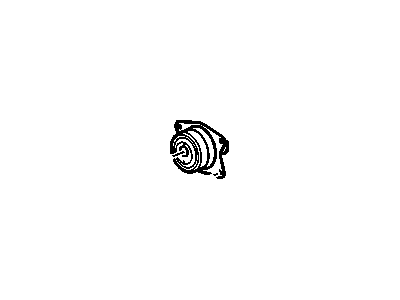
Pontiac Transmission Mount
Part Number: 15820075$25.47 MSRP: $43.93You Save: $18.46 (43%)Ships in 1-2 Business DaysProduct Specifications- Other Name: MOUNT, Transmission Mounting
- Replaces: 09767961, 15788795, 22145802, 22146231, 22111702, 9767961, 10001752, 14063010, 15753648, 22179377, 22201140, 22146106, 22111912
- Product Specifications
- Other Name: MOUNT, Engine Mounting; Front Mount, Motor Mount, Mount
- Replaces: 00459021, 14066861, 14039437, 459021, 97102453
- Product Specifications
- Other Name: MOUNT, Transmission Mounting; Mount, Rear Trans Mount, Transmission Mount
- Position: Rear
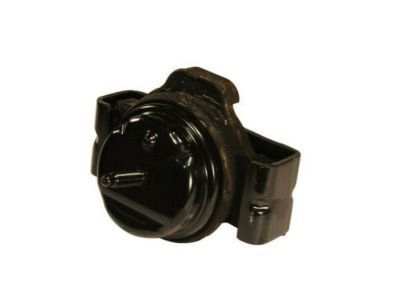
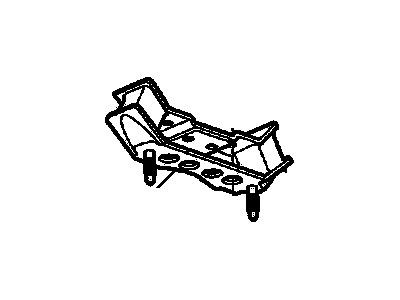
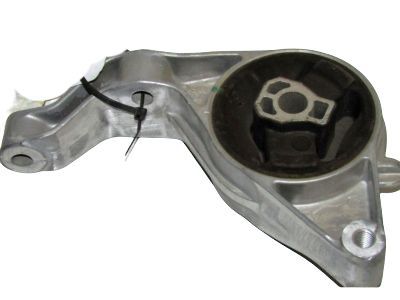
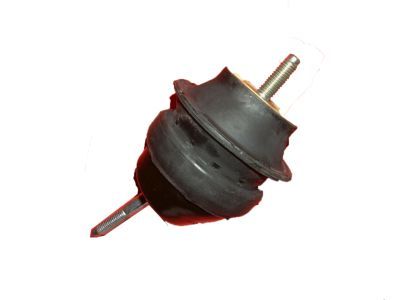
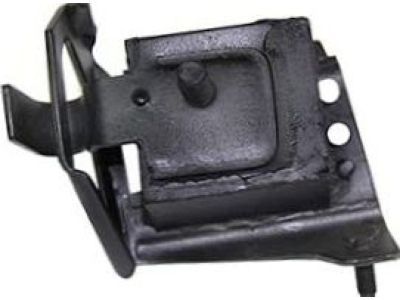
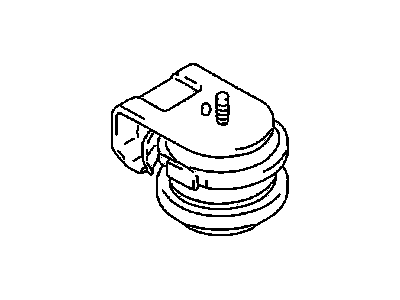
Pontiac Mount Assembly, Engine Front
Part Number: 10351213$53.64 MSRP: $80.43You Save: $26.79 (34%)Ships in 1-2 Business DaysProduct Specifications- Other Name: MOUNT, Engine Mounting; Front Mount, Mount
- Position: Front
- Product Specifications
- Other Name: MOUNT, Transmission Mounting; Transmission Mount
- Product Specifications
- Other Name: MOUNT, Transmission Mounting; Front Trans Mount, Mount, Transmission Mount
- Position: Front
- Replaces: 22693268
Pontiac Engine Mount
Part Number: 92276824$134.37 MSRP: $214.29You Save: $79.92 (38%)Ships in 1-3 Business DaysProduct Specifications- Other Name: MOUNT,ENG; Motor Mount, Mount
- Replaces: 92213358, 92237649, 92420540, 92228915
Pontiac Mount,Trans Rear
Part Number: 22188825$81.52 MSRP: $164.40You Save: $82.88 (51%)Ships in 1-2 Business DaysProduct Specifications- Other Name: MOUNT, Transmission Mounting
- Position: Rear
- Replaces: 22145832, 10112030, 22146358, 17987868
- Product Specifications
- Other Name: MOUNT, Transmission Mounting; Front Trans Mount, Transmission Mount
- Position: Front
Pontiac Mount Assembly, Engine Rear
Part Number: 10447321$105.54 MSRP: $182.86You Save: $77.32 (43%)Ships in 1-2 Business DaysProduct Specifications- Other Name: MOUNT, Engine Mount Dampening; Rear Mount
- Position: Rear
- Replaces: 10420010
Pontiac Mount
Part Number: 14039405$31.13 MSRP: $44.74You Save: $13.61 (31%)Ships in 1-2 Business DaysProduct Specifications- Other Name: Motor Mount
- Product Specifications
- Other Name: MOUNT, Transmission Mounting; Mount, Side Transmission Mount, Transmission Mount
Pontiac Engine Mount Assembly
Part Number: 22548823$58.46 MSRP: $117.90You Save: $59.44 (51%)Ships in 1-2 Business DaysProduct Specifications- Other Name: MOUNT, Engine Mount Dampening; Motor Mount, Mount, Rear Mount
- Product Specifications
- Other Name: MOUNT, Transmission Mounting; Mount, Side Transmission Mount, Transmission Mount
- Replaces: 22696027
Pontiac Mount,Trans Rear
Part Number: 25756630$51.57 MSRP: $138.01You Save: $86.44 (63%)Ships in 1-2 Business DaysProduct Specifications- Other Name: MOUNT, Transmission Mounting; Transmission Mount
- Position: Rear
Pontiac Mount Asm, Engine Front (LH) (N00 & L73 / L75)
Part Number: 90250437$38.37 MSRP: $77.36You Save: $38.99 (51%)Product Specifications- Other Name: MOUNT, Engine Mounting; Front Mount, Transmission Mount
- Position: Front Driver Side
- Product Specifications
- Other Name: MOUNT, Transmission Mounting; Rear Trans Mount, Transmission Mount
- Position: Rear
- Product Specifications
- Other Name: MOUNT, Transmission Mounting; Mount, Rear Trans Mount, Transmission Mount
- Position: Rear
| Page 1 of 14 |Next >
1-20 of 277 Results
Pontiac Motor And Transmission Mount
If you're searching for OEM Pontiac Motor And Transmission Mounts, look no further. Our website boasts an extensive inventory of genuine Pontiac Motor And Transmission Mounts, all available at competitive prices online. Every part we offer comes with a manufacturer's warranty. In addition, we provide a straightforward return policy and rapid delivery services, making your shopping experience a breeze.
Pontiac Motor And Transmission Mount Parts Questions & Experts Answers
- Q: How to check and replace the motor and transmission mount in automatic transaxle on Pontiac Fiero?A:To check the transaxle mount, raise the vehicle and secure it on jackstands. Observe the mount while an assistant manipulates the transaxle or use a pry bar to lever it up and down. If the rubber separates from the metal plate or if the case moves up but not down, replacement is necessary. If there is movement between the metal plate and its attachment point, tighten the bolts or nuts. For wear assessment of the forward transaxle mounting assembly insulator, insert a large screwdriver or prybar between the transaxle and the crossmember and attempt to lever the housing; movement indicates the insulator rubber is worn and requires replacement. The same procedure applies to the rear transaxle mounting assembly. For replacement, disconnect the cable from the negative battery terminal and support the transaxle with a jack. Remove the forward support bracket-to-transaxle bolts, the mount-to-support bracket nut, and the mount-to-cradle nuts, followed by the removal of the forward transaxle support bracket and the mount itself. Position the new mount and install the mount-to-cradle nuts finger tight, then place the transaxle support bracket and install the mount-to-support bracket nut and the bracket-to-transaxle bolts finger tight. Ensure all mounting hardware is loose, lower the jack until the transaxle centers the mount, and then tighten the hardware to the specified torque before reconnecting the negative battery cable. For the rear transaxle mount, repeat the disconnection of the negative battery cable and support the transaxle, then remove the rear support bracket-to-transaxle bolts, the mount-to-support bracket nut, and the mount-to-cradle bolt nuts, followed by the removal of the support bracket.
Related Pontiac Parts
Browse by Model
6000 Motor And Transmission Mount Aztek Motor And Transmission Mount Bonneville Motor And Transmission Mount Fiero Motor And Transmission Mount Firebird Motor And Transmission Mount G3 Motor And Transmission Mount G5 Motor And Transmission Mount G6 Motor And Transmission Mount G8 Motor And Transmission Mount GTO Motor And Transmission Mount Grand Am Motor And Transmission Mount Grand Prix Motor And Transmission Mount J2000 Motor And Transmission Mount LeMans Motor And Transmission Mount Montana Motor And Transmission Mount Parisienne Motor And Transmission Mount Phoenix Motor And Transmission Mount Pursuit Motor And Transmission Mount Safari Motor And Transmission Mount Solstice Motor And Transmission Mount Sunbird Motor And Transmission Mount Sunfire Motor And Transmission Mount Sunrunner Motor And Transmission Mount T1000 Motor And Transmission Mount Torrent Motor And Transmission Mount Trans Sport Motor And Transmission Mount Vibe Motor And Transmission Mount
