My Garage
My Account
Cart
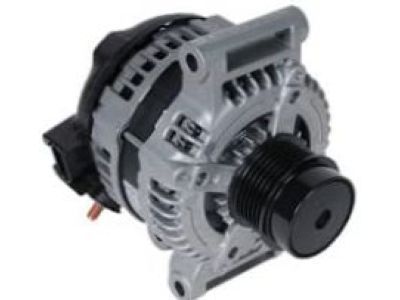
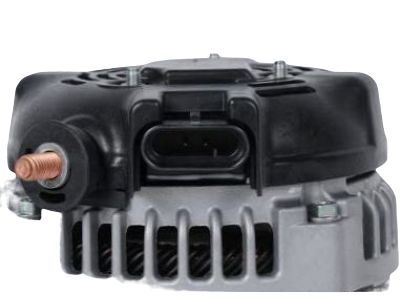
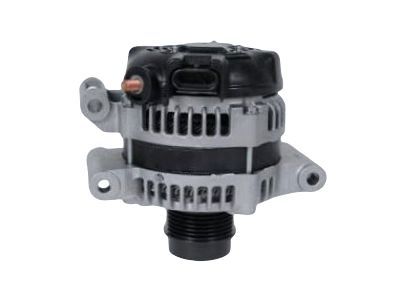
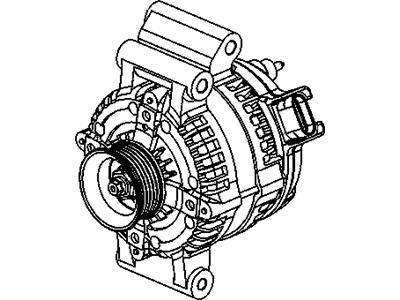
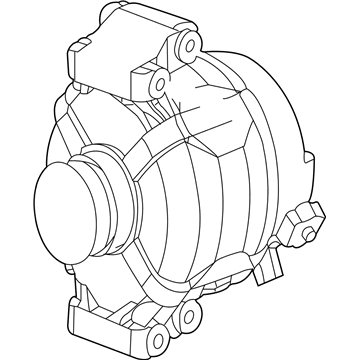
Genuine Saturn Ion Alternator
Generator- Select Vehicle by Model
- Select Vehicle by VIN
Select Vehicle by Model
orMake
Model
Year
Select Vehicle by VIN
For the most accurate results, select vehicle by your VIN (Vehicle Identification Number).
3 Alternators found
Saturn Ion Alternator
The Alternator used in Saturn Ion cars is an essential unit that has a dual role was a battery charger and an electrical generator, which convert mechanical energy from the engine to electrical energy. This is formed through the function of the rotor inside the stator windings to produce the AC current that is later converted to DC power supply to charge the battery and supply the electricity needs of the vehicle. Lt called Saturn Ion vehicles may contain standard and high output alternators. High output alternators are most advantageous for vehicles which have greater electrical loads for instance after-market equipment or modifications. These units can deliver much higher amperage than your car charging system without harming the charging system because they only supply the circuits with the current that they need. In the overall management of the electrical aspect of the Saturn Ion, the alternator plays a very crucial role and this depends on how it is designed as well as how it works.
Each OEM Saturn Ion Alternator we offer is competitively priced and comes with the assurance of the manufacturer's warranty for the part. Furthermore, we guarantee the speedy delivery of your orders right to your doorstep. Our hassle-free return policy is also in place for your peace of mind.
Saturn Ion Alternator Parts Questions & Experts Answers
- Q: How to remove and install an alternator on Saturn ION?A:The Cobalt, G5, and ION vehicles let you unbolt and guide the alternator out from the engine without much effort, yet you may need extra space to get it done correctly. Start your procedure by untwisting the battery's negative lead cable. Remove both the air filter housing and intake tube if they block any way to get to the alternator. Lift your vehicle properly using jackstands, loosen the nuts on the right front wheel, remove that wheel, and take off the right front fenderwell splash shielding. Disengage the access belt drive, and on 2007 and older 2.0L models, remove the supercharger to reach the alternator. Remove the terminal nuts and take off the electrical cables from the alternator. Keep track of where all connections are placed when reconnecting everything later. Take off the eyelet bracket secured to the engine hoist above the alternator, if you need more space. Taking care, remove and disconnect the bolts holding the alternator in place, and ease it down through the top of the engine space. If your space will not allow you to take out the engine support and mount, move the windshield washer reservoir, put a floor jack under the oil pan, and detach the right-side engine mount to give you room to work. Turning the alternator back into place involves tightening its mounting bolt and all other fasteners during this step. The PCM needs to update itself after disconnecting the battery so it recovers its original driveability and performance settings.
