My Garage
My Account
Cart
Genuine Saturn LS Camshaft
Cam- Select Vehicle by Model
- Select Vehicle by VIN
Select Vehicle by Model
orMake
Model
Year
Select Vehicle by VIN
For the most accurate results, select vehicle by your VIN (Vehicle Identification Number).
4 Camshafts found
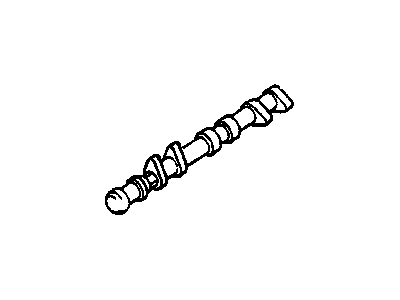
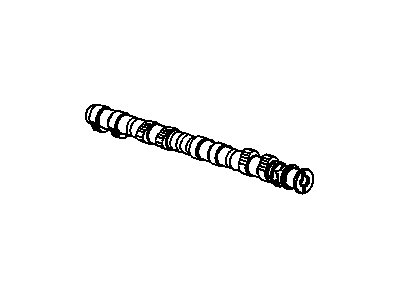
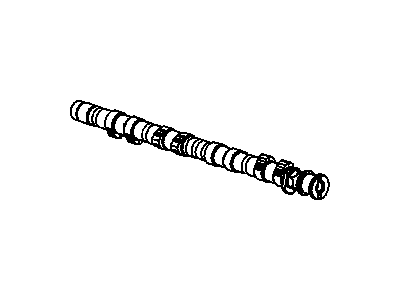
Saturn LS Camshaft, Exhaust
Part Number: 90512906$232.51 MSRP: $855.21You Save: $622.70 (73%)Ships in 1-2 Business Days
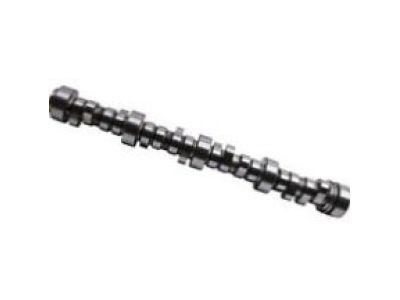
Saturn LS Camshaft
The Camshaft in Saturn LS vehicles' engines has responsibilities of properly opening the intake and exhaust valves to allow air and fuel mixtures to be channeled for combustion. Depending on the engine type the camshaft options will be Over Head Valve (OHV), Single Over Head Cam (SOHC) and Double Over Head Cam (DOHC). Performance camshafts have the capability of altering the amount of air that is allowed into the engine/block as well as improving the time that the valves are open, all factors that relate closely to the RPM range and torque. Lobe Separation Angle (LSA) also plays a part in the performance of the engine modifying torque, the power band width, and the idle. In general, the camshaft is one of the key parts that heavily determine the performance and efficiency of Saturn LS vehicles.
Each OEM Saturn LS Camshaft we offer is competitively priced and comes with the assurance of the manufacturer's warranty for the part. Furthermore, we guarantee the speedy delivery of your orders right to your doorstep. Our hassle-free return policy is also in place for your peace of mind.
Saturn LS Camshaft Parts Questions & Experts Answers
- Q: How to remove and inspect camshafts and Lash Adjuster in four cylinder engine on Saturn LS?A:This is a hard process that requires special tools. Take the cable out of the negative terminal of the battery. Get rid of the valve cover. Bring engine to TDC for cylinder number one then turn the crankshaft anti-clockwise until it becomes 60 degrees before TDC. Take off the upper Timing Chain guide. Place a special tool that will hold camshaft sprockets in place. Remove camshaft sprocket bolts and move camshaft sprockets forward. Remove intake camshaft by loosening each bearing cap nut and lifting off camshaft parallel to surface of cylinder head. Remove rocker arms and hydraulic lash adjusters from the intake camshaft. Mark exhaust bearing caps and remove them from cylinder head-take off rocker arms and hydraulic lash adjusters from exhaust camshaft also. Examine hydraulic lash adjusters for wear, as well as measure their outside diameter-also Do not forget to inspect the rocker arms for wear or damage too. Look at the lobes of the camshafts for any sign of wear, scoring, pitting, galling, or heating up-measure each lobe height on each cam lobe and compare measurements for excessive variation too. Check wear or damage to these surfaces on which these journals are running between these bearing surfaces on cylinder heads-Take care of this Plastigage-bearing journal oil clearance measurement even though it's time-consuming so that you don't mess up anything while doing it, Determine if there is any movement between your fingers and this end play should be less than 0.2mm (0.008in). Lubricate all these components prior to re-installing them back into their respective positions including lubricating rockers and hydraulic lash adjusters-to reinstall back in proper places, lubricate cams first . Fit fastenings together with appropriate bolt torque specific for cam bore caps so that they won't fall out anymore after some time. Place the camshaft sprockets along with timing chain on guide pins and then tighten the camshaft sprockets. Place front and rear camshaft caps in their respective positions and tighten them up to specified torque requirements. Fit upper timing chain guide-remember to turn the engine by hand just to check if there is any resistance too. Complete remaining installation procedures as well as reconnecting battery too.
