My Garage
My Account
Cart
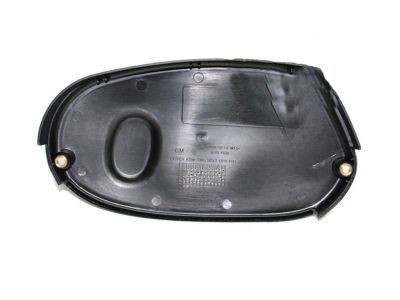
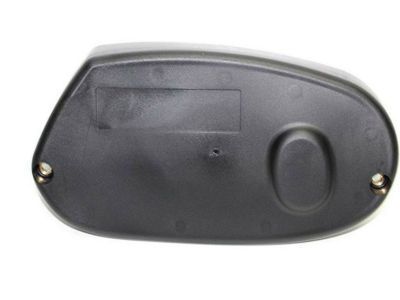
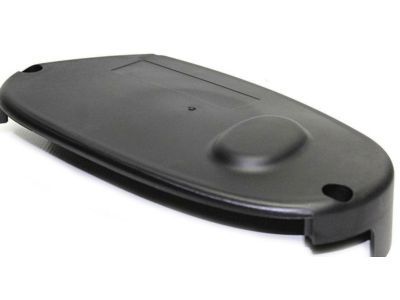
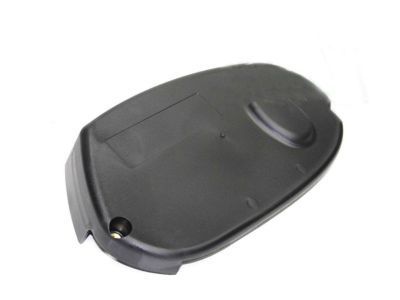
Genuine Saturn Timing Cover
Engine Timing Cover- Select Vehicle by Model
- Select Vehicle by VIN
Select Vehicle by Model
orMake
Model
Year
Select Vehicle by VIN
For the most accurate results, select vehicle by your VIN (Vehicle Identification Number).
24 Timing Covers found
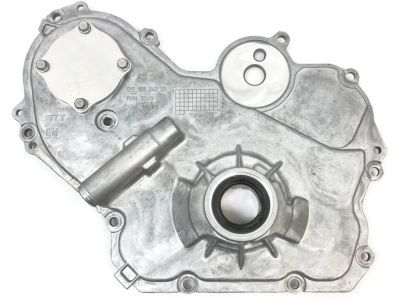
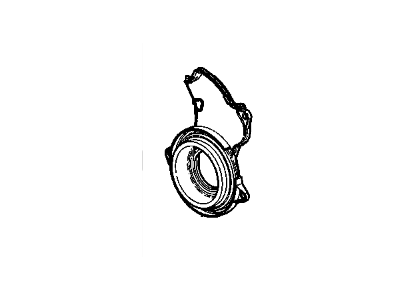
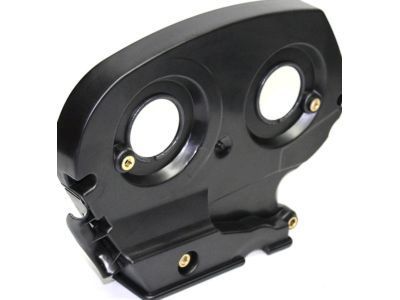
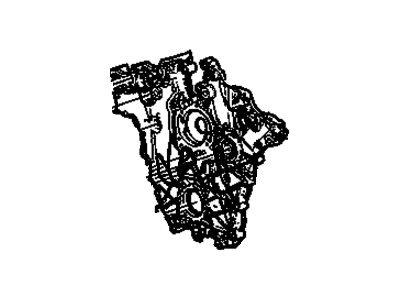
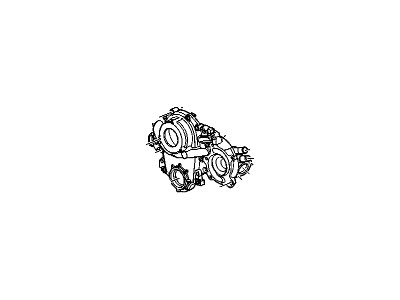
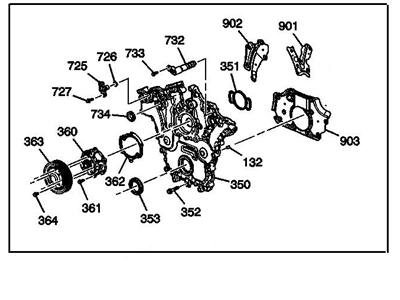
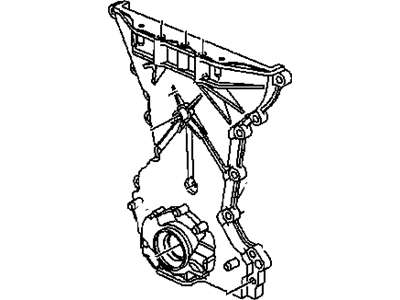
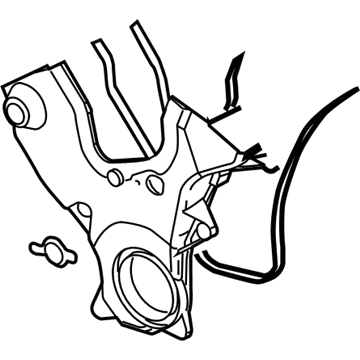
Saturn Cover Assembly, Engine Front (W/ Oil Pump)
Part Number: 12637040$195.32 MSRP: $333.95You Save: $138.63 (42%)Ships in 1-2 Business DaysProduct Specifications- Other Name: COVER, Engine Front Cover
- Position: Front
- Replaces: 12582069, 12584621, 24450057, 12606580
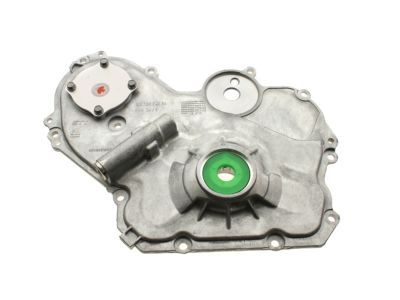
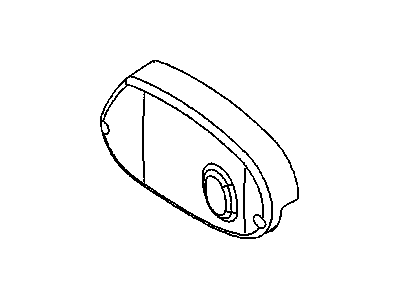
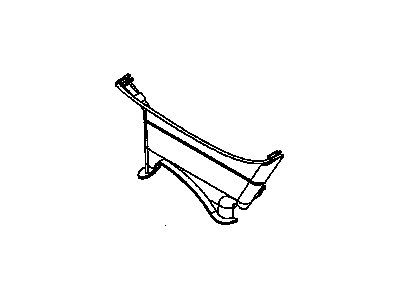
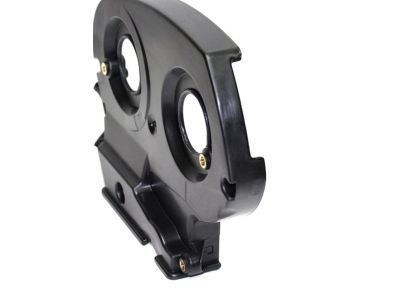
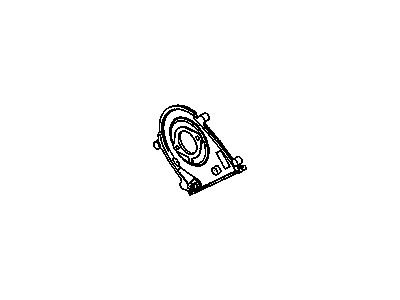
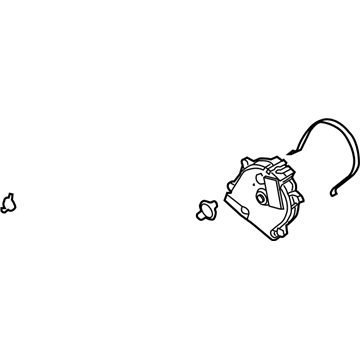
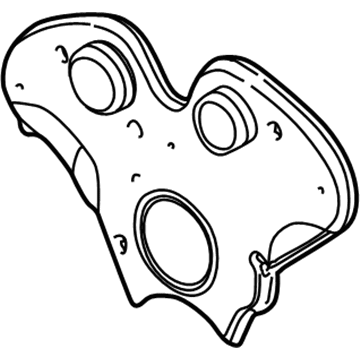
Saturn Cover,Timing Belt Upper Front
Part Number: 55354836$8.54 MSRP: $13.44You Save: $4.90 (37%)Ships in 1-3 Business DaysProduct Specifications- Other Name: COVER, Engine Front Cover; Front Cover, Outer Cover, Outer Timing Cover
- Position: Front Upper
- Product Specifications
- Other Name: COVER, Engine Front Cover
- Position: Front Lower
- Product Specifications
- Other Name: COVER, Engine Front Cover
- Position: Front Center
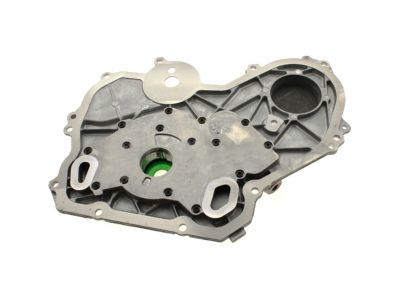
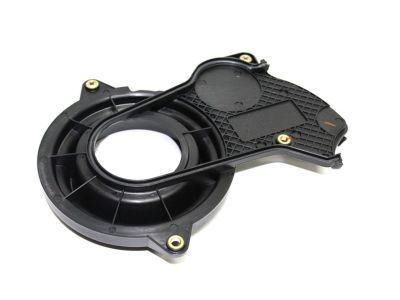
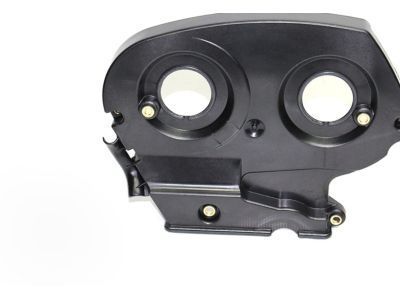
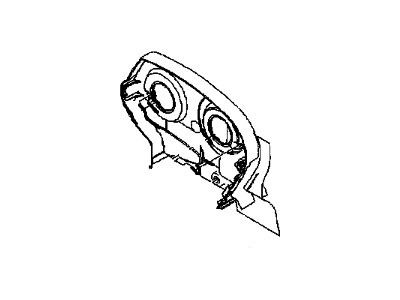
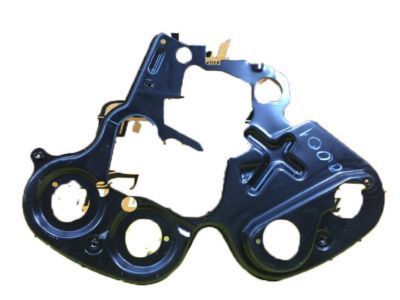
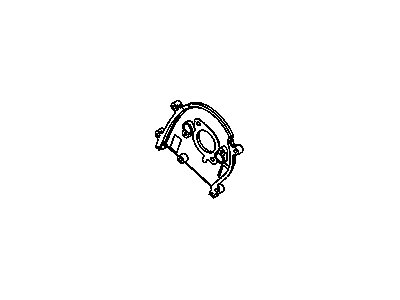
Saturn Cover,Timing Belt Rear
Part Number: 55354247$14.97 MSRP: $24.76You Save: $9.79 (40%)Ships in 1-2 Business DaysProduct Specifications- Other Name: COVER, Engine Front Cover
- Position: Rear
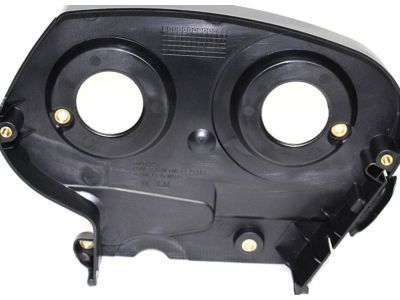
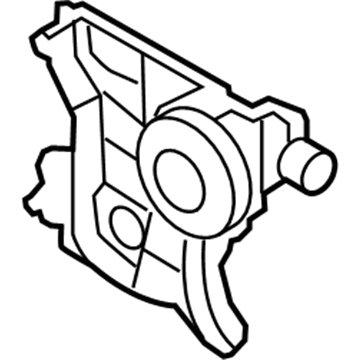
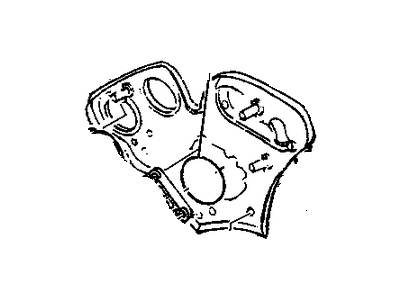
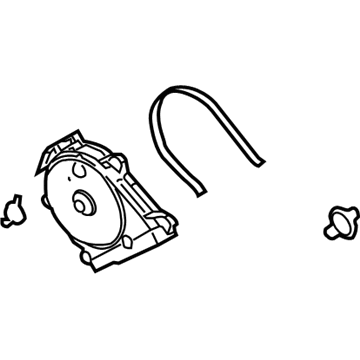
Saturn Cover Assembly, Eng Frt (W/ W/Pmp)
Part Number: 12698371$361.63 MSRP: $571.56You Save: $209.93 (37%)Ships in 1-3 Business DaysProduct Specifications- Other Name: Front Cover, Water Pump
- Replaces: 12638436, 12684188, 12668891, 12626079, 12639157, 12635609, 12643744
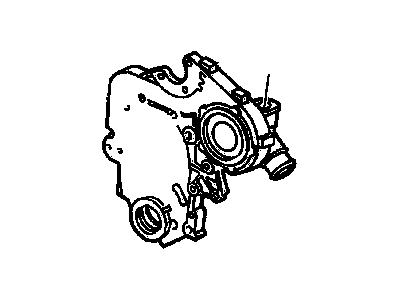
Saturn Cover Asm,Engine Front (W/ Oil Pump & Water Pump)
Part Number: 12992379$289.84 MSRP: $458.11You Save: $168.27 (37%)Ships in 1-3 Business DaysProduct Specifications- Other Name: COVER, Engine Front Cover; Front Cover, Timing Cover
- Position: Front
Saturn Cover,Engine Front
Part Number: 19181094$85.46 MSRP: $134.47You Save: $49.01 (37%)Ships in 1-3 Business DaysProduct Specifications- Other Name: COVER, Engine Front Cover; Front Cover, Timing Cover
- Position: Front
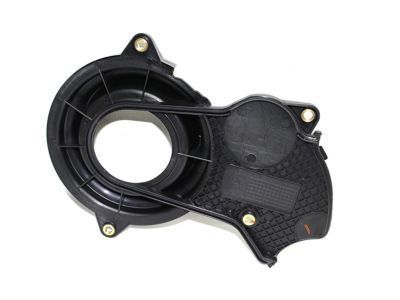
Saturn Cover Assembly, Timing Belt Upper Rear
Part Number: 12581920$4.95 MSRP: $29.84You Save: $24.89 (84%)Ships in 1-2 Business DaysProduct Specifications- Other Name: COVER, Engine Front Cover; Front Cover
- Position: Rear Upper
- Product Specifications
- Other Name: COVER, Engine Front Cover; Front Cover, Rear Cover, Timing Cover
- Position: Rear
- Product Specifications
- Other Name: COVER, Engine Front Cover
- Position: Front
- Product Specifications
- Other Name: COVER, Engine Front Cover; Front Cover, Timing Cover
- Position: Front
- Product Specifications
- Other Name: COVER, Engine Front Cover; Front Cover, Upper Cover
- Position: Front Upper
- Product Specifications
- Other Name: COVER, Engine Front Cover; Front Cover
- Position: Rear Upper
Saturn Cover,Engine Front (W/ Water Pump)
Part Number: 12655856$530.38 MSRP: $841.74You Save: $311.36 (37%)Product Specifications- Other Name: COVER, Engine Front Cover; Actuator, Front Cover, Front Seal, Timing Cover
- Position: Front
- Replaces: 12601276, 12612399, 12611884
- Product Specifications
- Other Name: COVER, Engine Front Cover; Front Cover, Timing Cover
- Position: Front
- Product Specifications
- Other Name: COVER, Engine Front Cover; Front Cover, Upper Cover
- Position: Front Upper
- Product Specifications
- Other Name: COVER, Engine Front Cover; Front Cover, Lower Timing Cover
- Position: Front Lower
- Product Specifications
- Other Name: COVER, Engine Front Cover; Front Cover, Timing Cover
- Position: Front
- Product Specifications
- Other Name: COVER, Engine Front Cover; Front Cover, Timing Cover
- Position: Front
- Replaces: 12593212
| Page 1 of 2 |Next >
1-20 of 24 Results
Saturn Timing Cover
In need of new Saturn Timing Covers? We suggest you explore our vast collection of genuine Saturn Timing Covers, all available at competitive prices. Furthermore, every OEM part we provide is backed by a manufacturer's warranty and comes with the promise of swift delivery and a hassle-free return policy.
Saturn Timing Cover Parts Questions & Experts Answers
- Q: How to Remove and Reinstall the Timing Cover in four cylinder engine on Saturn Vue?A:Disconnect the cable from the negative battery terminal. Loosen the right front wheel lug nuts, then raise the front of the vehicle and support it securely on jackstands before removing the right front wheel. Drain the engine oil and remove the drivebelt along with the drivebelt tensioner from the front cover. Remove the crankshaft pulley, supporting the engine with an engine hoist or support fixture, and then remove the right engine mount. Gradually and evenly loosen the engine cover fasteners before removing them, ensuring to access the mounting bolts from both below and above the engine compartment. Draw a sketch of the engine cover and fasteners to identify the location of all bolts for reinstallation. Remove the water pump bolt from the engine front cover and then take off the front cover. If the cover-to-block gasket is in good condition, leave it in place. Inspect and clean all sealing surfaces of the engine front cover and the block, taking care not to gouge the aluminum engine parts. If necessary, replace the crankshaft front oil seal in the front cover and install a new gasket if needed, noting that the cover gasket is reusable if undamaged. Install the front cover and cover fasteners, ensuring the hub on the inner rotor aligns with the flats on the crankshaft, and tighten the fasteners by hand until the cover contacts the block around its entire periphery. Install the long water pump bolt and tighten the bolts to the specified torque. Install the drivebelt tensioner, tightening the bolt to the specified torque, followed by the crankshaft pulley and the drivebelt. Reinstall the remaining parts in the reverse order of removal, fill the crankcase with the recommended oil, reconnect the battery, and start the engine to check for leaks and fluid levels.
Related Saturn Parts
Browse by Model
Astra Timing Cover Aura Timing Cover Ion Timing Cover L100 Timing Cover L200 Timing Cover L300 Timing Cover LS Timing Cover LS1 Timing Cover LS2 Timing Cover LW1 Timing Cover LW2 Timing Cover LW200 Timing Cover LW300 Timing Cover Outlook Timing Cover Relay Timing Cover SC Timing Cover SC1 Timing Cover SC2 Timing Cover SL Timing Cover SL1 Timing Cover SL2 Timing Cover SW1 Timing Cover SW2 Timing Cover Sky Timing Cover Vue Timing Cover
