My Garage
My Account
Cart
Genuine Saturn Vue Brake Pad
Disc Brake Pad Set- Select Vehicle by Model
- Select Vehicle by VIN
Select Vehicle by Model
orMake
Model
Year
Select Vehicle by VIN
For the most accurate results, select vehicle by your VIN (Vehicle Identification Number).
4 Brake Pads found
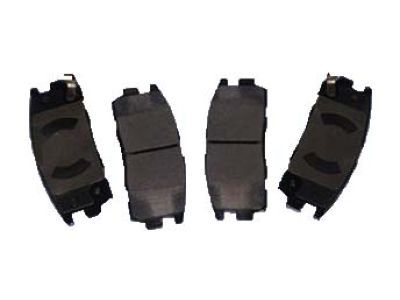
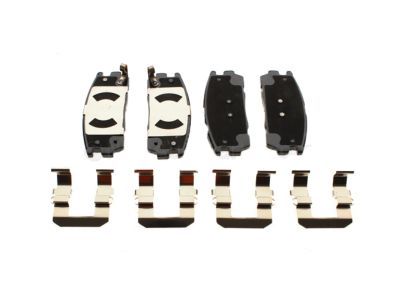
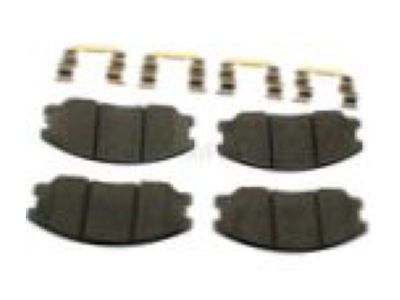
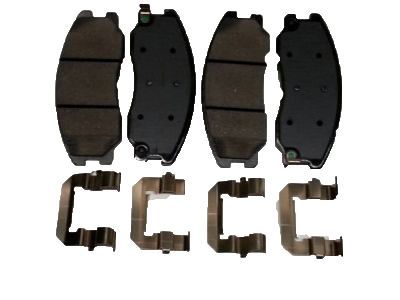
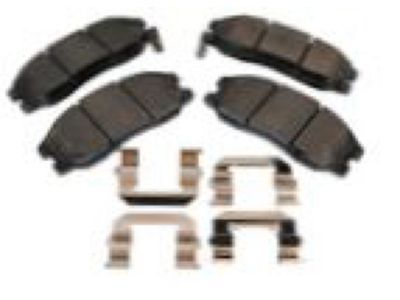
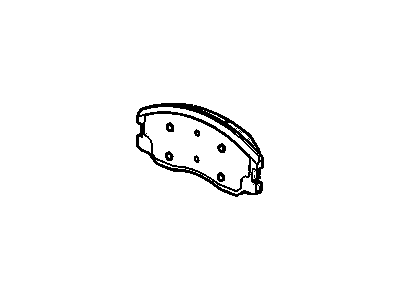
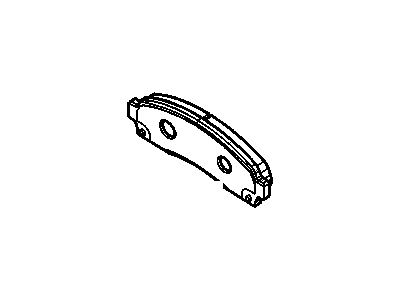
Saturn Vue Rear Disc Brake Pad Kit
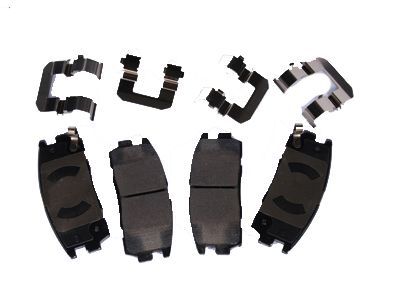
Part Number: 20801538$98.46 MSRP: $191.93You Save: $93.47 (49%)Ships in 1-2 Business DaysSaturn Vue Front Disc Brake Pad Kit
Part Number: 19168899$74.79 MSRP: $147.08You Save: $72.29 (50%)Ships in 1-2 Business DaysSaturn Vue Pad Kit, Front Disc Brake <Use 5A 0740B>
Part Number: 22850989$109.23 MSRP: $209.79You Save: $100.56 (48%)Ships in 1-2 Business Days
Saturn Vue Brake Pad
Saturn Vue automobiles employ brake pads as structural parts of the braking system for halting the vehicle through friction against the brake discs. They are made from a friction material that is bonded or riveted to a metal backing plate to enable them handle high temperature which is produced by braking system. It is critical to actually maintain it fully because the pads will eventually wear out and will require replacement, usually after about 50000 miles. Some of the brake pad types installed in Saturn Vue vehicles are non-asoptimalos organic, low metal, high metal and ceramic brake pad types. They have different characteristics as far as the friction, wear and noise standards are concerned. Further, assembly work, particularly attachments of metal ear-clips and springs of the brake pads must be rightly installed to enhance efficiency and durability of these brake pads. Thus, the brake pad and the hardware should be properly selected to enable Saturn Vue owners to have a good braking system that will require little servicing.
Each OEM Saturn Vue Brake Pad we offer is competitively priced and comes with the assurance of the manufacturer's warranty for the part. Furthermore, we guarantee the speedy delivery of your orders right to your doorstep. Our hassle-free return policy is also in place for your peace of mind.
Saturn Vue Brake Pad Parts Questions & Experts Answers
- Q: How to properly replace brake pads and ensure the brake system functions correctly on Saturn Vue?A:Remove the cap from the brake fluid reservoir, then loosen the wheel lug nuts, raise the end of the vehicle you're working on, and support it securely on jack stands while blocking the wheels at the opposite end. Remove the wheels and work on one brake assembly at a time, using the assembled brake for reference if necessary. Inspect the Brake Disc carefully; if machining is necessary, remove the disc to also take out the pads. Push the piston back into its bore to create space for the new brake pads, using a large C-clamp between the outer brake pad and the back of the caliper to compress the piston slowly. As the piston is depressed, ensure the fluid in the master cylinder does not overflow, siphoning off some if necessary. Wash the brake assembly with brake cleaner before disassembling, then remove the lower caliper bolt; to detach the caliper completely, remove both caliper bolts but do not let the caliper hang by the brake hose. Secure the caliper with a piece of wire, remove the inner and outer brake pads, and check the support plates for wear, replacing them if necessary. Lubricate the sliding pins with high-temperature grease after cleaning and replace any damaged rubber boots. Install the cleaned support plates, the new outer and inner pads, and the sliding pins, then swing the caliper into place, replacing and tightening both bolts to the specified torque. If there is difficulty sliding the caliper assembly over the disc, push the piston farther into the bore using the C-clamp. After completing the job, firmly depress the brake pedal a few times to bring the pads into contact with the disc, check the brake fluid level and add some if necessary, and carefully check the operation of the brakes before placing the vehicle into normal service.
