My Garage
My Account
Cart
Genuine Saturn Vue Cylinder Head
Head- Select Vehicle by Model
- Select Vehicle by VIN
Select Vehicle by Model
orMake
Model
Year
Select Vehicle by VIN
For the most accurate results, select vehicle by your VIN (Vehicle Identification Number).
11 Cylinder Heads found
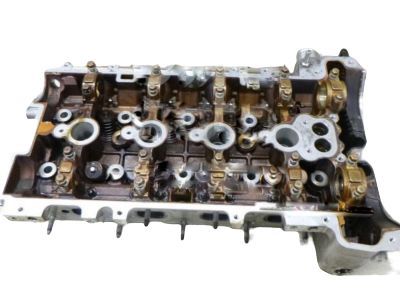
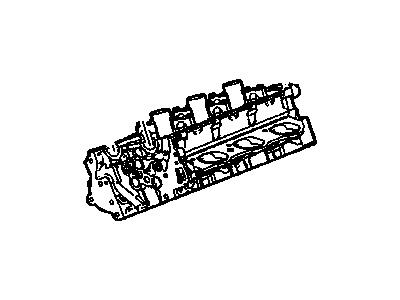
Saturn Vue Cylinder Head (Service Partial)
Part Number: 12624550$586.54 MSRP: $968.17You Save: $381.63 (40%)Ships in 1-2 Business DaysSaturn Vue Cylinder Head Assembly (Remanufacture)
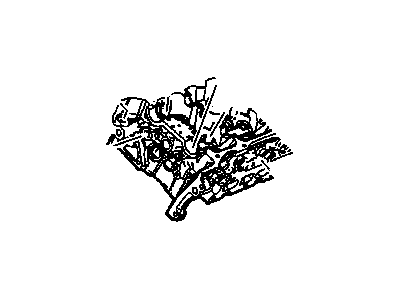
Part Number: 19256814$272.40 MSRP: $348.56You Save: $76.16 (22%)Ships in 1-3 Business DaysSaturn Vue Cylinder Head (W/Vlvs)
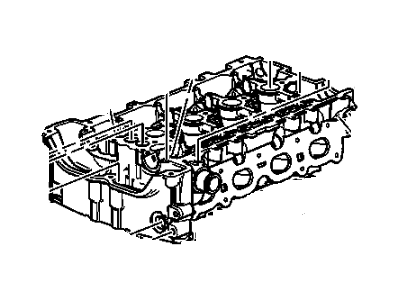
Part Number: 12641095$891.09 MSRP: $1418.68You Save: $527.59 (38%)Ships in 1-3 Business DaysSaturn Vue Cylinder Head Assembly With Valve
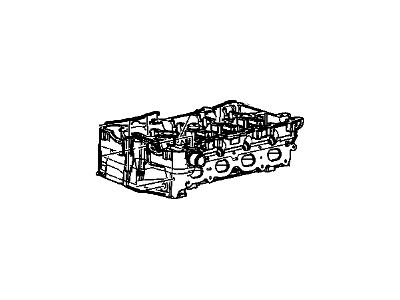
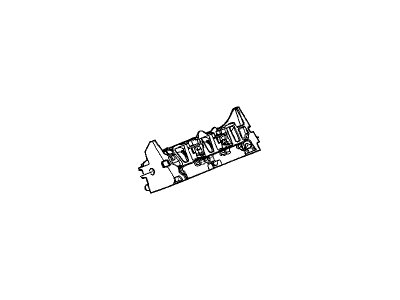
Part Number: 10400182$448.77 MSRP: $912.24You Save: $463.47 (51%)Ships in 1-2 Business DaysSaturn Vue Cylinder Head (W/Vlvs)
Part Number: 12641093$620.59 MSRP: $1024.53You Save: $403.94 (40%)Ships in 1-3 Business DaysSaturn Vue Cylinder Head Assembly (Machining)
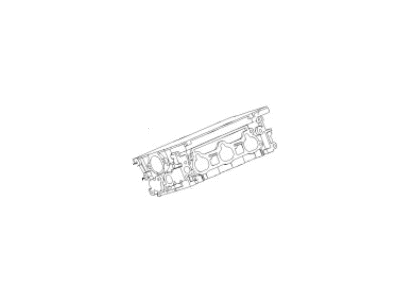
Part Number: 12624612$206.66 MSRP: $339.44You Save: $132.78 (40%)Ships in 1-3 Business DaysSaturn Vue Cylinder Head Assembly (Remanufacture)
Part Number: 19352790$1114.43 MSRP: $1841.86You Save: $727.43 (40%)Ships in 1-3 Business DaysSaturn Vue Cylinder Head Assembly (Service Partial)
Part Number: 12581781$112.74 MSRP: $746.37You Save: $633.63 (85%)Ships in 1-2 Business DaysSaturn Vue Cylinder Head Assembly
Part Number: 12607018$219.44 MSRP: $1332.15You Save: $1112.71 (84%)Ships in 1-2 Business Days
Saturn Vue Cylinder Head
Each OEM Saturn Vue Cylinder Head we offer is competitively priced and comes with the assurance of the manufacturer's warranty for the part. Furthermore, we guarantee the speedy delivery of your orders right to your doorstep. Our hassle-free return policy is also in place for your peace of mind.
Saturn Vue Cylinder Head Parts Questions & Experts Answers
- Q: Is cylinder head removal a challenging and time-consuming task that requires special tools in 3.0L V6 engine on Saturn Vue?A:The removal of the cylinder head is quite complex as well as a time-consuming one; it involves several special tools before undertaking the job. Start with the removal of the cable from the negative post of the battery then remove the cooling system and then take off the valve covers. After that, remove the upper and lower Intake Manifolds with intake manifolds pacer, coolant crossover housing and rear Exhaust Manifold with some care regarding the exhaust pipe connection from the front cylinder head. Take off Timing Belt, camshaft sprockets and rear timing belt cover, and also interchangeably, remove the upper radiator hose and the housing of the coolant extension. Subsequently, take out the exhaust camshafts, dipstick tube and the PCM from its mount and apart from it, pull the grounds from the heads and the rear engine lifting bracket. Remove the oxygen sensor wires and mounting brackets and examine the cylinder head for hoses, wires, and other parts. When removing the cylinder head bolts, use a breaker bar to turn the bolts in 1/4 turn at a time; use a pry bar on the corners of the cylinder head to engine block mating surface in order to break the gasket seal but do not pry on the gasket sealing area. Remove the cylinder head(s) from the engine (with help from a wood block and hammer if the head stuck in the block) and take out the cylinder head gasket(s); the gaskets have top and bottom sides that are different. For installation remove any deposits on the mating surfaces of the cylinder heads and engine block by scraping and washing them with cleaning solutions to eliminate the presence of any debris. Examine the flattens of the mating surfaces and pass a tap in the cylinder head bolt holes. Place the head gasket in place with the part numbers standing up, place the cylinder heads on the engine block over the gaskets, and new cylinder head bolts must be used as they are torque-to-yield. To achieve the correct torque, use a torque wrench in the first step and in the subsequent steps you will need a breaker bar with a torque-angle gauge; torquing should be done in five sequences, tightening to 90 degrees and then repeating this to 120 degrees, 140 degrees,180 degrees and finally 250 degrees. The rest steps of installing the device are opposite to the process of removing the device, as it was mentioned above. Last but not the least, put back the battery, replace the engine oil and filter, examine the cooling system if it requires a refill and start the engine to check for any oil and coolant leak.
