My Garage
My Account
Cart
Genuine Saturn Vue Drive Belt
Serpentine Belt- Select Vehicle by Model
- Select Vehicle by VIN
Select Vehicle by Model
orMake
Model
Year
Select Vehicle by VIN
For the most accurate results, select vehicle by your VIN (Vehicle Identification Number).
8 Drive Belts found
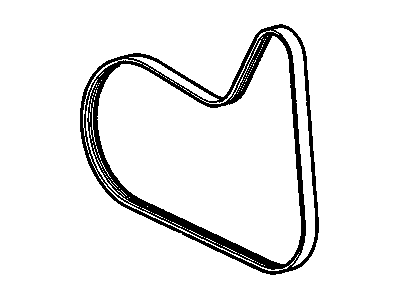
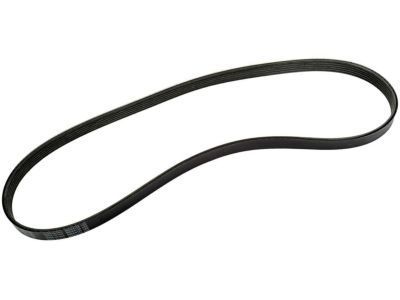
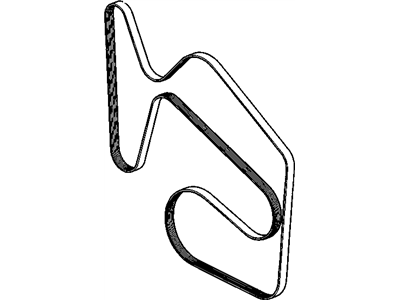
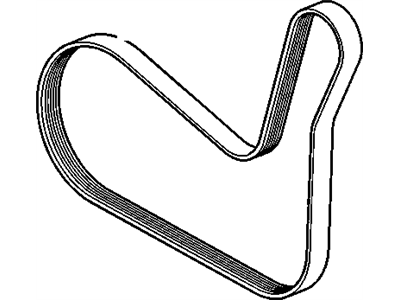
Saturn Vue Belt, Generator & A/C Compressor
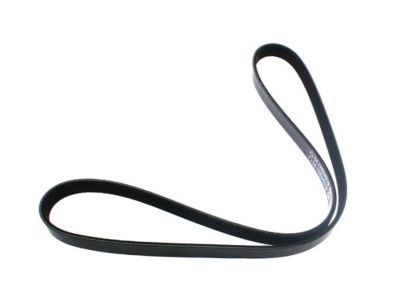
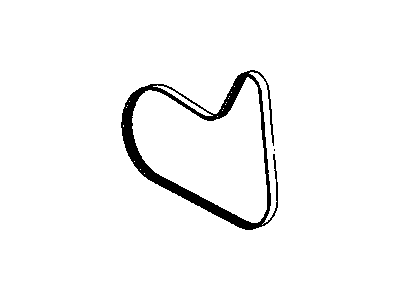
Part Number: 12634319$22.95 MSRP: $41.15You Save: $18.20 (45%)Ships in 1-3 Business DaysSaturn Vue Belt, Fan
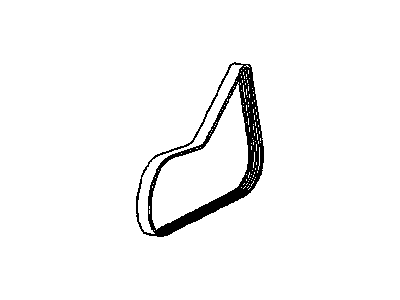
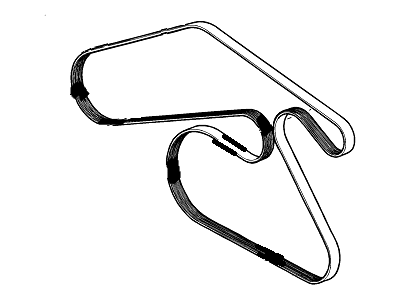
Part Number: 12581696$17.74 MSRP: $32.25You Save: $14.51 (45%)Ships in 1-3 Business DaysSaturn Vue Belt, Water Pump & A/C Compressor & Generator & P/S Pump
Part Number: 12577770$32.48 MSRP: $58.24You Save: $25.76 (45%)Ships in 1-2 Business DaysSaturn Vue Belt,Generator & A/C Compressor <Do Not Use After My 2019>
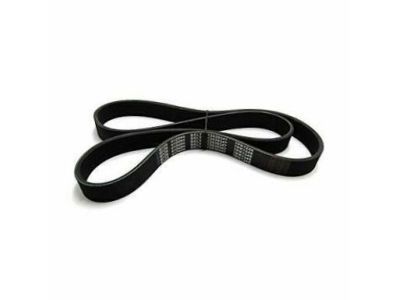
Part Number: 19355372$13.11 MSRP: $45.79You Save: $32.68 (72%)Ships in 1-2 Business DaysSaturn Vue Belt, Generator & A/C Compressor
Part Number: 12634320$19.99 MSRP: $32.88You Save: $12.89 (40%)Ships in 1-2 Business Days
Saturn Vue Drive Belt
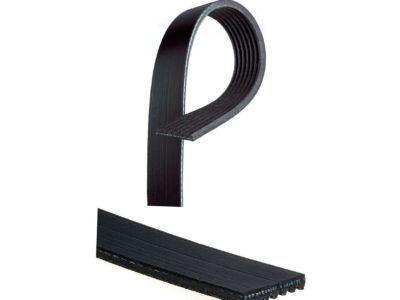
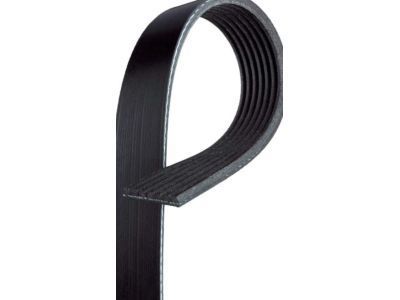
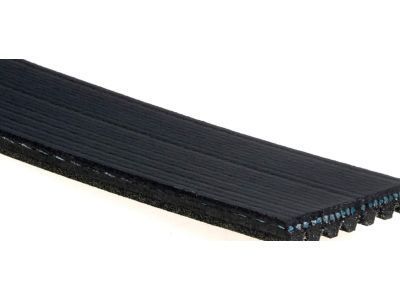
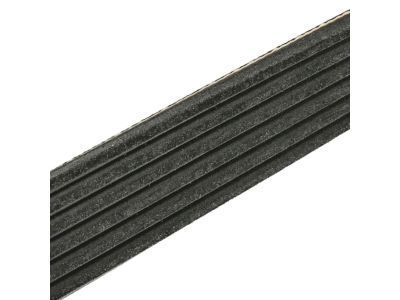
The Drive Belt in Saturn Vue vehicles, is designed to link the engine to a number of parts including the alternator and the A/C compressor among others. Normally a serpentine belt is used, which goes around these parts and connects them to the crankshaft pulley. This Drive Belt will last approximately 100,000 miles before it needs to be replaced, but if one notice that it has developed abrasions such as fraying or cracks then it will require replacement as soon as possible. In the course of these years, the Saturn Vue has used two main types of the Drive Belt which include the V-Belt drive belt and the Multi-Groove drive belt designed to improve the surface traction while reducing slippage. These Drive Belts are developed in line with increasing technology to give optimal performance and to transmit power in the Saturn Vue series. The Drive Belt is extremely important and should be serviced and replaced promptly before developing problems concerning the engine and its parts.
Each OEM Saturn Vue Drive Belt we offer is competitively priced and comes with the assurance of the manufacturer's warranty for the part. Furthermore, we guarantee the speedy delivery of your orders right to your doorstep. Our hassle-free return policy is also in place for your peace of mind.
Saturn Vue Drive Belt Parts Questions & Experts Answers
- Q: What is the importance of inspecting and adjusting drive belts on Saturn Vue?A:These drivebelts, which are situated in front of the engine, are very important for the operation of the vehicle and therefore should be checked periodically and realigned since they are prone to a total failure after sometime. All models employ the single serpentine belt which does not need to be adjusted due to a provision of an automatic tensioner. To check the drivebelt, switch off the engine and then open the bonnet and use a torchlight checking for severed core, peeling of adhesive rubber or check for cracks at the ribs of the belt. Same to fraying and glazing, and if there are signs of it, then it is high time to replace the belt. For replacement, always carry belt along with you so that you can tell the exact belt that you want during purchasing a new belt. Lose the lug nuts of the right front wheel, safely jack up the car using jackstands, remove the right front wheel and inner fender splash shield. By use of a breaker bar or ratchet, the tensioner has to be turned to an anticlockwise position in order to removing the drivebelt from the pulleys in a way that the new belt is correctly positioned in between the pulleys. For a 3.0L V6, first, the air intake duct assembly is disconnected, the car is then lifted and supported on jackstands, the engine is then lifted to remove the right engine mount and its bracket, tension is then released on the drivebelt and the belt is then removed. For a 3.5L V6 engine it is exactly the same, the difference is that the emphasis is put on the air intake duct-less tension to slip off the belt. While replacing the tensioner, one need to ensure that the key is out of the ignition, then one has to take off the drivebelt, withdraw the tensioner mounting fasteners and then fix the new tensioner by following the above procedures in the reversal manner by very tight tightening the fasteners to a particular torque.
