My Garage
My Account
Cart
Genuine Saturn Vue Water Pump
H2O Pump- Select Vehicle by Model
- Select Vehicle by VIN
Select Vehicle by Model
orMake
Model
Year
Select Vehicle by VIN
For the most accurate results, select vehicle by your VIN (Vehicle Identification Number).
7 Water Pumps found
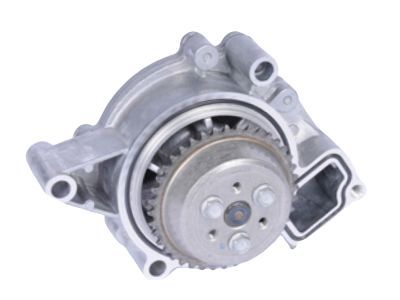
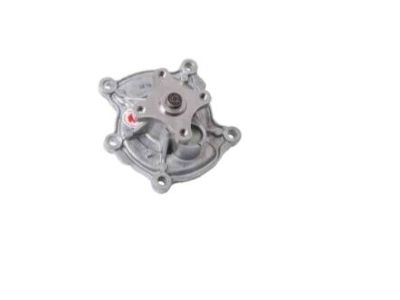
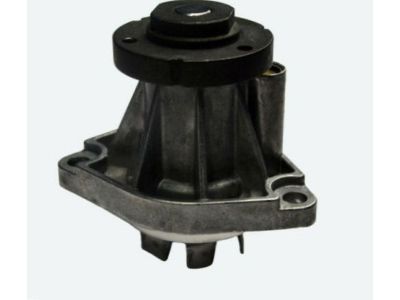
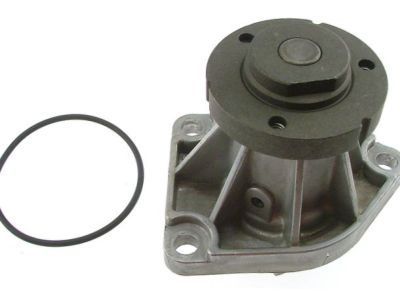
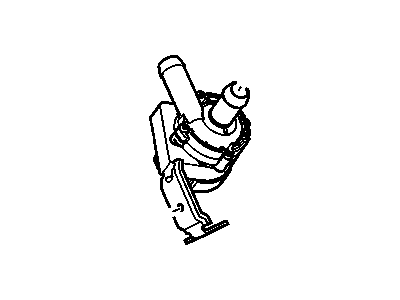
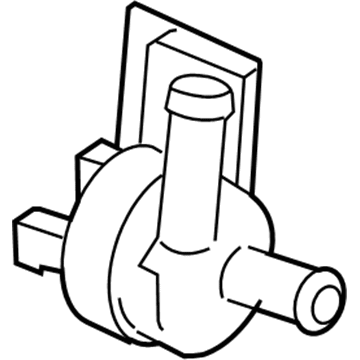
Saturn Vue Water Pump Assembly
Part Number: 12630084$202.40 MSRP: $394.54You Save: $192.14 (49%)Ships in 1-3 Business Days
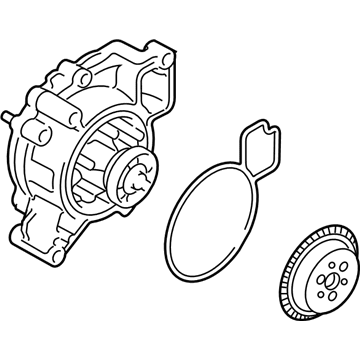
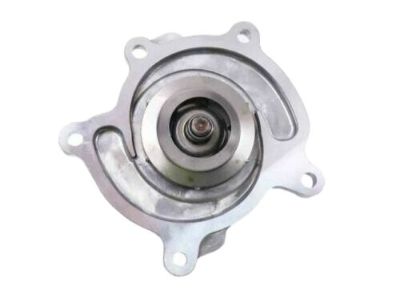
Saturn Vue Water Pump
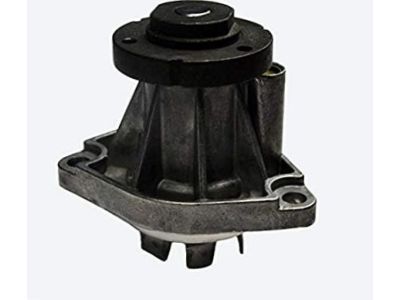
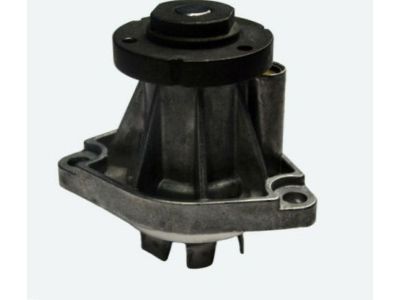
The Water Pump in Saturn Vue vehicles is among the critical parts in an automobile tasked with circulating coolant from the radiator to the engine to absorb the heat produced during combustion. Almost all applications of Vue have a belt driven water pump with an impeller to pump the coolant through the engine block and out to the radiator. Thus while the earlier models had cast iron water pumps, latest models tend to be aluminum castings that offer higher efficiency. They include traces of coolant loss, loud sounds resulting from worn bearings, or over-heating of the engine. High-flow water pumps are offered for the high-performance engines with improved impellers and internal passages bring more drive coolant circulation while losing negligible power. There is also another version of water pumps, electric water pumps which can be also used for better cooling and efficiency, especially if the cooling system is integrated in the custom built vehicle.
Each OEM Saturn Vue Water Pump we offer is competitively priced and comes with the assurance of the manufacturer's warranty for the part. Furthermore, we guarantee the speedy delivery of your orders right to your doorstep. Our hassle-free return policy is also in place for your peace of mind.
Saturn Vue Water Pump Parts Questions & Experts Answers
- Q: How to remove a Water Pump on Saturn Vue?A:To remove a 4-cylinder engine, start by disconnecting the negative battery terminal and draining the cooling system. Remove the air intake duct and air filter housing, then loosen the bolts of the right front wheel and raise the vehicle on jack stands. Remove the wheel and the right front inner wheel splash shield. Take off the front exhaust manifold heat shield and the water pump access plate from the front cover. Disconnect the electrical connector from the engine coolant temperature sensor and remove the bolts from the thermostat housing and its pipes. Twist the coolant pipe out of the water pump and move the assembly to the left. Remove the coolant pipe and its seals. Install a special holding tool on the water pump and remove the remaining water pump sprocket bolts. Take out the two bolts from the front and rear of the water pump and gently tap it with a soft face hammer if it's stuck. Clean the bolt threads, threaded holes, and sealing surfaces, and remove the sealing ring from the water pump if reusing it. To install the new water pump, put a new sealing ring onto the groove of the pump and use a guide pin to align the water pump sprocket with the water pump. Install the water pump mounting bolts and tighten them, then remove the sprocket holding tool and guide pin. Tighten the water pump mounting bolts and sprocket bolts to the specified torque. The rest of the installation is the reverse of removal, making sure to lightly lubricate the new water pipe seals. For a V6 model, remove the timing belt cover and inspect the belt. On 2004 and later models, remove the timing belt, tensioner, and adjuster assembly. Clean all sealing surfaces of the pump and housing. To install the new pump, compare it to the old one to ensure they are identical. Apply a thin layer of RTV to hold the new gasket in place and mate the pump to the block. Install the pump bolts and tighten them to the specified torque. Finally, refill the cooling system, run the engine, and check for any leaks.
