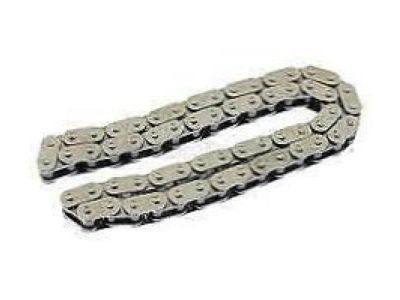
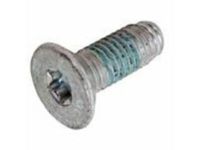
Wait until the engine is completely cool before beginning this procedure. Caution: The timing system is complex, and severe engine damage will occur if mistakes are made. Do not attempt this procedure unless highly experienced with this type of repair; if unsure, consult an expert. Double-check all work to ensure everything is correct before attempting to start the engine. Disconnect the cable from the negative terminal of the battery, drain the cooling system and engine oil, and remove the water pump by detaching the hoses and lifting off the manifold. Remove the crankshaft balancer, disconnect the wiring from the camshaft position sensor and actuator magnet if equipped, and remove the oil pan. Remove the timing chain cover by taking out the mounting bolts and separating it from the block, using a putty knife if necessary to break the gasket seal without damaging the cover. For engines without a camshaft position actuator, loosen the camshaft sprocket bolts, rotate the crankshaft until the timing marks align, and then detach the camshaft sprocket and chain as an assembly, ensuring not to turn the crankshaft or camshaft while the chain is off. For engines with a camshaft position actuator, rotate the crankshaft until the timing marks align, remove the solenoid valve from the upper sprocket assembly, loosen the actuator from the camshaft, and remove the actuator assembly along with the chain, again ensuring not to turn the crankshaft or camshaft while the chain is off. Inspect the timing chain tensioner, camshaft, and crankshaft sprockets for wear and damage, and if necessary, remove the sprocket from the crankshaft carefully. Before starting the engine, rotate the crankshaft by hand through at least two full revolutions, checking for resistance. Timing chains must be replaced as a set with the camshaft and crankshaft sprockets. Use a gasket scraper to remove old gasket material from the cover and engine block, align the crankshaft sprocket with the Woodruff key, and press it onto the crankshaft. Loop the new chain over the camshaft sprocket, position the camshaft sprocket on the end of the camshaft, and ensure the timing marks align. For engines using a camshaft position actuator, verify that the timing chain does not protrude in front of the engine block. Tighten the camshaft sprocket bolt or new camshaft position actuator valve, compress the timing chain tensioner, install it, and remove the pin to allow it to extend. Install the oil pump, clean all sealing areas of the timing chain cover, and install the cover loosely with a new gasket. For 2009 and 2010 models, align the timing chain cover using a cover alignment tool, then tighten the cover bolts. For 2011 and later models, use the appropriate tools to align the front cover to the oil pan and center the hole over the crank. Install a new crankshaft oil seal, apply RTV sealant where the oil pan meets the engine block, and complete the installation in reverse order of removal. Refill the cooling system and engine oil, replace the engine oil filter, run the engine, and check for leaks.
Posted by GMPartsGiant Specialist 
