My Garage
My Account
Cart
Genuine 1986 Chevrolet El Camino Control Arm
Suspension Arm- Select Vehicle by Model
- Select Vehicle by VIN
Select Vehicle by Model
orMake
Model
Year
Select Vehicle by VIN
For the most accurate results, select vehicle by your VIN (Vehicle Identification Number).
5 Control Arms found
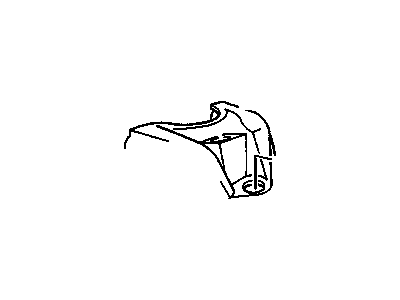
1986 Chevrolet El Camino ARM KIT,FRT UPR CONT<SEE GUIDE/CONTACT BFO>
Part Number: 19416899$218.77 MSRP: $377.38You Save: $158.61 (43%)Ships in 1-2 Business DaysProduct Specifications- Other Name: Control Arm, Upper Control Arm
- Replaces: 12376266, 19133654, 12543948, 12546748
- Item Weight: 9.80 Pounds
- Item Dimensions: 15.2 x 12.0 x 4.1 inches
- Condition: New
- Fitment Type: Direct Replacement
- SKU: 19416899
- Warranty: This genuine part is guaranteed by GM's factory warranty.
- Product Specifications
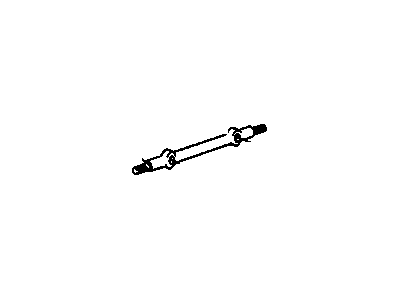
- Other Name: SHAFT KIT, Steering Knuckle Upper Control Arm
- Position: Front Upper
- Item Weight: 3.20 Pounds
- Item Dimensions: 4.7 x 4.6 x 17.3 inches
- Condition: New
- Fitment Type: Direct Replacement
- Require Quantity: 2
- SKU: 12385857
- Warranty: This genuine part is guaranteed by GM's factory warranty.
- Product Specifications
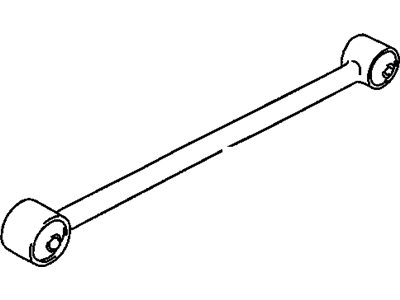
- Other Name: Arm Assembly, Rear Axle Upper Control; Control Arm, Upper Control Arm
- Position: Rear Upper
- Item Weight: 2.90 Pounds
- Item Dimensions: 14.9 x 4.6 x 4.3 inches
- Condition: New
- Fitment Type: Direct Replacement
- Require Quantity: 2
- SKU: 10000076
- Warranty: This genuine part is guaranteed by GM's factory warranty.
- Product Specifications
- Other Name: Arm Assembly, Rear Axle Lower Control; Control Arm, Lower Control Arm
- Position: Rear Lower
- Item Weight: 4.30 Pounds
- Item Dimensions: 23.2 x 2.7 x 2.7 inches
- Condition: New
- Fitment Type: Direct Replacement
- Require Quantity: 2
- SKU: 10081635
- Warranty: This genuine part is guaranteed by GM's factory warranty.
- Product Specifications
- Other Name: Arm,Front Lower Control; Control Arm, Lower Control Arm
- Position: Front Lower
- Condition: New
- Fitment Type: Direct Replacement
- SKU: 14075338
- Warranty: This genuine part is guaranteed by GM's factory warranty.
1986 Chevrolet El Camino Control Arm
We are your prime source for competitively priced and high-quality OEM 1986 Chevrolet El Camino Control Arm. We provide you with parts that will allow you to save a lot of money without sacrificing quality. All our OEM parts are backed by the manufacturer's warranty and shipped out at a swift rate.
1986 Chevrolet El Camino Control Arm Parts Questions & Experts Answers
- Q: How to properly remove and install the upper control arm on 1986 Chevrolet El Camino?A: Raise the front end of the vehicle and lower the control arm onto a jack for support, then remove the wheel. Separate the upper control arm ball stud and remove the two nuts securing the control arm shaft to the frame bracket, ensuring to tape together the shims for proper reinstallation. In some cases, it may be necessary to remove the upper control arm attaching bolts for clearance; gently tap the bolt downwards with a brass drift, pry it upwards with a suitable box wrench, and then use a pry bar and block of wood to remove the bolts from the frame. After removing the upper control arm, inspect the control arm pivot bushings; if they are worn, consider having them replaced by a GM dealer, or use a long bolt and tubular spacers for removal and installation if doing it yourself. When installing, loosen the end shaft retainer bolts or nuts, position the new control arm attaching bolts loosely in the frame, and install the control arm cross-shaft on the attaching bolts. Use a normal free-running nut to tighten the serrated bolts onto their seats, then remove the free-running nuts and fit the regular locknuts once the splined bolts are seated. Install the shims in their original fitted positions and torque-tighten the nuts, starting with the thinner shim pack nut for better clamping force. Install the ball stud through the knuckle, torque-tighten the nut, align the cotter pin holes, and fit a new cotter pin. Finally, fit the wheel, lower the vehicle to the floor, and torque-tighten the shaft retainer bolts or nuts.


