
My Garage
My Account
Cart
Genuine 1988 Chevrolet Nova Crankshaft
Crank Shaft- Select Vehicle by Model
- Select Vehicle by VIN
Select Vehicle by Model
orMake
Model
Year
Select Vehicle by VIN
For the most accurate results, select vehicle by your VIN (Vehicle Identification Number).
2 Crankshafts found
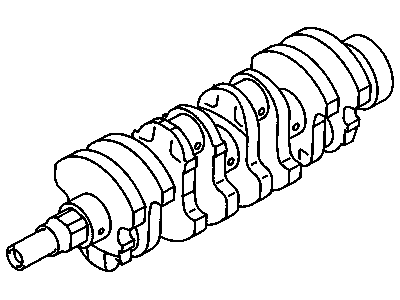 Product Specifications
- Item Weight: 31.00 Pounds
- Item Dimensions: 21.8 x 6.1 x 6.2 inches
- Condition: New
- Fitment Type: Direct Replacement
- SKU: 94845382
- Warranty: This genuine part is guaranteed by GM's factory warranty.
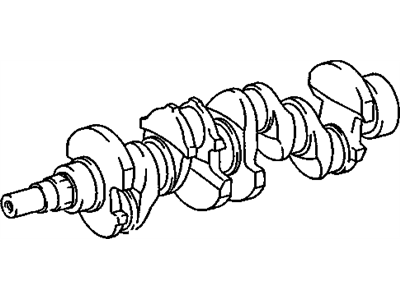 Product Specifications
- Other Name: Crankshaft
- Item Weight: 25.60 Pounds
- Item Dimensions: 21.9 x 6.2 x 6.2 inches
- Condition: New
- Fitment Type: Direct Replacement
- SKU: 94853352
- Warranty: This genuine part is guaranteed by GM's factory warranty.
1988 Chevrolet Nova Crankshaft
We are your prime source for competitively priced and high-quality OEM 1988 Chevrolet Nova Crankshaft. We provide you with parts that will allow you to save a lot of money without sacrificing quality. All our OEM parts are backed by the manufacturer's warranty and shipped out at a swift rate.
1988 Chevrolet Nova Crankshaft Parts Questions & Experts Answers
- Q:How can the crankshaft be removed from the engine after it has been disassembled on 1988 Chevrolet Nova?Posted by Dhamyanti S.A:The crankshaft can only be removed after the engine has been taken out of the vehicle and fully disassembled. Ensure that the main bearing caps are marked according to their original locations. Unbolt the main bearing caps while keeping their shell bearings together with the respective caps if they are to be reused. With assistance, lift the crankshaft from the crankcase. If the upper half shell bearings are to be removed for reuse, keep them identified and separate from their corresponding lower half shell bearings. Remove the two halves of the crankshaft rear oil seal. Replacing the main bearings while the engine is still in the vehicle carries some risk due to potential dirt deposits on the bearing shell faces during installation, but some may find the work-saving aspect worthwhile. Begin by removing the engine oil pan, oil pump, and spark plugs. Identify the main bearing caps. To replace the main bearing shells with the crankshaft in position, first loosen each of the main bearing caps without removing them. Remove the No. 1 main bearing cap, extract the shell bearing from the cap, and fit the new one after lubricating it with engine oil. Insert a cotter pin in each of the crankshaft journal oil holes and turn the crankshaft clockwise until the cotter pin head slides the upper shell from its seat in the crankcase. Fit the new upper shell in the same manner, ensuring it is well-oiled and inserting the plain end first. Remove the cotter pin, fit the bearing cap with the 'F' mark facing the front of the engine, and tighten the cap bolts finger-tight. Repeat these operations for the remaining main bearings and then tighten all cap bolts to the specified torque.Answered by GM Parts Specialist Raul / Mar 12, 2022
Related 1988 Chevrolet Nova Parts
 1988 Chevrolet Nova Crankshaft Thrust Washer Set
 1988 Chevrolet Nova Piston Ring
 1988 Chevrolet Nova Camshaft
 1988 Chevrolet Nova Oil Pan
 1988 Chevrolet Nova Oil Pan Gasket
 1988 Chevrolet Nova Oil Pump
 1988 Chevrolet Nova Oil Pump Gasket
 1988 Chevrolet Nova Crankshaft Gear
 1988 Chevrolet Nova Rod Bearing
 1988 Chevrolet Nova Cam Gear