My Garage
My Account
Cart
Genuine 1994 Chevrolet Beretta Exhaust Manifold
Engine Exhaust Manifold- Select Vehicle by Model
- Select Vehicle by VIN
Select Vehicle by Model
orMake
Model
Year
Select Vehicle by VIN
For the most accurate results, select vehicle by your VIN (Vehicle Identification Number).
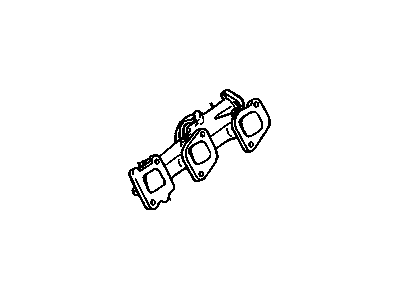
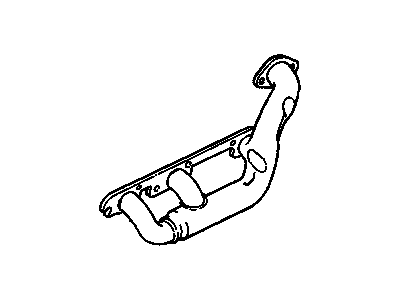
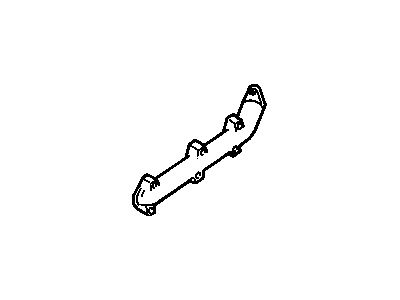
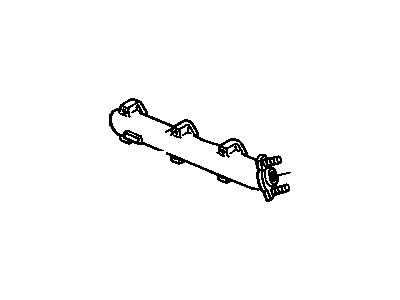
5 Exhaust Manifolds found
- Product Specifications
- Other Name: Manifold, Exhaust ; Manifold, Engine Exhaust Manifold; Exhaust Manifold, Manifold
- Item Weight: 5.40 Pounds
- Item Dimensions: 19.4 x 4.9 x 4.9 inches
- Condition: New
- Fitment Type: Direct Replacement
- SKU: 10182321
- Warranty: This genuine part is guaranteed by GM's factory warranty.
- Product Specifications
- Other Name: Manifold, Exhaust; Manifold
- Item Weight: 8.80 Pounds
- Item Dimensions: 18.0 x 6.1 x 4.4 inches
- Condition: New
- Fitment Type: Direct Replacement
- SKU: 24503607
- Warranty: This genuine part is guaranteed by GM's factory warranty.
- Product Specifications
- Other Name: Manifold Assembly, Exhaust; Exhaust Manifold, Manifold
- Item Weight: 8.40 Pounds
- Item Dimensions: 11.0 x 14.7 x 3.0 inches
- Condition: New
- Fitment Type: Direct Replacement
- SKU: 10171016
- Warranty: This genuine part is guaranteed by GM's factory warranty.
- Product Specifications
- Other Name: Manifold, Exhaust; Manifold
- Item Weight: 8.80 Pounds
- Item Dimensions: 19.0 x 4.5 x 6.9 inches
- Condition: New
- Fitment Type: Direct Replacement
- SKU: 10189230
- Warranty: This genuine part is guaranteed by GM's factory warranty.
- Product Specifications
- Other Name: Manifold, Exhaust; Manifold
- Item Weight: 11.80 Pounds
- Item Dimensions: 16.6 x 9.2 x 4.8 inches
- Condition: New
- Fitment Type: Direct Replacement
- SKU: 24573403
- Warranty: This genuine part is guaranteed by GM's factory warranty.
1994 Chevrolet Beretta Exhaust Manifold
We are your prime source for competitively priced and high-quality OEM 1994 Chevrolet Beretta Exhaust Manifold. We provide you with parts that will allow you to save a lot of money without sacrificing quality. All our OEM parts are backed by the manufacturer's warranty and shipped out at a swift rate.
1994 Chevrolet Beretta Exhaust Manifold Parts Questions & Experts Answers
- Q: How to remove and install an exhaust manifold in 2.0L/2.2L four cylinder overhead valve engine on 1994 Chevrolet Beretta?A: Disconnect the negative cable from the battery. Caution: On models equipped with the Delco Loc II audio system, make sure the lockout feature is turned off before performing any procedure that requires disconnecting the battery. Unplug the oxygen sensor lead. Remove the drive belt and the alternator. Raise the front of the vehicle, support it securely on jackstands, and apply the parking brake. Block the rear wheels to prevent the vehicle from rolling off the jackstands. Unbolt the exhaust pipe from the manifold. Lower the vehicle. Remove the eight exhaust manifold-to-cylinder head nuts/bolts, pull the manifold off the engine, and lift it out of the exhaust pipe flange. Remove and discard the gasket. Scrape off all traces of gasket material from the exhaust manifold and cylinder head mating surfaces. Clean all bolt and stud threads before installation. Use a wire brush on the manifold mounting studs, and a tap works well for cleaning the cylinder head bolt holes. If installing a new manifold, transfer the oxygen sensor from the old manifold to the new one. Installation is the reverse of removal. Be sure to use a new gasket and tighten the nuts/bolts. Work in a spiral pattern from the center out.
