
My Garage
My Account
Cart
Genuine 1997 Chevrolet K1500 Cylinder Head
Head- Select Vehicle by Model
- Select Vehicle by VIN
Select Vehicle by Model
orMake
Model
Year
Select Vehicle by VIN
For the most accurate results, select vehicle by your VIN (Vehicle Identification Number).
8 Cylinder Heads found
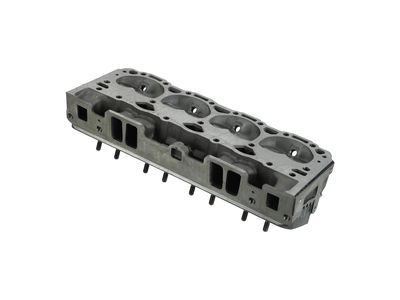
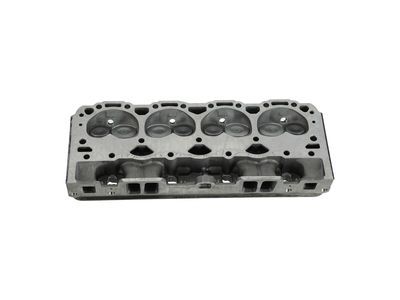
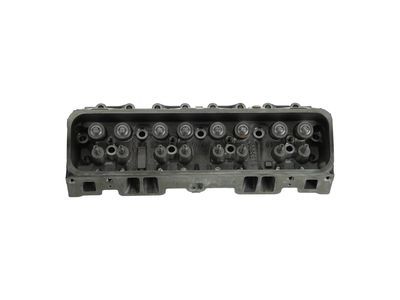
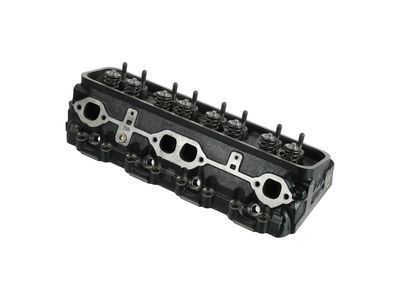
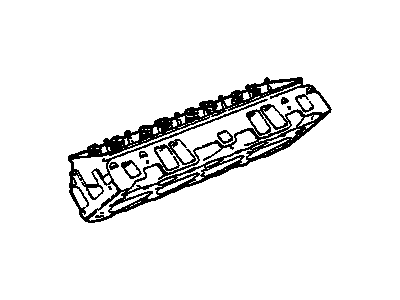
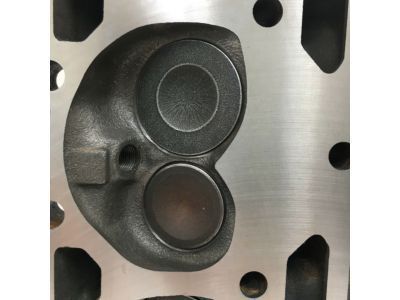
1997 Chevrolet K1500 Head
Part Number: 12691728$758.63 MSRP: $908.82You Save: $150.19 (17%)Ships in 1-3 Business DaysProduct Specifications- Other Name: Head, Engine Cylinder
- Replaced by: 19436449
- Replaces: 12558060, 12529093
- Condition: New
- Fitment Type: Direct Replacement
- Require Quantity: 2
- SKU: 12691728
- Warranty: This genuine part is guaranteed by GM's factory warranty.
- Product Specifications
- Other Name: Head, Engine Cylinder
- Condition: New
- Fitment Type: Direct Replacement
- Require Quantity: 2
- SKU: 12691727
- Warranty: This genuine part is guaranteed by GM's factory warranty.
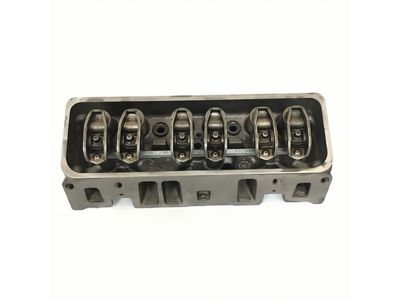
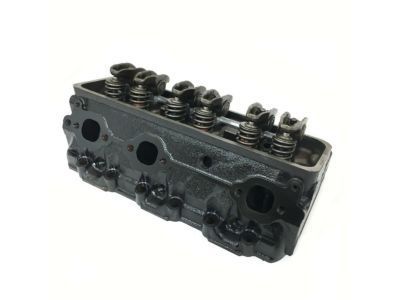
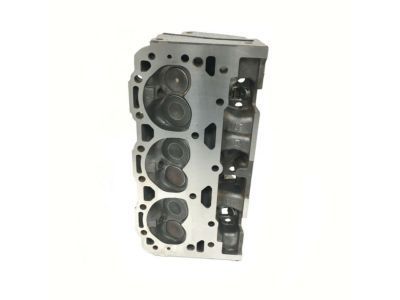
1997 Chevrolet K1500 Cylinder Head Assembly (W/Studs)
Part Number: 12533558$311.57 MSRP: $491.12You Save: $179.55 (37%)Product Specifications- Other Name: Head Asm,Cyl (W/Studs)
- Replaces: 12533134
- Item Weight: 33.30 Pounds
- Item Dimensions: 18.9 x 9.2 x 7.7 inches
- Condition: New
- Fitment Type: Direct Replacement
- SKU: 12533558
- Warranty: This genuine part is guaranteed by GM's factory warranty.
- Product Specifications
- Other Name: Head,Cyl (W/Studs); Cylinder Head
- Item Weight: 47.10 Pounds
- Item Dimensions: 21.4 x 9.3 x 6.9 inches
- Condition: New
- Fitment Type: Direct Replacement
- Require Quantity: 2
- SKU: 12528913
- Warranty: This genuine part is guaranteed by GM's factory warranty.
 Product Specifications
- Other Name: Head Asm,Cyl ; Head, Engine Cylinder; Cylinder Head
- Item Weight: 63.70 Pounds
- Item Dimensions: 24.0 x 11.4 x 9.6 inches
- Condition: New
- Fitment Type: Direct Replacement
- Require Quantity: 2
- SKU: 12533543
- Warranty: This genuine part is guaranteed by GM's factory warranty.
- Product Specifications
- Other Name: Head Asm,Cyl ; Head, Engine Cylinder; Cylinder Head
- Item Weight: 0.30 Pounds
- Item Dimensions: 25.6 x 11.8 x 8.4 inches
- Condition: New
- Fitment Type: Direct Replacement
- Require Quantity: 2
- SKU: 12522533
- Warranty: This genuine part is guaranteed by GM's factory warranty.
- Product Specifications
- Other Name: Head Assembly, Cyl (W/ Valve); Cylinder Head
- Replaces: 12529180
- Item Weight: 45.50 Pounds
- Item Dimensions: 24.5 x 15.5 x 10.6 inches
- Condition: New
- Fitment Type: Direct Replacement
- Require Quantity: 2
- SKU: 12558057
- Warranty: This genuine part is guaranteed by GM's factory warranty.
- Product Specifications
- Other Name: Head Assembly, Cyl (W/ Valve)
- Replaces: 12529509
- Item Weight: 44.50 Pounds
- Item Dimensions: 22.5 x 8.9 x 6.7 inches
- Condition: New
- Fitment Type: Direct Replacement
- Require Quantity: 2
- SKU: 12553893
- Warranty: This genuine part is guaranteed by GM's factory warranty.
1997 Chevrolet K1500 Cylinder Head
We are your prime source for competitively priced and high-quality OEM 1997 Chevrolet K1500 Cylinder Head. We provide you with parts that will allow you to save a lot of money without sacrificing quality. All our OEM parts are backed by the manufacturer's warranty and shipped out at a swift rate.
1997 Chevrolet K1500 Cylinder Head Parts Questions & Experts Answers
- Q:How to remove the cylinder heads on 1997 Chevrolet K1500?Posted by Ruan E.A:To begin with, take off the rocker arm covers and then the intake manifold, making sure that the cooling system is drained to stop coolant from seeping into internal engine areas when the manifold and heads are removed. After that, remove rocker arms and pushrods by detaching both exhaust manifolds. Use a new head gasket and create a template on a piece of cardboard by outlining the cylinders and bolt pattern while noting the front of the engine for reference then punch holes through at the bolt locations. In 1/4 turn increments, loosen head bolts until they can be removed by hand following a tightening sequence in reverse. To maintain original positions, store bolts in cardboard holder. Take off heads carefully from engine and avoid prying between head and block when resistance is met to prevent damage of mating surfaces but instead use wood block and hammer to free out heads if need arises. To protect gasket sealing surfaces, place heads on blocks of wood. The cylinder head and block mating surfaces should be cleaned right off using a gasket scraper to remove carbon and old gasket material followed by lacquer thinner or acetone washes. Mating surfaces should be dry as any oil may result into improper gasket sealing resulting into leakage problems. Some blemishes may call for filing while others could necessitate machining; thus inspect these surfaces for damages that might have occurred before installing new parts. Chase threads in the head bolt holes with the appropriate tap then clean threads thoroughly. Set new gaskets over dowel pins in block; apply thin coat of sealant on both sides if using steel gasket before placing it ensuring raised bead faces up. Composition gaskets shall be installed without any sealant being used at all. Now, position heads atop block without shift mortification occurring to gaskets placement itself. Just before mounting the head bolts make sure that they are coated with non-hardening sealant like Permatex no 2 and then screw into their original positions tightening them by hand. Gradually torque the bolts to the specified torque following the recommended tightening sequence. Finish the installation with the rest of the steps in reverse order.Answered by GM Parts Specialist Fernando / Mar 30, 2026
Related 1997 Chevrolet K1500 Parts
 1997 Chevrolet K1500 Rocker Arm
 1997 Chevrolet K1500 Rocker Shaft Spring Kit
 1997 Chevrolet K1500 Timing Cover
 1997 Chevrolet K1500 Camshaft
 1997 Chevrolet K1500 Intake Valve
 1997 Chevrolet K1500 Exhaust Valve