
My Garage
My Account
Cart
Genuine 1998 Pontiac Grand Prix Harmonic Balancer
Engine Harmonic Balancer- Select Vehicle by Model
- Select Vehicle by VIN
Select Vehicle by Model
orMake
Model
Year
Select Vehicle by VIN
For the most accurate results, select vehicle by your VIN (Vehicle Identification Number).
3 Harmonic Balancers found
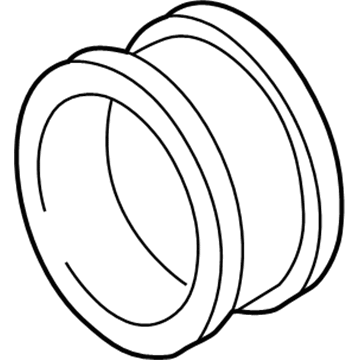
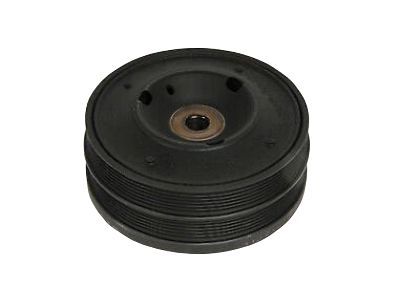
1998 Pontiac Grand Prix Crankshaft Balance
Part Number: 19420423$56.91 MSRP: $98.17You Save: $41.26 (43%)Ships in 1-2 Business DaysProduct Specifications- Other Name: Balancer, Engine Crankshaft And Camshaft Balancer
- Replaces: 24504609
- Condition: New
- SKU: 19420423
- Warranty: This genuine part is guaranteed by GM's factory warranty.
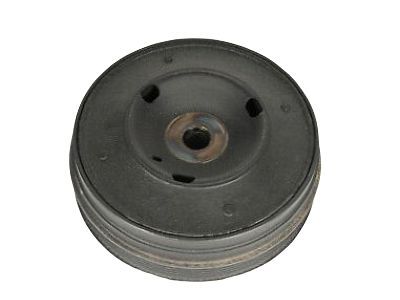
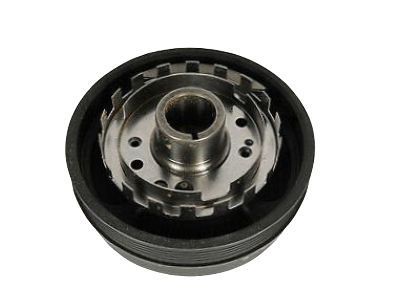
 Product Specifications
- Other Name: BALANCER, Engine Crankshaft And Camshaft Balancer
- Replaces: 24504737, 24507558
- Item Weight: 7.00 Pounds
- Item Dimensions: 8.5 x 8.7 x 5.0 inches
- Condition: New
- Fitment Type: Direct Replacement
- SKU: 12563267
- Warranty: This genuine part is guaranteed by GM's factory warranty.
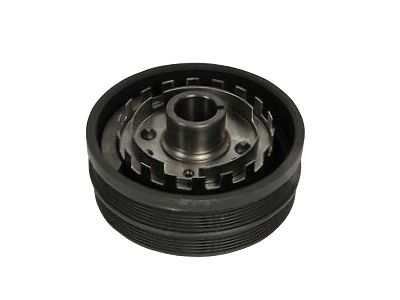
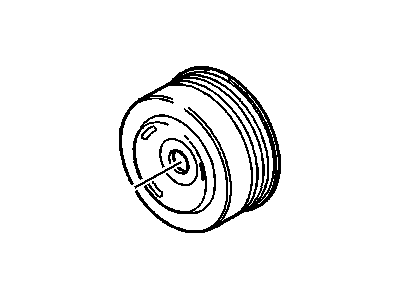
 Product Specifications
- Other Name: BALANCER, Engine Crankshaft And Camshaft Balancer
- Replaces: 24507560
- Item Weight: 11.10 Pounds
- Item Dimensions: 9.0 x 8.7 x 6.3 inches
- Condition: New
- Fitment Type: Direct Replacement
- SKU: 12563268
- Warranty: This genuine part is guaranteed by GM's factory warranty.
1998 Pontiac Grand Prix Harmonic Balancer
We are your prime source for competitively priced and high-quality OEM 1998 Pontiac Grand Prix Harmonic Balancer. We provide you with parts that will allow you to save a lot of money without sacrificing quality. All our OEM parts are backed by the manufacturer's warranty and shipped out at a swift rate.
1998 Pontiac Grand Prix Harmonic Balancer Parts Questions & Experts Answers
- Q:What precautions should be taken when servicing the harmonic balancer assembly in 3.8L V6 engine on 1998 Pontiac Grand Prix?Posted by Shigeyo L.A:The harmonic balancer is serviced as an assembly; do not attempt to separate the pulley from the balancer hub. Begin by disconnecting the negative cable from the battery, ensuring that the lockout feature of the Theftlock audio system is turned off if equipped. Loosen the lug nuts on the right front wheel, then raise the vehicle and support it securely on jackstands before removing the right front wheel and the right front fender inner splash shield. Next, remove the drivebelt. Take off the lower bellhousing cover plate and hold the crankshaft with a special flywheel locking tool; if unavailable, use a large screwdriver wedged in the ring gear teeth to prevent the crankshaft from turning while an assistant removes the crankshaft balancer bolt, which is typically tight and requires a large breaker bar and a six-point socket. For later models, it may be necessary to lower the right side of the drivetrain/front suspension frame assembly for access to the harmonic balancer bolt by placing a floor jack under the frame front center crossmember, loosening the right side frame bolts without removing them, and lowering the right side of the frame. The balancer should pull off the crankshaft by hand, leaving the Woodruff key in place; however, on 1997 and later models, a special crankshaft pulley puller may be needed. Installation is the reverse of removal, ensuring the keyway aligns with the key in the crankshaft and avoiding bending the metal tabs. Apply moly-base grease to the seal contact surface on the back side of the balancer to prevent damage to the seal lip and potential oil leakage. Finally, apply sealant to the threads and tighten the crankshaft bolt to the specified torque before reinstalling the remaining components in reverse order.Answered by GM Parts Specialist Bob / Jul 15, 2026