My Garage
My Account
Cart
Genuine 2004 Saturn Vue Crankshaft Seal
- Select Vehicle by Model
- Select Vehicle by VIN
Select Vehicle by Model
orMake
Model
Year
Select Vehicle by VIN
For the most accurate results, select vehicle by your VIN (Vehicle Identification Number).
4 Crankshaft Seals found
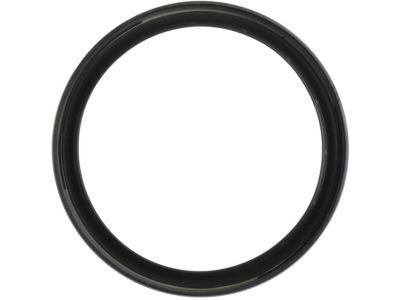
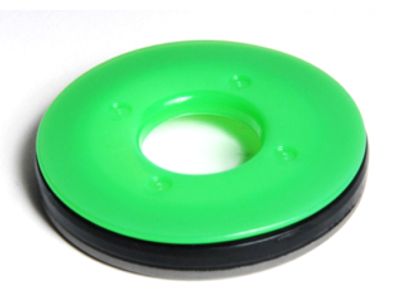
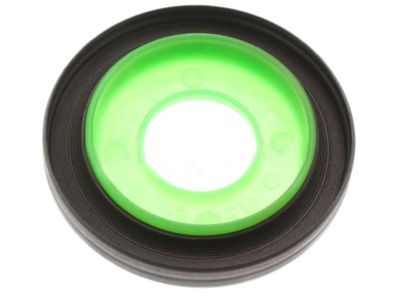
2004 Saturn Vue Seal Assembly, Crankshaft Rear Oil
Part Number: 12591866$21.33 MSRP: $36.17You Save: $14.84 (42%)Product Specifications- Other Name: SEAL, Engine Rear Main Bearing; Rear Main Seal
- Position: Rear
- Replaces: 90298408, 90325572, 90280462, 90354378
- Item Weight: 0.30 Pounds
- Item Dimensions: 4.5 x 4.4 x 1.1 inches
- Condition: New
- Fitment Type: Direct Replacement
- SKU: 12591866
- Warranty: This genuine part is guaranteed by GM's factory warranty.
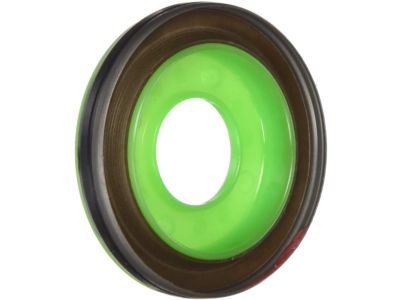
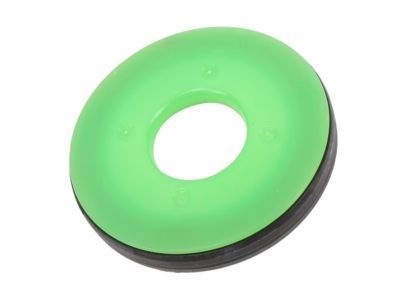
2004 Saturn Vue Seal, Crankshaft Front Oil
Part Number: 12584041$9.08 MSRP: $15.04You Save: $5.96 (40%)Ships in 1-3 Business DaysProduct Specifications- Other Name: SEAL, Engine Front Cover & Crankshaft Seal
- Position: Front
- Replaces: 12580989, 55564509, 12609467, 90571925
- Item Weight: 0.30 Pounds
- Item Dimensions: 2.8 x 2.8 x 0.5 inches
- Condition: New
- Fitment Type: Direct Replacement
- SKU: 12584041
- Warranty: This genuine part is guaranteed by GM's factory warranty.
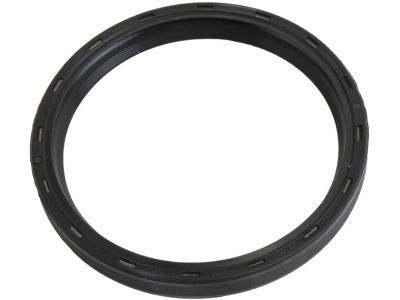
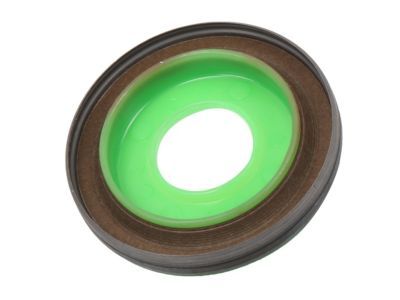
- Product Specifications
- Other Name: SEAL, Engine Front Cover & Crankshaft Seal; Front Crank Seal
- Position: Front
- Item Weight: 0.30 Pounds
- Item Dimensions: 4.1 x 6.2 x 0.5 inches
- Condition: New
- Fitment Type: Direct Replacement
- SKU: 12634365
- Warranty: This genuine part is guaranteed by GM's factory warranty.
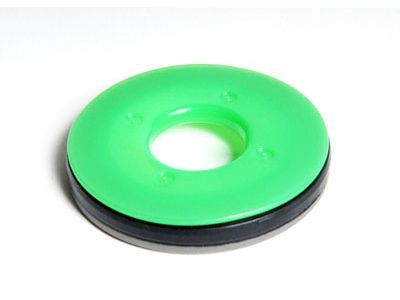
- Product Specifications
- Other Name: Rear Main Seal
- Position: Rear
- Replaces: 12582356
- Item Weight: 0.40 Pounds
- Item Dimensions: 4.6 x 0.8 x 0.4 inches
- Condition: New
- Fitment Type: Direct Replacement
- SKU: 12702151
- Warranty: This genuine part is guaranteed by GM's factory warranty.
2004 Saturn Vue Crankshaft Seal
We are your prime source for competitively priced and high-quality OEM 2004 Saturn Vue Crankshaft Seal. We provide you with parts that will allow you to save a lot of money without sacrificing quality. All our OEM parts are backed by the manufacturer's warranty and shipped out at a swift rate.
2004 Saturn Vue Crankshaft Seal Parts Questions & Experts Answers
- Q: How to remove and install a crankshaft pulley and front Crankshaft Seal in four cylinder engine on 2004 Saturn Vue?A: To remove the crankshaft pulley, first disconnect the cable from the negative battery terminal. Next, remove the drivebell and loosen the right front wheel lug nuts. Raise the vehicle and support it securely on jackstands before removing the wheel. Carefully pry out the plastic fasteners to remove the splash shield. Use a breaker bar and socket to remove the crankshaft pulley center bolt, employing a large pin spanner to prevent the pulley from rotating while loosening the bolt; discard the old bolt and obtain a new one for installation. Lock the pulley in position with a strap wrench or large pin spanner, ensuring to wrap an old drivebelt around the pulley for protection if using a strap wrench. Slide the pulley off the crankshaft; if stuck, use a puller that bolts to the three threaded holes in the pulley hub, along with a spacer like a deep socket to avoid damaging the crankshaft. Remove the crankshaft front oil seal with a seal puller or large screwdriver, taking care not to damage the crankshaft or seal bore. Clean the seal bore and check for nicks or gouges, examining the hub area for abnormal wear or scoring; repair sleeves may be available for many popular engines. For installation, coat the lip of the new seal with clean engine oil and drive it into the bore with a seal driver or a slightly smaller socket, ensuring the open side of the seal faces into the engine. Lubricate the sealing surface of the hub with clean engine oil, install the crankshaft pulley, and secure it with a new center bolt tightened to the specified torque. Complete the installation by reversing the removal steps and reconnect the battery.
