
My Garage
My Account
Cart
Genuine 2006 Pontiac G6 Oil Pan
Oil Drain Pan- Select Vehicle by Model
- Select Vehicle by VIN
Select Vehicle by Model
orMake
Model
Year
Select Vehicle by VIN
For the most accurate results, select vehicle by your VIN (Vehicle Identification Number).
3 Oil Pans found
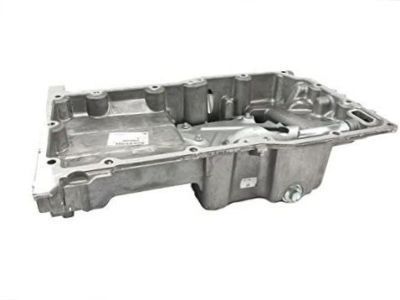
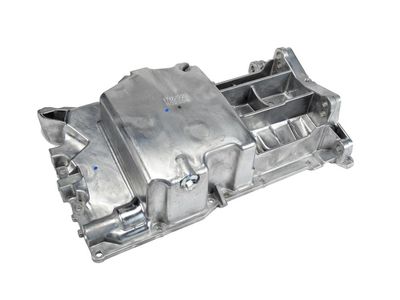
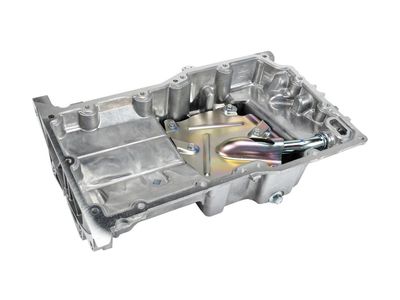
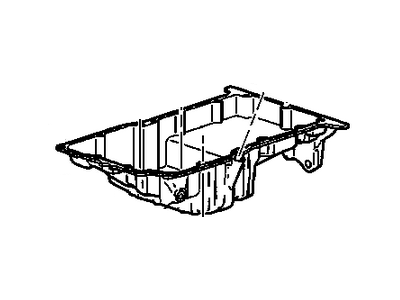
2006 Pontiac G6 Oil Pan
Part Number: 12601240$166.11 MSRP: $281.56You Save: $115.45 (41%)Ships in 1-2 Business DaysProduct Specifications- Other Name: PAN, Engine Oil; Oil Pan
- Replaces: 12578193
- Item Weight: 10.70 Pounds
- Item Dimensions: 21.8 x 16.3 x 14.7 inches
- Condition: New
- Fitment Type: Direct Replacement
- SKU: 12601240
- Warranty: This genuine part is guaranteed by GM's factory warranty.


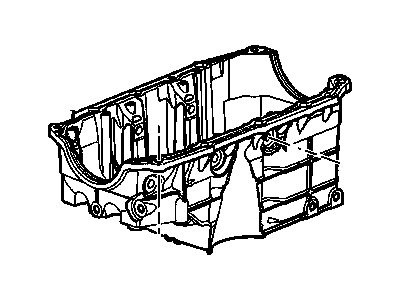
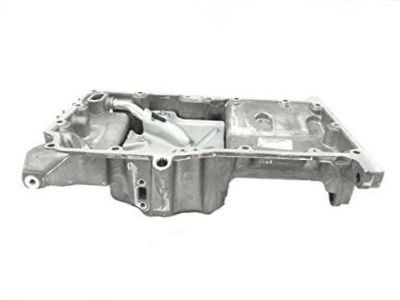
2006 Pontiac G6 Oil Pan
Part Number: 12603201$191.21 MSRP: $299.93You Save: $108.72 (37%)Ships in 1-3 Business DaysProduct Specifications- Other Name: Pan, Engine Oil; Oil Pan
- Item Weight: 14.10 Pounds
- Item Dimensions: 19.0 x 12.5 x 11.2 inches
- Condition: New
- Fitment Type: Direct Replacement
- SKU: 12603201
- Warranty: This genuine part is guaranteed by GM's factory warranty.
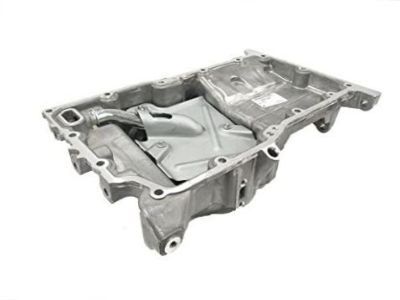
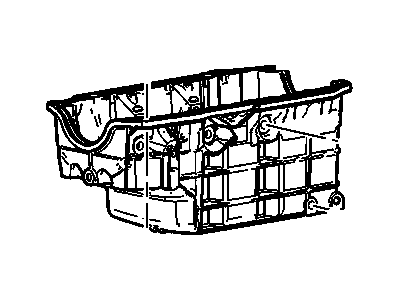 Product Specifications
- Other Name: Pan, Engine Oil; Oil Pan
- Replaces: 12581555
- Item Weight: 15.30 Pounds
- Item Dimensions: 18.7 x 11.1 x 10.1 inches
- Condition: New
- Fitment Type: Direct Replacement
- SKU: 12593455
- Warranty: This genuine part is guaranteed by GM's factory warranty.
2006 Pontiac G6 Oil Pan
We are your prime source for competitively priced and high-quality OEM 2006 Pontiac G6 Oil Pan. We provide you with parts that will allow you to save a lot of money without sacrificing quality. All our OEM parts are backed by the manufacturer's warranty and shipped out at a swift rate.
2006 Pontiac G6 Oil Pan Parts Questions & Experts Answers
- Q:How to remove and install an oil pan in 3.6L V6 engine on 2006 Pontiac G6?Posted by Arnil S.A:To remove the oil pan, first have the air conditioning system discharged at an authorized shop, although on some models it may be possible to move the air conditioning compressor without discharging the system. Disconnect the cable from the negative battery terminal, then install an engine support fixture to take the weight off the engine mounts. Raise the vehicle and support it securely on jackstands, then remove the right engine mount. Drain the engine oil and remove the oil filter, followed by the front portion of the exhaust system. Remove the air conditioning compressor or, if feasible, unbolt it and position it out of the way without disconnecting the refrigerant lines. Next, remove the oil pan mounting bolts and pry the oil pan off at the proper points, ensuring to remove the oil pickup after the bolts in the bottom of the oil pan are taken out, replacing the pickup seal if it was removed. For installation, clean the mounting surfaces of the oil pan and engine block, check the oil pump pickup for damage, and ensure a new oil seal is installed. Tighten the bolts in the bottom of the oil pan and install the baffle. Use aligning studs for correct oil pan alignment, apply a bead of oxygen sensor safe ATV sealant to the mating face, and install the oil pan, tightening the bolts finger-tight. Remove the aligning studs before tightening the oil pan bolts to the specified torque, noting that the bolts holding the oil pan to the rear main oil seal housing require a different torque. Finally, the remainder of the installation follows the reverse order of removal, and after adding the proper type and quantity of oil, start the engine and check for leaks before returning the vehicle to service.Answered by GM Parts Specialist Jose / Nov 03, 2022
Related 2006 Pontiac G6 Parts
 2006 Pontiac G6 Oil Filter
 2006 Pontiac G6 Rod Bearing
 2006 Pontiac G6 Crankshaft Thrust Washer Set
 2006 Pontiac G6 Oil Cooler
 2006 Pontiac G6 Drain Plug
 2006 Pontiac G6 Oil Pressure Switch
 2006 Pontiac G6 Crankshaft
 2006 Pontiac G6 Oil Pump
 2006 Pontiac G6 Dipstick
 2006 Pontiac G6 Oil Pan Gasket
 2006 Pontiac G6 Dipstick Tube