My Garage
My Account
Cart
Genuine 2007 Pontiac G6 Oil Pan
Oil Drain Pan- Select Vehicle by Model
- Select Vehicle by VIN
Select Vehicle by Model
orMake
Model
Year
Select Vehicle by VIN
For the most accurate results, select vehicle by your VIN (Vehicle Identification Number).
3 Oil Pans found
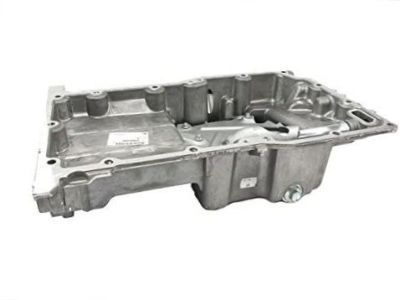
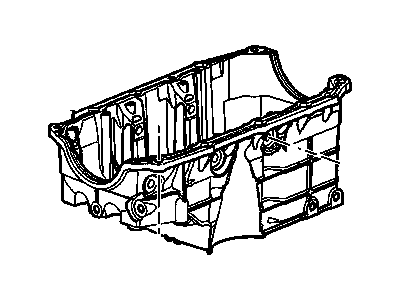
2007 Pontiac G6 Oil Pan
Part Number: 12601240$154.90 MSRP: $267.21You Save: $112.31 (43%)Ships in 1-2 Business DaysProduct Specifications- Other Name: PAN, Engine Oil; Oil Pan
- Replaces: 12578193
- Item Weight: 10.70 Pounds
- Item Dimensions: 21.8 x 16.3 x 14.7 inches
- Condition: New
- Fitment Type: Direct Replacement
- SKU: 12601240
- Warranty: This genuine part is guaranteed by GM's factory warranty.
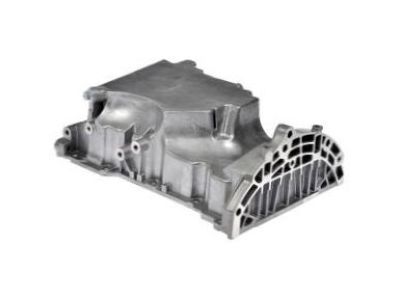
2007 Pontiac G6 Oil Pan Assembly
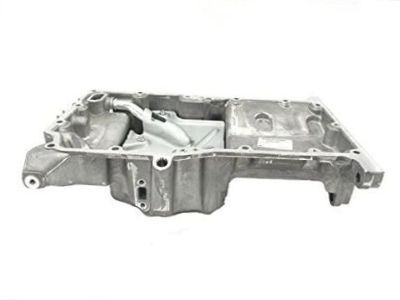
Part Number: 12603201$188.13 MSRP: $299.93You Save: $111.80 (38%)Ships in 1-3 Business DaysProduct Specifications- Other Name: PAN, Engine Oil; Oil Pan
- Item Weight: 14.10 Pounds
- Item Dimensions: 19.0 x 12.5 x 11.2 inches
- Condition: New
- Fitment Type: Direct Replacement
- SKU: 12603201
- Warranty: This genuine part is guaranteed by GM's factory warranty.
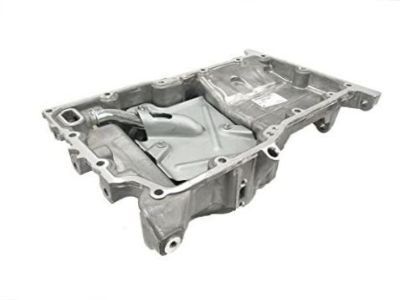
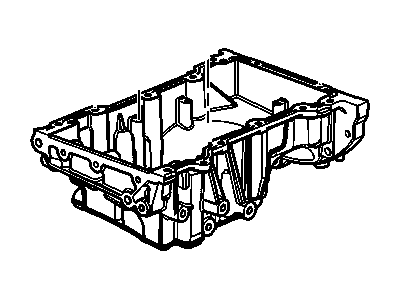
- Product Specifications
- Other Name: Pan Assembly, Oil; Oil Pan
- Replaces: 12609875, 12575368, 12636673, 12638371
- Item Weight: 15.90 Pounds
- Item Dimensions: 21.2 x 14.5 x 10.2 inches
- Condition: New
- Fitment Type: Direct Replacement
- SKU: 12666374
- Warranty: This genuine part is guaranteed by GM's factory warranty.
2007 Pontiac G6 Oil Pan
We are your prime source for competitively priced and high-quality OEM 2007 Pontiac G6 Oil Pan. We provide you with parts that will allow you to save a lot of money without sacrificing quality. All our OEM parts are backed by the manufacturer's warranty and shipped out at a swift rate.
2007 Pontiac G6 Oil Pan Parts Questions & Experts Answers
- Q: How to remove and install an oil pan in four cylinder engine on 2007 Pontiac G6?A: In order to replace the oil pan, one has to drain the engine oil and also the drivebelt should be removed. Remove right-front wheel lugs lightly, lift the front of the car with the jack, and place it on the jackstands. Then pull the lower air conditioning compressor mounting bolt and the oil pan to timing chain cover bolts, to expose the oil pan forward mounting bolts nearest the subframe, and out the oil pan to engine block bolts. If it is still firmly attached at the lower crankcase, use a rubber mallet, or better still a block of wood and a hammer to gently hit it so that it comes off; do not force yourself to pry on any part, just use the end of the casting that is sticking out. Before installation clean the lower crankcase and oil pan with gasket scraper and washing the area with solvent to remove soya debris. Cover the later surface of oil pan, in-board of the bolt holes and the oil suction port with 2mm bead of RTV sealant before fixing the oil pan in position with the bolts. Once all the bolts are properly aligned snug the pan to transaxle bolts before proceeding to snug the pan to block bolts in sequence up to the specified torque. The rest of the installation procedures are the reverse of removal and the wheel lug nuts must be tightened to the right torque. Also, add more oil into the engine, put a new oil filter, start the engine and look for any stains.
