My Garage
My Account
Cart
Genuine 2007 Pontiac G6 Intake Manifold
Engine Intake Manifold- Select Vehicle by Model
- Select Vehicle by VIN
Select Vehicle by Model
orMake
Model
Year
Select Vehicle by VIN
For the most accurate results, select vehicle by your VIN (Vehicle Identification Number).
8 Intake Manifolds found
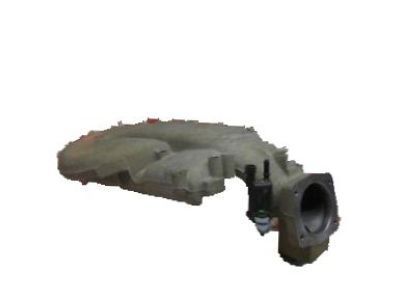
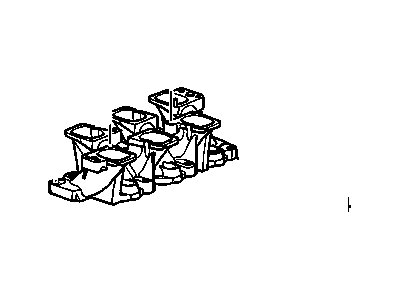
2007 Pontiac G6 Manifold, Upper Intake (Machine)
Part Number: 12626552$163.58 MSRP: $243.91You Save: $80.33 (33%)Ships in 1-2 Business DaysProduct Specifications- Other Name: MANIFOLD, Engine Fuel Intake Manifold; Intake Plenum, Plenum Gasket
- Position: Upper
- Replaces: 89018046
- Item Weight: 16.30 Pounds
- Item Dimensions: 22.5 x 18.4 x 12.1 inches
- Condition: New
- Fitment Type: Direct Replacement
- SKU: 12626552
- Warranty: This genuine part is guaranteed by GM's factory warranty.
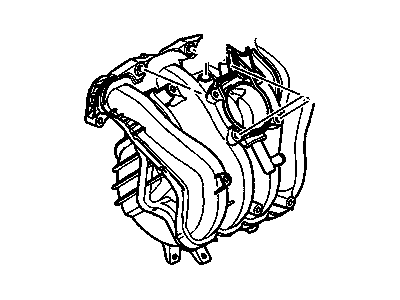
2007 Pontiac G6 Manifold, Upper Intake (Machine)
Part Number: 12626551$1311.82 MSRP: $1536.08You Save: $224.26 (15%)Ships in 1-2 Business DaysProduct Specifications- Other Name: MANIFOLD, Engine Fuel Intake Manifold; Intake Manifold, Intake Plenum
- Position: Upper
- Replaces: 12617645
- Item Weight: 12.20 Pounds
- Item Dimensions: 23.9 x 14.9 x 12.1 inches
- Condition: New
- Fitment Type: Direct Replacement
- SKU: 12626551
- Warranty: This genuine part is guaranteed by GM's factory warranty.
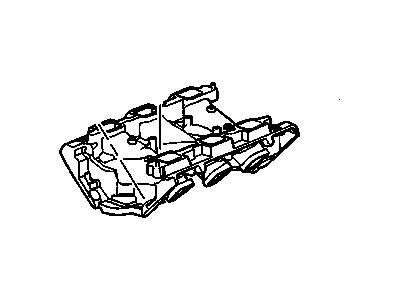
2007 Pontiac G6 Manifold, Intake (Machine)
Part Number: 12595822$130.24 MSRP: $242.74You Save: $112.50 (47%)Ships in 1-2 Business DaysProduct Specifications- Other Name: MANIFOLD, Engine Fuel Intake Manifold; Intake Manifold, Intake Plenum
- Item Weight: 16.70 Pounds
- Item Dimensions: 25.7 x 23.3 x 7.2 inches
- Condition: New
- Fitment Type: Direct Replacement
- SKU: 12595822
- Warranty: This genuine part is guaranteed by GM's factory warranty.
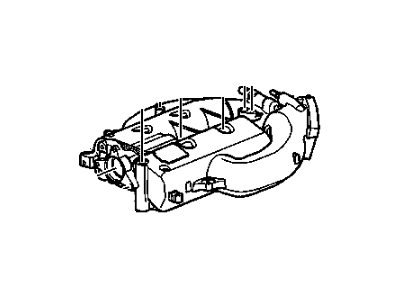
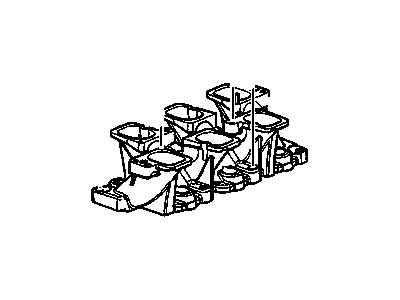
2007 Pontiac G6 MANIFOLD-LWR INT
Part Number: 12705324$4156.10 MSRP: $6877.18You Save: $2721.08 (40%)Ships in 1-3 Business DaysProduct Specifications- Condition: New
- Fitment Type: Direct Replacement
- SKU: 12705324
- Warranty: This genuine part is guaranteed by GM's factory warranty.
- Product Specifications
- Other Name: MANIFOLD, Engine Fuel Intake Manifold; Intake Manifold
- Item Weight: 4.40 Pounds
- Item Dimensions: 16.6 x 13.7 x 13.1 inches
- Condition: New
- Fitment Type: Direct Replacement
- SKU: 12578203
- Warranty: This genuine part is guaranteed by GM's factory warranty.
- Product Specifications
- Other Name: MANIFOLD, Engine Fuel Intake Manifold; Intake Manifold, Intake Plenum
- Position: Lower
- Item Weight: 10.30 Pounds
- Item Dimensions: 21.2 x 14.6 x 9.2 inches
- Condition: New
- Fitment Type: Direct Replacement
- SKU: 89017809
- Warranty: This genuine part is guaranteed by GM's factory warranty.
- Product Specifications
- Other Name: Intake Manifold
- Replaces: 12571079, 92068635
- Item Weight: 6.20 Pounds
- Item Dimensions: 7.2 x 7.3 x 15.6 inches
- Condition: New
- Fitment Type: Direct Replacement
- SKU: 19371505
- Warranty: This genuine part is guaranteed by GM's factory warranty.
- Product Specifications
- Other Name: MANIFOLD, Engine Fuel Intake Manifold
- Position: Lower
- Item Weight: 10.30 Pounds
- Item Dimensions: 21.2 x 14.9 x 9.4 inches
- Condition: New
- Fitment Type: Direct Replacement
- SKU: 19303537
- Warranty: This genuine part is guaranteed by GM's factory warranty.
2007 Pontiac G6 Intake Manifold
We are your prime source for competitively priced and high-quality OEM 2007 Pontiac G6 Intake Manifold. We provide you with parts that will allow you to save a lot of money without sacrificing quality. All our OEM parts are backed by the manufacturer's warranty and shipped out at a swift rate.
2007 Pontiac G6 Intake Manifold Parts Questions & Experts Answers
- Q: How to remove and install the intake manifold in 3.5L,3.9L V6 engine on 2007 Pontiac G6?A: Relieve the fuel system pressure and disconnect the cable from the negative terminal of the battery. Remove the engine cover by lifting up on the upper left and right corners and separating it from the engine. Disconnect the fuel supply tube from the fuel rail and remove the front spark plug wires, labeling them first. Label as necessary, then disconnect the brake booster hose, the EVAP canister purge valve, and all other interfering components from the upper intake manifold. Remove the ball stud and the alternator brace from the right rear corner of the manifold, followed by the bolts attaching the ignition coil bracket to the intake manifold. For 3.5L V6 models, remove the intake duct from the throttle body and label, then disconnect the electrical connectors from the throttle body, the EVAP canister purge valve, the IAT sensor, and the EGR valve if equipped. Disconnect any interfering engine wiring harnesses and remove the ignition coils along with the coil bracket. Remove the EVAP canister purge control valve and the MAP sensor with its bracket, and the EGR valve if equipped. For 3.9L V6 models, drain the cooling system, disconnect the EVAP tube from the purge control solenoid, and remove both PCV tubes. Disconnect the brake booster line and the radiator surge tank line from the intake manifold, then remove the radiator surge tank inlet tube. Disconnect the wiring from the MAP sensor, the purge control solenoid, the throttle body, and the intake manifold valve, and remove the air intake duct from between the throttle body and the air filter housing. Detach the heater pipes from the studs at the throttle body. Loosen the upper intake manifold bolts gradually, starting with the outer bolts and working towards the inner bolts, then remove the upper intake manifold with the throttle body attached. Clean the mounting surfaces of the lower and upper intake manifolds with brake system cleaner, removing all traces of old gasket material or sealant. Install the new gasket over the lower intake manifold, then install the upper intake manifold onto the lower intake manifold and tighten the bolts gradually, starting with the inner bolts and working towards the outer bolts, to the specified torque. If working on a 3.9L V6 model, refill the cooling system. For the lower intake manifold, drain the cooling system, remove the upper intake manifold, label and disconnect any remaining wires, fuel, and vacuum lines from the lower intake manifold, and remove the fuel rail and injectors. Remove the valve covers, disconnect the heater inlet tube from the intake manifold, and remove the thermostat for 3.5L V6 models. Loosen the rocker arm bolts, rotate the rocker arms out of the way, and remove the pushrods that go through the manifold gaskets. Loosen the manifold mounting bolts/nuts in 1/4-turn increments until they can be removed by hand. The manifold may be stuck to the cylinder heads, requiring force to break the gasket seal; pry the manifold loose at a casting boss without prying between the gasket surfaces to avoid damage. Lift the old gaskets off, use a gasket scraper to remove all traces of sealant and old gasket material, and clean the mating surfaces with brake system cleaner. Ensure the mating surfaces of the cylinder heads, block, coolant crossover housing, and manifold are perfectly clean when the manifold is installed. Use a tap of the correct size to chase the threads in the bolt holes if necessary, then use compressed air to remove debris from the holes. Place the intake manifold gaskets in position on the heads, then install the pushrods and rocker arms. Apply a 3/16-inch bead of RTV sealant to the front and rear ridges of the engine block between the heads, then carefully lower the manifold into place and install the mounting bolts/nuts finger tight, coating the bolt threads with thread-locking liquid before installation. Tighten the four vertical bolts at the center of the manifold in the recommended tightening sequence to the specified torque, followed by the four angled bolts at the ends of the manifold. Install the coolant crossover housing and torque the bolts to the specifications, then install the remaining components in reverse order of removal. Change the oil and filter, refill the cooling system, start the engine, and check for leaks.
