My Garage
My Account
Cart
Genuine 2008 Cadillac CTS Oil Pan
Oil Drain Pan- Select Vehicle by Model
- Select Vehicle by VIN
Select Vehicle by Model
orMake
Model
Year
Select Vehicle by VIN
For the most accurate results, select vehicle by your VIN (Vehicle Identification Number).
2 Oil Pans found
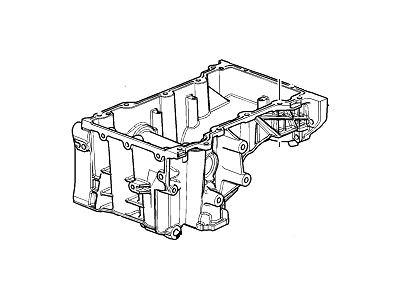
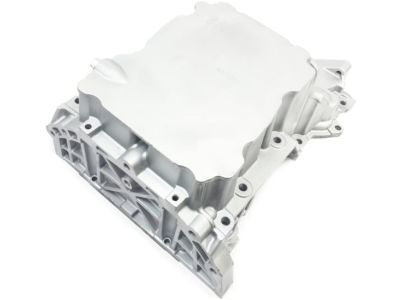
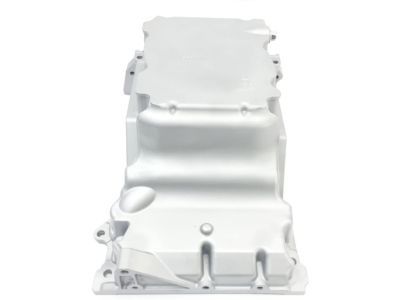
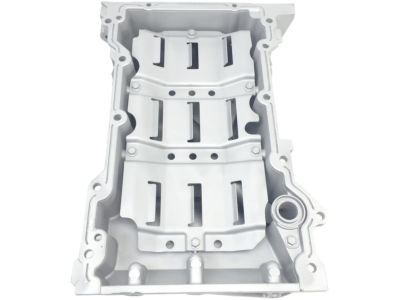
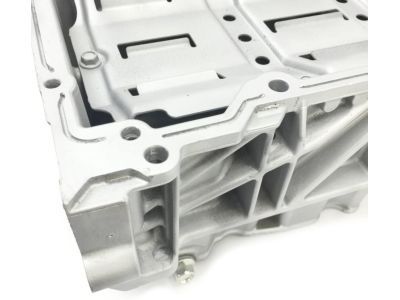
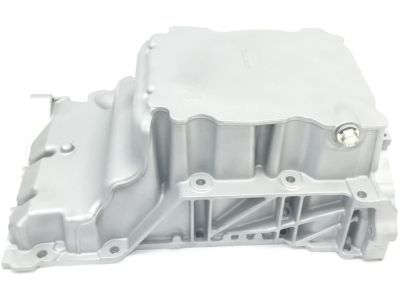
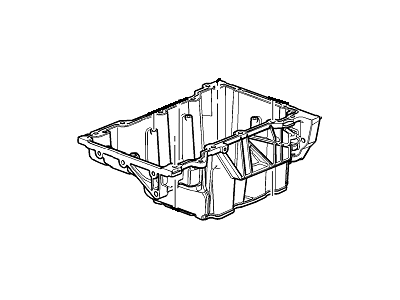
2008 Cadillac CTS Pan,Oil
Part Number: 12648929$225.07 MSRP: $372.36You Save: $147.29 (40%)Ships in 1-3 Business DaysProduct Specifications- Other Name: PAN, Engine Oil; Oil Pan
- Replaces: 12636677, 12596502, 12641017
- Item Weight: 24.10 Pounds
- Item Dimensions: 26.5 x 17.0 x 10.1 inches
- Condition: New
- Fitment Type: Direct Replacement
- SKU: 12648929
- Warranty: This genuine part is guaranteed by GM's factory warranty.
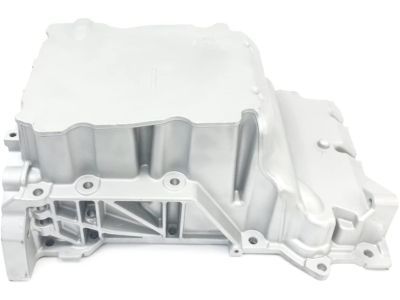
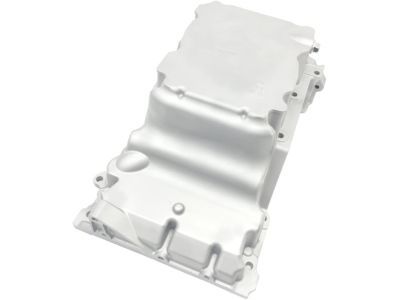
- Product Specifications
- Other Name: PAN, Engine Oil; Oil Pan
- Item Weight: 16.70 Pounds
- Item Dimensions: 25.7 x 17.0 x 9.9 inches
- Condition: New
- Fitment Type: Direct Replacement
- SKU: 12592105
- Warranty: This genuine part is guaranteed by GM's factory warranty.
2008 Cadillac CTS Oil Pan
We are your prime source for competitively priced and high-quality OEM 2008 Cadillac CTS Oil Pan. We provide you with parts that will allow you to save a lot of money without sacrificing quality. All our OEM parts are backed by the manufacturer's warranty and shipped out at a swift rate.
2008 Cadillac CTS Oil Pan Parts Questions & Experts Answers
- Q: How to remove and install an oil pan in 5.7L,6.0L,6.2L V8 engine on 2008 Cadillac CTS?A: To remove the oil pan, first disconnect the cable from the negative battery terminal. Raise the vehicle securely on jackstands, drain the engine oil, and remove the oil filter, followed by the air filter housing and air intake resonator. Disconnect the front exhaust Y pipe from the engine and exhaust system, although this is not strictly necessary, it aids in the oil pan removal. Remove the starter motor and the plastic covers on each side of the bellhousing. Detach any wiring harness brackets connected to the oil pan and those securing the transmission oil cooler lines, if equipped, and disconnect the electrical connector from the oil level sensor located on the right side of the oil pan. Attach a support fixture to the engine and raise it slightly to allow for the removal of the engine mount through-bolts or the engine mount-to-subframe bolts. Lift the engine approximately 1/2-inch, ensuring no upper engine components or wiring harnesses are obstructing. Unbolt the shock absorbers from the lower control arms and loosen the steering shaft coupler from the steering gear, then loosen the front suspension subframe bolts four to five turns to create clearance for the oil pan removal, taking care not to loosen them more than five turns without proper support. Remove the transmission-to-oil pan bolts, and if equipped, take out the engine oil cooler lines and adapter from the driver's side of the oil pan. Remove any access plugs covering the nuts at the rear of the oil pan, then take out all the oil pan bolts and lower the oil pan from the engine, using a rubber mallet if necessary to break the gasket seal. For installation, remove the old gasket and wash the oil pan with solvent, then clean the mounting surfaces of the oil pan and engine block thoroughly. Apply a 0.2 inch (5 mm) wide bead of RTV sealant to the corners of the block where the front and rear covers meet the engine block, attach the new gasket to the oil pan, install it, and tighten the bolts lightly, ensuring proper alignment of the oil gallery passages. Measure the clearance between the rear face of the aluminum oil pan and the front face of the transmission bellhousing, ensuring it is flush, and if acceptable, tighten the oil pan bolts/studs in sequence to the specified torque. If not, install the two lower oil pan-to-bellhousing bolts and tighten them finger tight to draw the oil pan flush. Finally, complete the installation in reverse order, refill the engine oil, start the engine, and check for leaks before driving.
