My Garage
My Account
Cart
Genuine Cadillac CTS Oil Pan
Oil Drain Pan- Select Vehicle by Model
- Select Vehicle by VIN
Select Vehicle by Model
orMake
Model
Year
Select Vehicle by VIN
For the most accurate results, select vehicle by your VIN (Vehicle Identification Number).
31 Oil Pans found
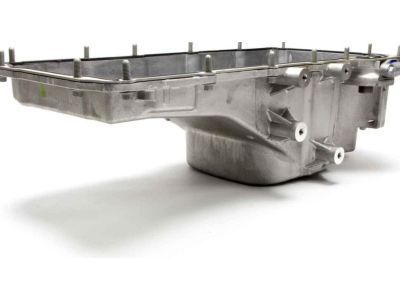
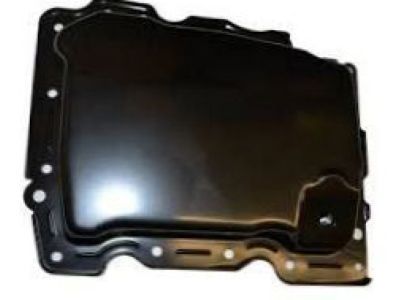
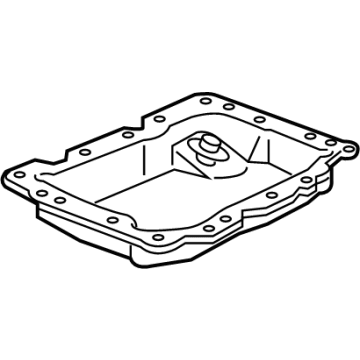
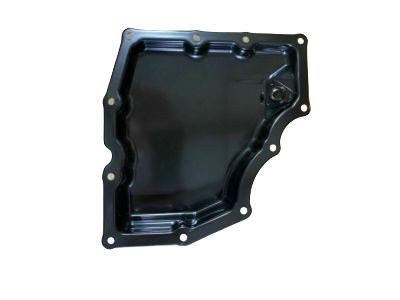
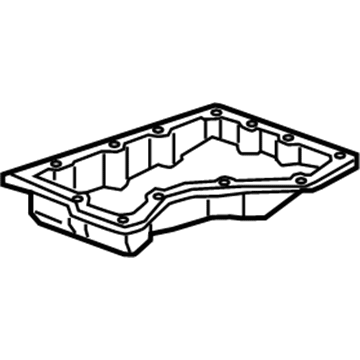
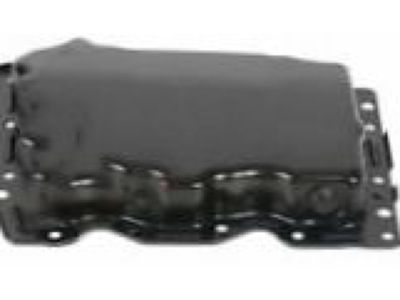
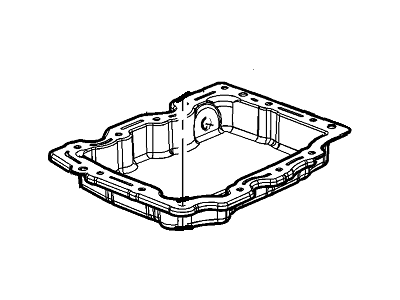
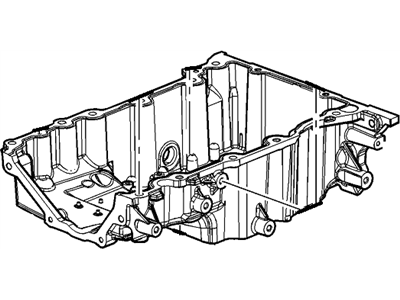
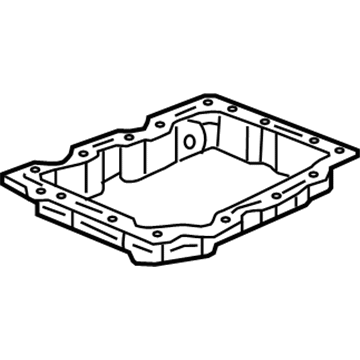
Cadillac CTS Pan, Lower Oil
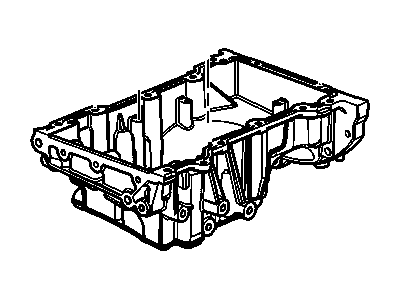
Part Number: 12676340$25.50 MSRP: $42.19You Save: $16.69 (40%)Ships in 1-2 Business DaysCadillac CTS Pan, Lower Oil
Part Number: 12673901$26.91 MSRP: $44.54You Save: $17.63 (40%)Ships in 1-2 Business DaysCadillac CTS Pan, Lower Oil
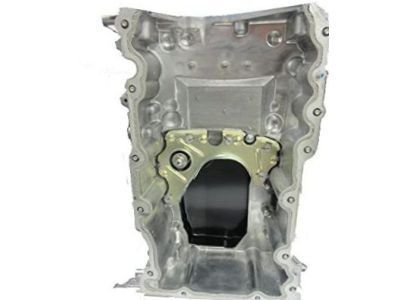
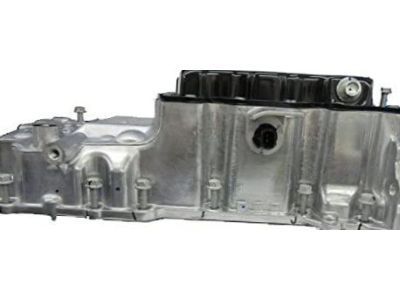
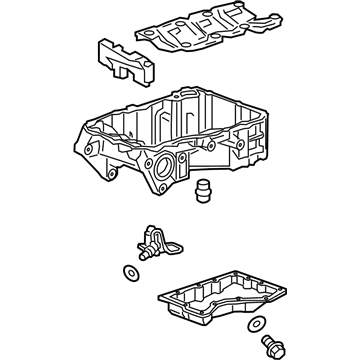
Part Number: 12654318$34.85 MSRP: $59.07You Save: $24.22 (41%)Ships in 1-2 Business DaysCadillac CTS Oil Pan Assembly
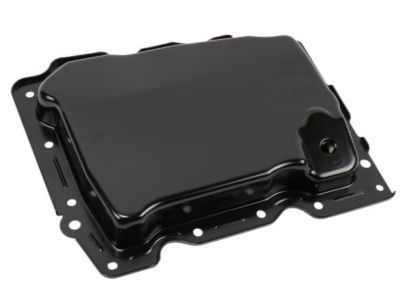
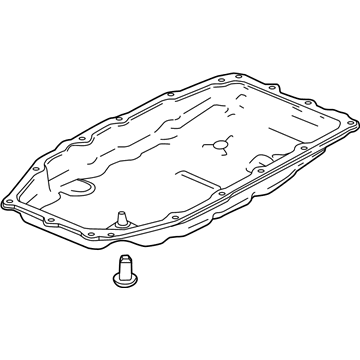
Part Number: 12654316$140.22 MSRP: $239.77You Save: $99.55 (42%)Ships in 1-3 Business DaysCadillac CTS PAN ASM-A/TRNS FLUID
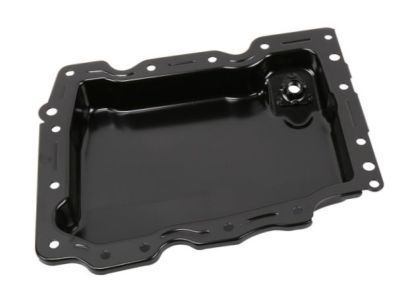
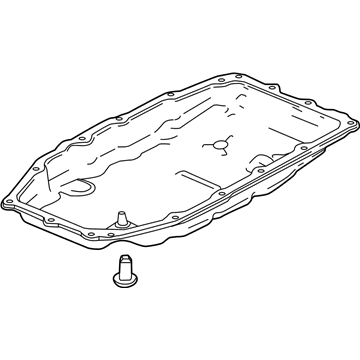
Part Number: 24045037$40.35 MSRP: $60.19You Save: $19.84 (33%)Ships in 1-2 Business DaysCadillac CTS Oil Pan Assembly
Part Number: 12666371$179.63 MSRP: $297.31You Save: $117.68 (40%)Ships in 1-2 Business DaysCadillac CTS PAN ASM-A/TRNS FLUID
Part Number: 24045034$31.91 MSRP: $52.45You Save: $20.54 (40%)Ships in 1-2 Business DaysCadillac CTS PAN ASM-OIL
Part Number: 12716562$178.53 MSRP: $284.68You Save: $106.15 (38%)Ships in 1-3 Business DaysCadillac CTS Oil Pan Assembly
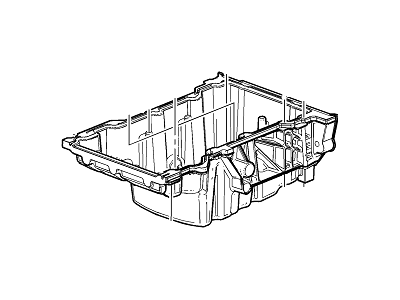
Part Number: 12688962$212.45 MSRP: $338.85You Save: $126.40 (38%)Ships in 1-3 Business DaysCadillac CTS Pan, Lwr Oil
Part Number: 12673902$25.19 MSRP: $40.18You Save: $14.99 (38%)Ships in 1-3 Business DaysCadillac CTS Pan, Lower Oil
Part Number: 12642187$47.77 MSRP: $76.17You Save: $28.40 (38%)Ships in 1-3 Business DaysCadillac CTS Oil Pan Assembly
Part Number: 12657496$44.76 MSRP: $67.09You Save: $22.33 (34%)Ships in 1-2 Business DaysCadillac CTS PAN ASM,OIL
Part Number: 28289985$114.99 MSRP: $183.36You Save: $68.37 (38%)Ships in 1-3 Business DaysCadillac CTS Oil Pan Assembly
Part Number: 25202732$121.02 MSRP: $192.98You Save: $71.96 (38%)Ships in 1-3 Business DaysCadillac CTS Pan Assembly, Oil
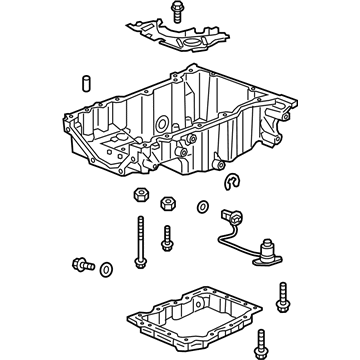
Part Number: 12671425$244.28 MSRP: $386.09You Save: $141.81 (37%)Ships in 1-3 Business DaysCadillac CTS Pan Assembly, Oil (W/ Engine Oil Level Sensor)
Part Number: 12670438$311.27 MSRP: $491.97You Save: $180.70 (37%)Cadillac CTS Pan Assembly, Oil (Awd, W/ Oil Level Switch)
Part Number: 12648944$62.65 MSRP: $98.56You Save: $35.91 (37%)
| Page 1 of 2 |Next >
1-20 of 31 Results
Cadillac CTS Oil Pan
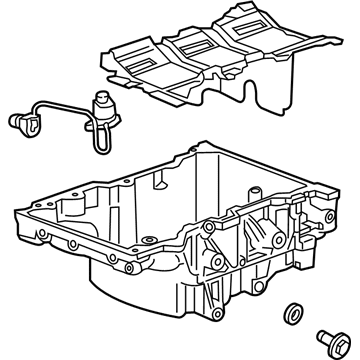
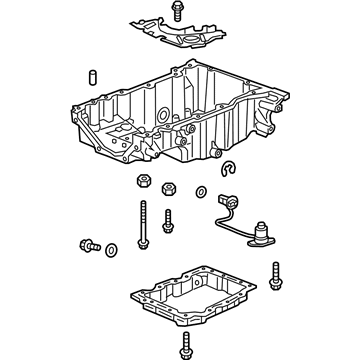
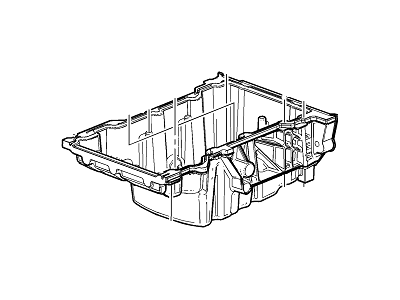
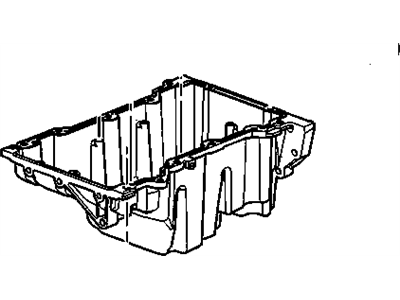
The Oil Pan used in Cadillac CTS automobiles is responsible for holding the engine oils, and play a part in cooling of various parts of the engine. For Cadillac CTS, Geoffery has decided to use a wet sump system where a pan under the engine known as oil pan holds the oil. An oil pump pulls the oil through the pickup tube then circulating it through the engine and then returns it to Oil Pan to continue to supply a steady stream for its efficiency. Previously Cadillac CTS Oil Pan manufactured from stamped steel but newer Cadillac CTS Oil Pans can be cast aluminium which make more durability superior and efficient. Although Cadillac uses this wet sump system predominantly in CTS, some critical issues should be taken into account, for instance, the need to mount the engine higher and the issues related to the oil slosh during aggressive driving are critical to the functionality of this Oil Pan.
Each OEM Cadillac CTS Oil Pan we offer is competitively priced and comes with the assurance of the manufacturer's warranty for the part. Furthermore, we guarantee the speedy delivery of your orders right to your doorstep. Our hassle-free return policy is also in place for your peace of mind.
Cadillac CTS Oil Pan Parts Questions & Experts Answers
- Q: How to remove and install an oil pan in 3.2L V6 engine on Cadillac CTS?A:To remove the oil pan, first raise the vehicle and support it securely on jackstands. Drain the engine oil, then clean and install the engine oil drain plug, tightening it to the specified torque. Remove and discard the oil filter for replacement. Next, take off the engine lower splash shield and support the engine and transmission from above with an engine support fixture. With the engine and transmission supported, remove the front subframe. Detach the transmission cooler line bracket fastener and remove the bracket from the cylinder block, followed by the three lower transmission-to-engine mounting bolts. Progressively unscrew the oil pan retaining bolts in reverse order of tightening, using a rubber mallet to loosen the oil pan seal before lowering it. Be cautious when prying between mating surfaces to avoid damage that could lead to leaks, and a putty knife may help cut through any sealant. For installation, thoroughly clean and degrease the mating surfaces of the lower engine block and oil pan, ensuring all traces of sealant are removed. Apply a 1/8-inch wide bead of sealant to the oil pan flange, keeping it approximately 3/16-inch from the outside edge and around the inside edge of the bolt holes, also applying sealant to the front flange. The oil pan must be installed within 4 minutes of applying the sealant. Install the oil pan, pressing it towards the rear, and install the oil pan bolts, tightening them only finger tight initially. Tighten the oil pan-to-engine block bolts gradually in a criss-cross pattern from the center outwards to the specified torque. Install the three transmission-to-engine fasteners and tighten them, then reinstall the subframe. Finally, lower the vehicle to the ground and wait at least 1 hour for the sealant to cure before refilling the engine with oil, trimming off any excess sealant and installing a new oil filter.
