My Garage
My Account
Cart
Genuine 2019 Chevrolet Express Shock Absorber
Suspension Shock Absorber- Select Vehicle by Model
- Select Vehicle by VIN
Select Vehicle by Model
orMake
Model
Year
Select Vehicle by VIN
For the most accurate results, select vehicle by your VIN (Vehicle Identification Number).
8 Shock Absorbers found
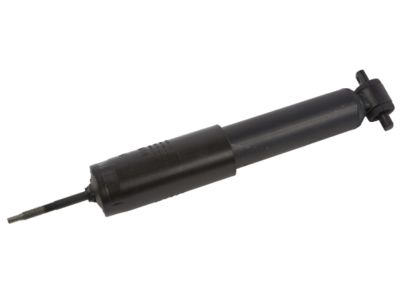
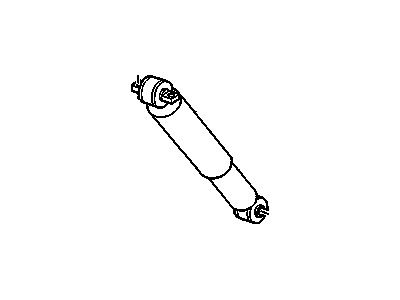
2019 Chevrolet Express Front Shock Absorber Assembly
Part Number: 84303234$59.35 MSRP: $115.71You Save: $56.36 (49%)Ships in 1-2 Business DaysProduct Specifications- Other Name: Absorber Assembly, Front Shock; Shock, Shock Absorber
- Position: Front
- Replaced by: 85717954
- Replaces: 88982652, 19257310, 84020673
- Item Weight: 4.30 Pounds
- Item Dimensions: 23.2 x 3.7 x 3.5 inches
- Condition: New
- Fitment Type: Direct Replacement
- Require Quantity: 2
- SKU: 84303234
- Warranty: This genuine part is guaranteed by GM's factory warranty.
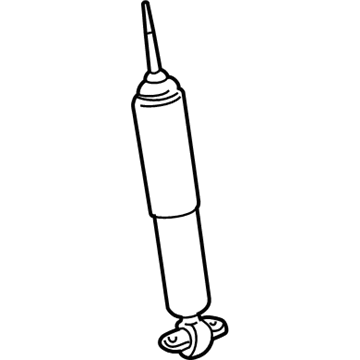
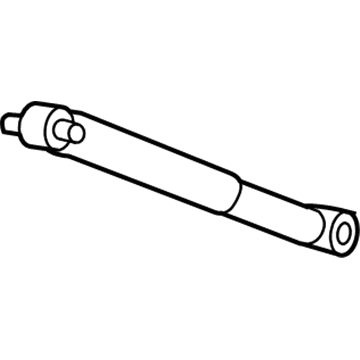
2019 Chevrolet Express Rear Shock Absorber Assembly
Part Number: 84301666$72.65 MSRP: $137.08You Save: $64.43 (47%)Ships in 1-2 Business DaysProduct Specifications- Other Name: Absorber Assembly, Rear Shk; Shock, Shock Absorber
- Position: Rear
- Replaced by: 85717958
- Replaces: 25856174, 84020666, 25751138, 20956378
- Item Weight: 6.20 Pounds
- Item Dimensions: 24.0 x 3.8 x 3.7 inches
- Condition: New
- Fitment Type: Direct Replacement
- Require Quantity: 2
- SKU: 84301666
- Warranty: This genuine part is guaranteed by GM's factory warranty.
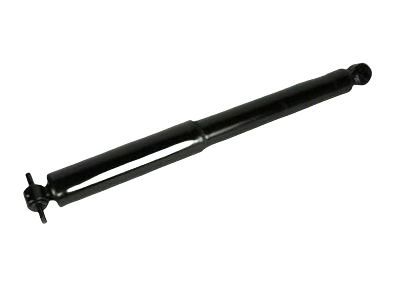
2019 Chevrolet Express Rear Shock Absorber Assembly
Part Number: 84301665$105.94 MSRP: $206.53You Save: $100.59 (49%)Ships in 1-2 Business DaysProduct Specifications- Other Name: Absorber Assembly, Rear Shk; Shock, Shock Absorber
- Position: Rear
- Replaced by: 85717960
- Replaces: 20956377, 25751137, 25751136, 25856173, 84020665
- Item Weight: 14.70 Pounds
- Item Dimensions: 24.4 x 3.7 x 3.6 inches
- Condition: New
- Fitment Type: Direct Replacement
- Require Quantity: 2
- SKU: 84301665
- Warranty: This genuine part is guaranteed by GM's factory warranty.
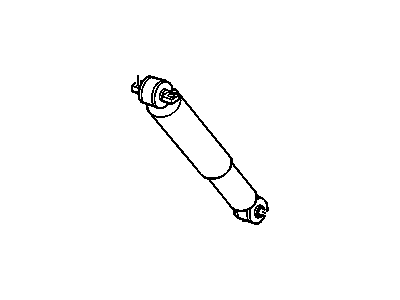
2019 Chevrolet Express Rear Shock Absorber Assembly
Part Number: 84301664$55.08 MSRP: $108.31You Save: $53.23 (50%)Ships in 1-2 Business DaysProduct Specifications- Other Name: Absorber Assembly, Rear Shk; Shock, Shock Absorber
- Position: Rear
- Replaced by: 85717956
- Replaces: 84020664
- Item Weight: 4.50 Pounds
- Item Dimensions: 24.3 x 4.6 x 3.9 inches
- Condition: New
- Fitment Type: Direct Replacement
- Require Quantity: 2
- SKU: 84301664
- Warranty: This genuine part is guaranteed by GM's factory warranty.
2019 Chevrolet Express Rear Shock Absorber Assembly
Part Number: 84301667$60.23 MSRP: $117.42You Save: $57.19 (49%)Ships in 1-2 Business DaysProduct Specifications- Other Name: Absorber Assembly, Rear Shk; Shock Absorber
- Position: Rear
- Replaced by: 85717959
- Replaces: 20956379, 84020667, 25751139, 25856175
- Item Weight: 4.60 Pounds
- Item Dimensions: 3.7 x 3.5 x 23.7 inches
- Condition: New
- Require Quantity: 2
- SKU: 84301667
- Warranty: This genuine part is guaranteed by GM's factory warranty.
2019 Chevrolet Express Rear Shock Absorber Assembly
Part Number: 84301668$54.77 MSRP: $106.78You Save: $52.01 (49%)Ships in 1-2 Business DaysProduct Specifications- Other Name: Absorber Assembly, Rear Shk
- Position: Rear
- Replaced by: 85717961
- Replaces: 15826913, 20956380, 25856176, 84020668
- Item Weight: 6.10 Pounds
- Item Dimensions: 24.9 x 3.7 x 3.6 inches
- Condition: New
- Fitment Type: Direct Replacement
- Require Quantity: 2
- SKU: 84301668
- Warranty: This genuine part is guaranteed by GM's factory warranty.
2019 Chevrolet Express Rear Shock Absorber Assembly
Part Number: 84301663$60.56 MSRP: $119.07You Save: $58.51 (50%)Ships in 1-2 Business DaysProduct Specifications- Other Name: Absorber Assembly, Rear Shk; Shock, Shock Absorber
- Position: Rear
- Replaced by: 85717957
- Replaces: 23296353
- Item Weight: 6.10 Pounds
- Item Dimensions: 4.2 x 3.1 x 24.2 inches
- Condition: New
- Fitment Type: Direct Replacement
- Require Quantity: 2
- SKU: 84301663
- Warranty: This genuine part is guaranteed by GM's factory warranty.
2019 Chevrolet Express Front Shock Absorber Assembly
Part Number: 84303233$42.45 MSRP: $117.13You Save: $74.68 (64%)Ships in 1-2 Business DaysProduct Specifications- Other Name: Absorber Assembly, Front Shock; Shock, Shock Absorber
- Position: Front
- Replaced by: 85717955
- Replaces: 23296352
- Item Weight: 4.40 Pounds
- Item Dimensions: 4.1 x 3.1 x 24.4 inches
- Condition: New
- Fitment Type: Direct Replacement
- Require Quantity: 2
- SKU: 84303233
- Warranty: This genuine part is guaranteed by GM's factory warranty.
2019 Chevrolet Express Shock Absorber
We are your prime source for competitively priced and high-quality OEM 2019 Chevrolet Express Shock Absorber. We provide you with parts that will allow you to save a lot of money without sacrificing quality. All our OEM parts are backed by the manufacturer's warranty and shipped out at a swift rate.
2019 Chevrolet Express Shock Absorber Parts Questions & Experts Answers
- Q: How to remove and install a shock absorber on 2019 Chevrolet Express?A: unnut the front wheel lug nuts (you might need an Allen wrench), then lift the front of the vehicle, and put it on jack stands before popping the wheel. Place a floor jack under the outer end of the lower control arm and in this position the floor jack must remain fixed throughout the process. Utilizing an additional wrench on the stem, unbolt the shock absorber upper mounting nut and while doing this, the stem should not rotate. Possibly to access the upper mounting nut you can introduce the wrench through the splash shield of the wheel well. Pull out the retainer and the grommet, and then crawl under the vehicle again-the lower end of the shock absorber is bolted to the lower control arm and you will have to remove the two bolts to pull the shock out from beneath. Take out the lower grommet along with the retainer on the stem out too. Installation is just the process of removal being done in reverse while also making sure the upper mounting nut and the lower mounting bolts are tightened to the reccomended amount of torque. Lastly, screw the wheels and lugh nuts, drop the car's height and tighten the lugh nuts at the standard measure of torque.
