My Garage
My Account
Cart
Genuine Buick Axle Shaft
Car Axle Shaft- Select Vehicle by Model
- Select Vehicle by VIN
Select Vehicle by Model
orMake
Model
Year
Select Vehicle by VIN
For the most accurate results, select vehicle by your VIN (Vehicle Identification Number).
232 Axle Shafts found
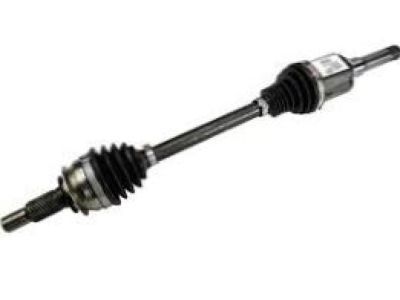
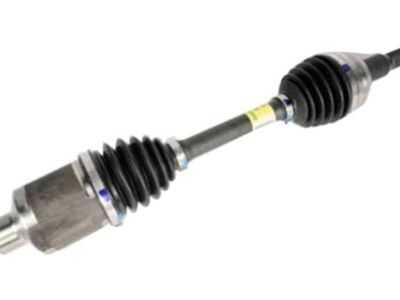
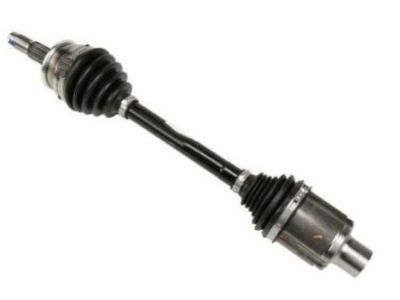
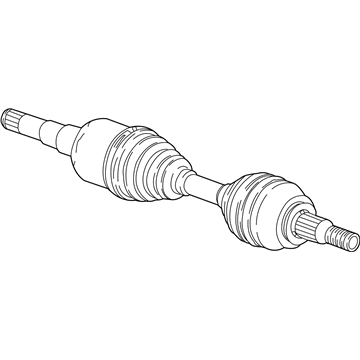
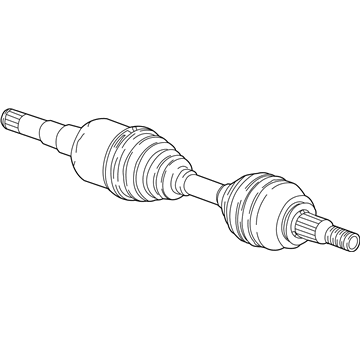
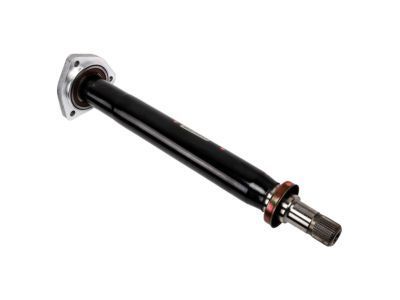
Buick Front Driver Side Half Shaft Assembly
Part Number: 84283521$152.93 MSRP: $278.07You Save: $125.14 (45%)Ships in 1-2 Business DaysProduct Specifications- Other Name: Shaft Assembly, Front Wheel Drive Half; Axle Assembly
- Position: Front Driver Side
- Replaces: 23333914
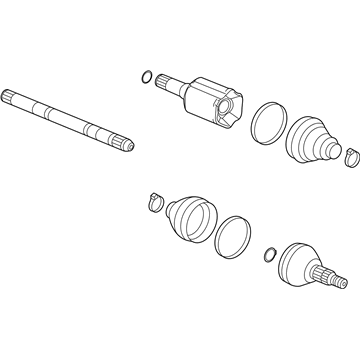
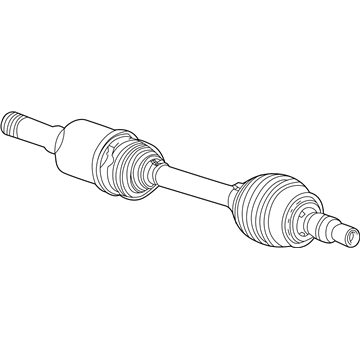
Buick Front Driver Side Half Shaft Assembly
Part Number: 23231834$268.39 MSRP: $458.92You Save: $190.53 (42%)Ships in 1-2 Business DaysProduct Specifications- Other Name: Shaft Assembly, Front Wheel Drive Half; Axle Assembly
- Position: Front Driver Side
- Replaces: 15116786
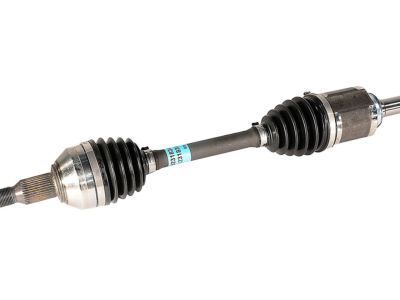
Buick Front Wheel Drive Shaft Assembly (Rh Proc)
Part Number: 25849949$278.29 MSRP: $475.84You Save: $197.55 (42%)Ships in 1-2 Business DaysProduct Specifications- Other Name: Shaft Assembly, Front Wheel Drive (Rh Proc); Axle Assembly
- Position: Front Passenger Side
- Replaces: 25789729
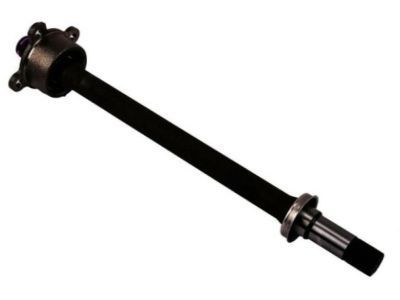
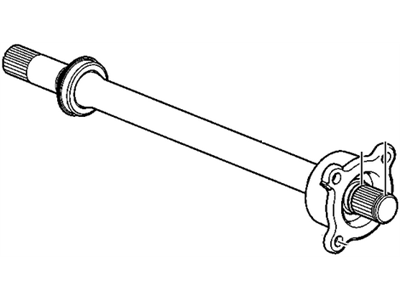
- Product Specifications
- Other Name: Shaft Assembly, Front Wheel Drive Intermediate ; Shaft, Front Axle; Intermed Shaft, Intermediate Shaft
- Replaces: 25789728, 25822832
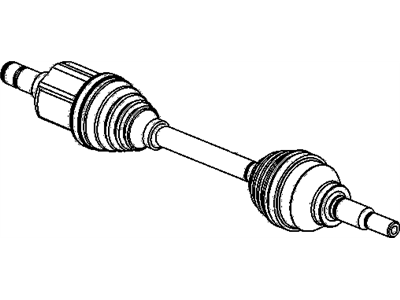
Buick Front Wheel Drive Shaft Assembly (Rh Proc)
Part Number: 23191340$251.34 MSRP: $474.22You Save: $222.88 (47%)Ships in 1-2 Business DaysProduct Specifications- Other Name: Shaft Assembly, Front Wheel Drive (Rh Proc) ; Shaft, Front Wheel Drive Axle; Axle, Axle Assembly
- Position: Front Passenger Side
- Replaces: 20859643, 26073396, 26073385, 88965660, 88965658
Buick Front Driver Side Half Shaft Assembly
Part Number: 94522003$204.06 MSRP: $325.45You Save: $121.39 (38%)Ships in 1-2 Business DaysProduct Specifications- Other Name: Shaft Assembly, Front Wheel Drive Half; Axle Assembly
- Position: Front Driver Side
- Replaces: 94522004, 94560849, 94560848, 95390015, 95090843
Buick Front Wheel Drive Axle Shaft Assembly
Part Number: 84628596$574.21 MSRP: $1107.07You Save: $532.86 (49%)Product Specifications- Other Name: Shaft Assembly, Front Whl Drv Half; Axle, Axle Assembly
- Position: Front
- Replaces: 22796199, 84402746, 13228208, 22870111
Buick Front Wheel Drive Axle Shaft Assembly
Part Number: 84628595$567.03 MSRP: $1093.18You Save: $526.15 (49%)Product Specifications- Other Name: Shaft Assembly, Front Whl Drv Half; Axle, Axle Assembly
- Position: Front
- Replaces: 23157347, 84402745, 13228212, 22796198, 22743588
Buick Front Driver Side Half Shaft Assembly
Part Number: 84628594$432.52 MSRP: $843.12You Save: $410.60 (49%)Product Specifications- Other Name: Shaft Assembly, Front Whl Drv Half; Axle Assembly
- Position: Front Driver Side
- Replaces: 22870110, 13228205, 22743587, 22796197, 84360845, 84402744
Buick Front Wheel Drive Axle Shaft Assembly
Part Number: 85660319$276.33 MSRP: $450.37You Save: $174.04 (39%)Ships in 1-2 Business DaysProduct Specifications- Other Name: SHAFT ASM-FRT WHL DRV HALF
- Replaces: 84070179, 84609561, 84088516, 84750308, 84609559, 84814089
Buick Front Driver Side Half Shaft Assembly
Part Number: 84675882$409.20 MSRP: $705.87You Save: $296.67 (43%)Product Specifications- Other Name: Shaft Assembly, Front Whl Drv Half
- Position: Front Driver Side
- Replaces: 84527909, 84138315
Buick Front Wheel Drive Axle Shaft Assembly
Part Number: 84878157$172.41 MSRP: $294.83You Save: $122.42 (42%)Ships in 1-2 Business DaysProduct Specifications- Other Name: SHAFT ASM-FRT WHL DRV HALF; Axle Assembly
- Replaced by: 85738622
Buick Front Wheel Drive Axle Shaft Assembly
Part Number: 42758448$133.55 MSRP: $230.37You Save: $96.82 (43%)Ships in 1-2 Business DaysProduct Specifications- Other Name: Shaft Assembly, Front Whl Drv Half; Axle Assembly
- Position: Front
- Replaces: 94522008
Buick Front Wheel Drive Shaft Assembly
Part Number: 13390552$222.78 MSRP: $405.05You Save: $182.27 (45%)Ships in 1-2 Business DaysProduct Specifications- Other Name: Shaft Assembly, Front Wheel Drive; Axle Assembly, Axle Shaft Assembly
- Position: Front
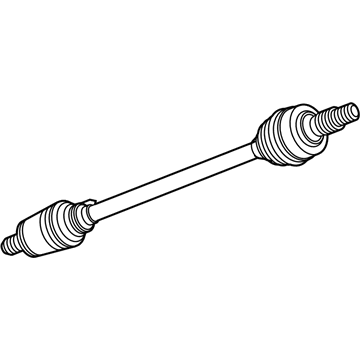
Buick Rear Wheel Drive Shaft Assembly
Part Number: 84283525$100.43 MSRP: $160.18You Save: $59.75 (38%)Ships in 1-2 Business DaysProduct Specifications- Other Name: Shaft Assembly, Rear Wheel Drive ; Shaft Assembly, Rr Whl Drv; Axle Assembly
- Position: Rear
Buick Damper (Painted) Shaft Assembly
Part Number: 7848444$169.55 MSRP: $305.53You Save: $135.98 (45%)Product Specifications- Other Name: Shaft Asm, Damper & (Painted) ; Shaft, Front Wheel Drive Axle; Axle Shaft, Shaft
Buick Front Wheel Drive Shaft Assembly
Part Number: 13390551$144.99 MSRP: $405.05You Save: $260.06 (65%)Ships in 1-2 Business DaysProduct Specifications- Other Name: Shaft Assembly, Front Wheel Drive; Axle Assembly, Axle Shaft Assembly
- Position: Front
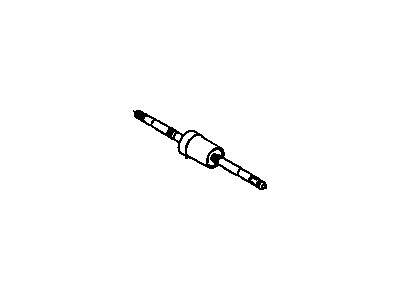
Buick Front Wheel Drive Intermediate Shaft Assembly
Part Number: 22910264$119.80 MSRP: $189.33You Save: $69.53 (37%)Product Specifications- Other Name: Shaft Assembly, Front Wheel Drive Intermediate ; Shaft, Front Wheel Drive Axle
- Position: Front
- Replaces: 20997748
Buick Front Wheel Drive Intermediate Shaft Assembly
Part Number: 22910265$135.03 MSRP: $213.44You Save: $78.41 (37%)Product Specifications- Other Name: Shaft Assembly, Front Wheel Drive Intermediate ; Shaft, Front Wheel Drive Axle; Drive Shaft, Intermed Shaft
- Position: Front
- Replaces: 13349829, 20997751
Buick Front Driver Side Half Shaft Assembly
Part Number: 84576601$162.73 MSRP: $293.21You Save: $130.48 (45%)Product Specifications- Other Name: Shaft Assembly, Front Whl Drv Half; Axle Assembly
- Position: Front Driver Side
- Replaces: 84283522, 84027289, 84379745, 23333915, 84337416
| Page 1 of 12 |Next >
1-20 of 232 Results
Buick Axle Shaft
Our platform hosts an impressive inventory of OEM Buick Axle Shafts. Just to let you know, all our genuine Buick Axle Shafts are backed by the manufacturer's warranty and are offered at unbeatable prices. Enjoy a smooth shopping experience with our easy return policy and fast delivery service.
Buick Axle Shaft Parts Questions & Experts Answers
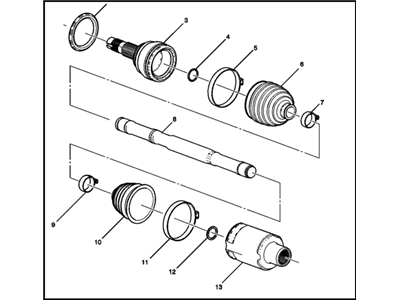
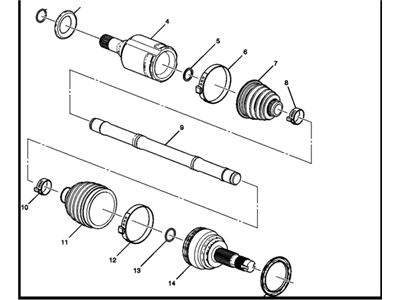
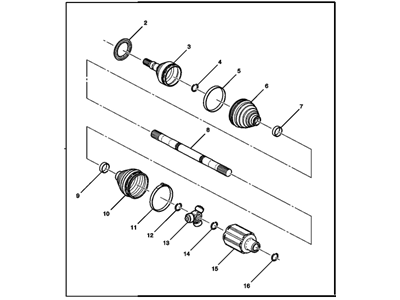
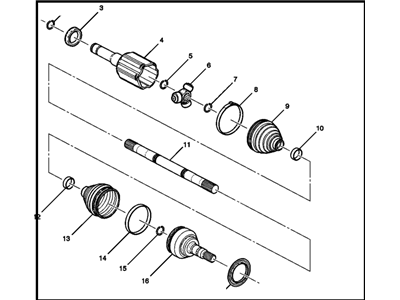
- Q: How to disassembly and reassembly Axle Shaft and components on Buick Skylark?A:To start replacing the axle shaft components, you need to detach it from the vehicle. Carefully knock off the outer joint seal retainer from around the joint assembly by tapping evenly all the way round it and severing the seal retaining clamp with a hacksaw blade. The joint assembly is removed from the axle shaft by spreading apart the retaining ring with snap ring pliers. Take off the axle shaft's outer joint seal as well as its seal retainer. To remove ball bearings, softly tap on bearing cage for rotation within outer race. Pivot cage and inner race that aligns windows of cage with lands of outer race are lifted out after balls have been removed. Withdraw inner race by rotating it within cage. Using this method, take out the inner joint assembly, seal retainer, inner joint seal and seal retaining clamp right from the axle shaft. Clean all pieces in solvent; keep separate inner and outer joint assembly parts. Assess races, cages and ball bearings for any damage that may call for replacement. Check condition of rubber seal boots for any holes or cracks; if necessary put in new ones only then apply lithium-based grease into them then begin reassembling parts again. Put back balls and pack grease into joints before applying a new hose clamp or seal retaining clamp onto axle shaft followed by a seal retainer and finally an inner joint assembly's sealing point at doorways to avoid leakages which can be course by looseness during driving. These seals must be tightened to their grooves using clamps in order to adjust them until they fit properly thereby preventing further leakage through these joints in future when driving after installation. Finally follow these steps once more but now installing outer one on other side so do not forget about slide it over shaft while pressing other end of assemble until retaining ring will pop up back into place along entire length. At last reinstall axle shaft into vehicle.
Related Buick Parts
Browse by Model
Allure Axle Shaft Cascada Axle Shaft Century Axle Shaft Electra Axle Shaft Enclave Axle Shaft Encore Axle Shaft Encore GX Axle Shaft Envision Axle Shaft Envista Axle Shaft Estate Wagon Axle Shaft LaCrosse Axle Shaft Lesabre Axle Shaft Lucerne Axle Shaft Park Avenue Axle Shaft Rainier Axle Shaft Reatta Axle Shaft Regal Axle Shaft Rendezvous Axle Shaft Riviera Axle Shaft Roadmaster Axle Shaft Skyhawk Axle Shaft Skylark Axle Shaft Somerset Axle Shaft Terraza Axle Shaft Verano Axle Shaft
