My Garage
My Account
Cart
Genuine Buick Rack And Pinion
Steering Rack And Pinion- Select Vehicle by Model
- Select Vehicle by VIN
Select Vehicle by Model
orMake
Model
Year
Select Vehicle by VIN
For the most accurate results, select vehicle by your VIN (Vehicle Identification Number).
96 Rack And Pinions found
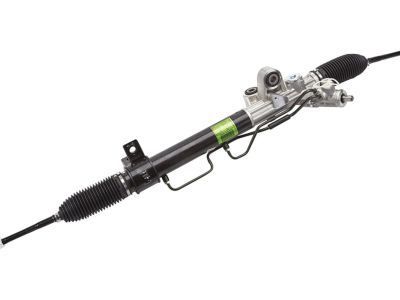
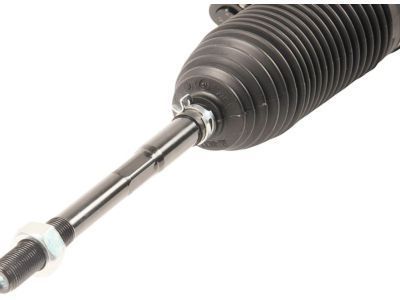
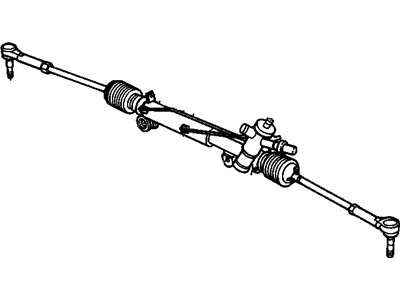
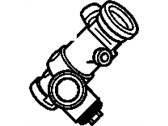
Buick Gear Assembly, R/Pinion Steering
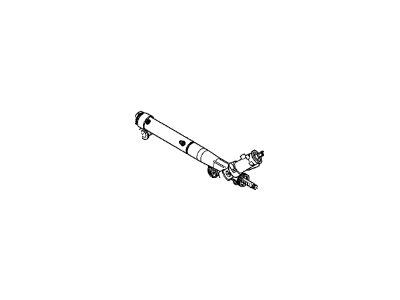
Part Number: 23271566$342.43 MSRP: $585.55You Save: $243.12 (42%)Ships in 1-2 Business DaysProduct Specifications- Other Name: GEAR, Steering; Gear Assembly, Steering Gear
- Replaces: 25789066, 25876163, 25971332, 20843951, 22902261, 20964166, 20817771
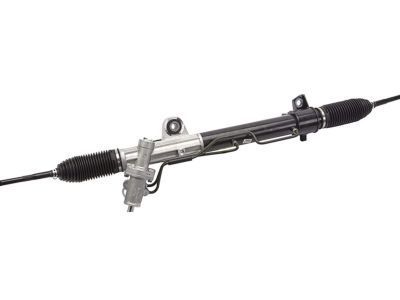
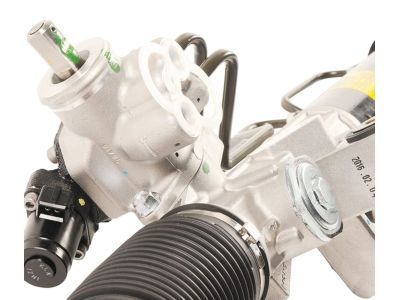
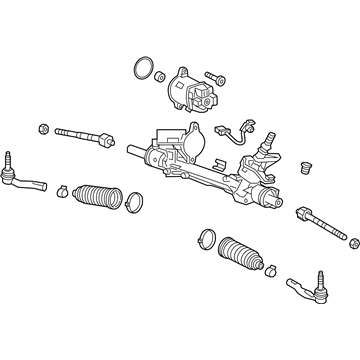
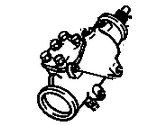
Buick Gear Assembly, R/Pinion Steering
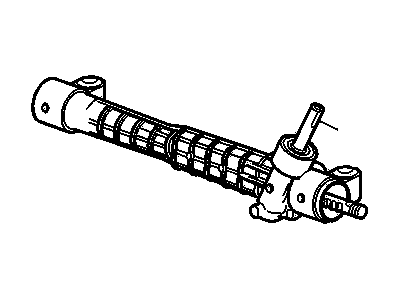
Part Number: 23271562$363.24 MSRP: $1014.82You Save: $651.58 (65%)Ships in 1-3 Business DaysProduct Specifications- Other Name: GEAR, Steering; Gear Assembly, Steering Gear
- Replaces: 20817770, 20843950, 25876162, 20964165, 25971331, 25789067, 22902260
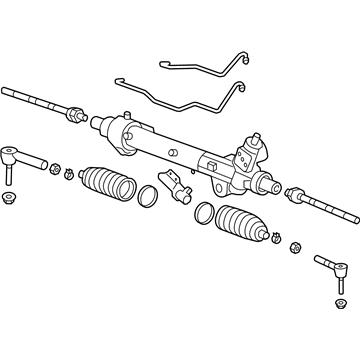
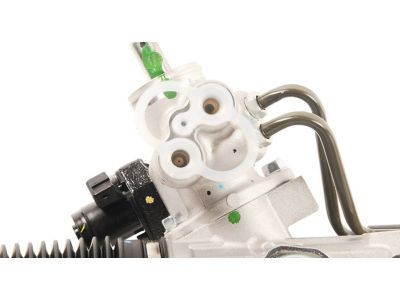
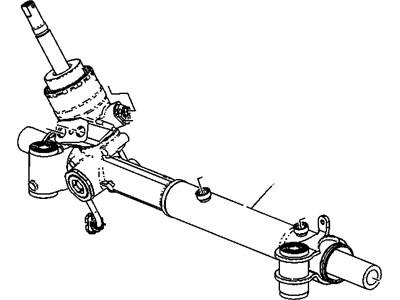
Buick Gear Assembly, Elec Dual Pinion R/Pinion Strg
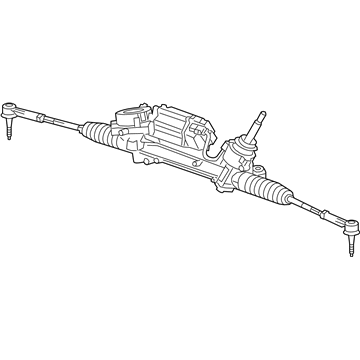
Part Number: 84216769$3765.45 MSRP: $4886.07You Save: $1120.62 (23%)Ships in 1-2 Business DaysProduct Specifications- Other Name: Gear Assembly, Motor, Steering Gear
- Replaces: 13376583, 22943369, 13349260, 13366875, 13286690, 23338634, 84271183
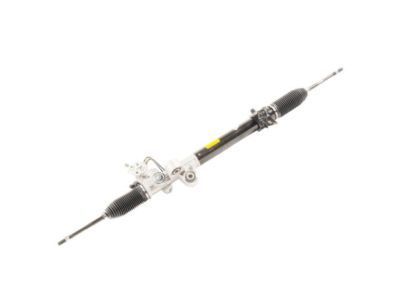
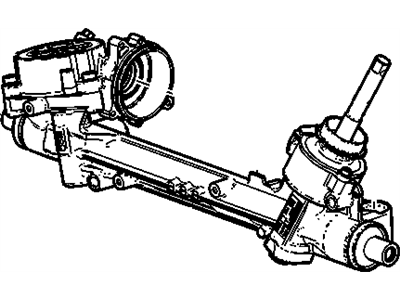
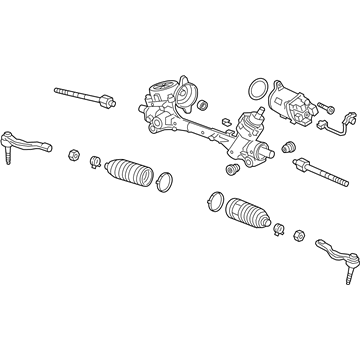
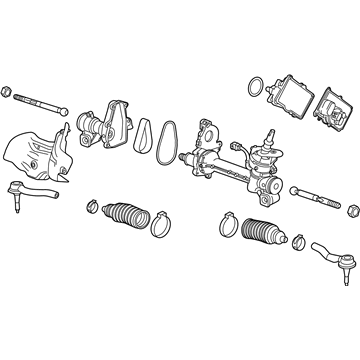
Buick Steering Gear Kit (Remanufacture)
Part Number: 19330440$310.57 MSRP: $758.54You Save: $447.97 (60%)Product Specifications- Other Name: GEAR KIT, Steering; Gear Assembly, Steering Gear
- Replaces: 26079917, 26081812, 88964313
Buick Electric Belt Drive Rack and Pinion Steering Gear Assembly
Part Number: 84494622$2079.18 MSRP: $2696.14You Save: $616.96 (23%)Product Specifications- Other Name: Gear Assembly, Elec Belt Drv Rack & Pinion Strg; Gear Assembly, Rack, Steering Gear
- Replaces: 23153513, 22978628, 23459791, 23297470
Buick Gear Assembly, Steering (W/ Motor)
Part Number: 13366874$2047.74 MSRP: $2755.51You Save: $707.77 (26%)Ships in 1-2 Business DaysProduct Specifications- Other Name: GEAR, Steering; Gear Assembly, Steering Gear
- Replaced by: 84216770
Buick Gear Assembly, R/Pinion Steering
Part Number: 42351614$416.42 MSRP: $757.12You Save: $340.70 (45%)Ships in 1-2 Business DaysProduct Specifications- Other Name: GEAR, Steering; Gear Assembly, Steering Gear
- Replaces: 95316174
Buick Gear Assembly, R/Pinion Steering
Part Number: 42514719$640.27 MSRP: $1164.12You Save: $523.85 (45%)Product Specifications- Other Name: Gear Assembly, R/Pinion Strg; Gear Assembly, Steering Gear
- Replaces: 42351618, 94537908, 95262680
Buick Gear Assembly, Electric Dual Pinion Rear Pinion Steering
Part Number: 84352220$757.08 MSRP: $1016.08You Save: $259.00 (26%)Ships in 1-2 Business DaysProduct Specifications- Other Name: Gear Assembly, Elec Dual Pinion Rr Pinion Strg; Gear Assembly, Steering Gear
- Position: Rear
- Replaces: 84216559
Buick Gear Kit, Steering (Partial) (Remanufacture)
Part Number: 26047206$330.96 MSRP: $624.46You Save: $293.50 (47%)Ships in 1-2 Business DaysProduct Specifications- Other Name: GEAR KIT, Steering; Gear Assembly, Steering Gear
- Replaces: 26042017
Buick Electric Belt Drive Rack and Pinion Steering Gear Assembly
Part Number: 84494624$2283.55 MSRP: $3073.31You Save: $789.76 (26%)Product Specifications- Other Name: Gear Assembly, Elec Belt Drv Rack & Pinion Strg; Gear Assembly, Motor, Steering Gear
- Replaces: 22978626, 23459790, 23153512, 23297469
Buick Gear Assembly, Electric Dual Pinion R/Pinion Steering
Part Number: 84169179$1395.47 MSRP: $2632.96You Save: $1237.49 (47%)Ships in 1-2 Business DaysProduct Specifications- Other Name: GEAR, Steering; Gear Assembly, Steering Gear
- Replaces: 84178349, 84141885
Buick Gear Assembly, Elec Dual Pinion Rack & Pinion S
Part Number: 84580634$791.74 MSRP: $1028.23You Save: $236.49 (23%)Ships in 1-2 Business DaysProduct Specifications- Other Name: Gear Assembly, Steering Gear
- Replaces: 84580637, 84462327
Buick Gear Assembly, Elec Dual Pinion R/Pinion Strg
Part Number: 39101580$3598.95 MSRP: $4669.82You Save: $1070.87 (23%)Ships in 1-2 Business DaysProduct Specifications- Other Name: Gear Assembly, Steering Gear
- Replaces: 13413953, 39030542
Buick Electric Belt Drive Rack & Pinion Steering Gear
Part Number: 23242511$2275.09 MSRP: $3623.52You Save: $1348.43 (38%)Ships in 1-2 Business DaysProduct Specifications- Other Name: GEAR, Steering; Gear Assembly, Steering Gear
- Replaces: 22969531, 84494620
Buick Gear Assembly, Elec Dual Pinion Rack & Pinion S
Part Number: 84383162$1123.96 MSRP: $1462.35You Save: $338.39 (24%)Ships in 1-2 Business DaysProduct Specifications- Other Name: Gear Assembly, Steering Gear
Buick Gear Asm,Hydraulic R/Pinion Steering
Part Number: 19330580$1727.10 MSRP: $2240.25You Save: $513.15 (23%)Ships in 1-2 Business DaysProduct Specifications- Other Name: GEAR, Steering; Gear Assembly, Steering Gear
- Replaces: 22774362, 23139004, 22840281, 22859404
Buick Gear Assembly, Elec Dual Pinion Rack & Pinion S
Part Number: 84383159$1636.73 MSRP: $2201.57You Save: $564.84 (26%)Ships in 1-2 Business DaysProduct Specifications- Other Name: Gear Assembly, Steering Gear
Buick Gear Assembly, Hydraulic R/Pinion Steering
Part Number: 22886743$390.83 MSRP: $706.79You Save: $315.96 (45%)Ships in 1-2 Business DaysProduct Specifications- Other Name: GEAR, Steering; Steering Gear
- Product Specifications
- Other Name: GEAR ASM-ELEC BELT DRV RACK & PINION STRG; Gear Assembly, Steering Gear
- Replaces: 85140546, 84767390, 84625187, 85108021, 85520319, 85520297, 84878449, 85168877, 84406787, 84699794
| Page 1 of 5 |Next >
1-20 of 96 Results
Buick Rack And Pinion
Our platform hosts an impressive inventory of OEM Buick Rack And Pinions. Just to let you know, all our genuine Buick Rack And Pinions are backed by the manufacturer's warranty and are offered at unbeatable prices. Enjoy a smooth shopping experience with our easy return policy and fast delivery service.
Buick Rack And Pinion Parts Questions & Experts Answers
- Q: How to install and remove rack and pinion, and how are steering gear adjustments handled on Buick Century?A:Power steering Rack And Pinion are very similar to installing and removing manual Rack And Pinion plus disconnecting and reconnecting the hydraulic lines. Both hoses and Rack And Pinion outlets shall be fitted with caps to avoid the possibility of material leaking into the system. Non-accessible or technically very difficult are preload settings, some of which can only be done if the Rack And Pinion is out of the car and done usually during its rebuild. When these two adjustments are correctly set, they are no longer re-adjusted to deal with wear; any problem with the Rack And Pinion has got to be dealt with by rebuilding.
- Q: How to remove and install the rack and pinion assembly on Buick Regal?A:Raise the intermediate shaft seal and remove the intermediate shaft-to-stub shaft pinch bolt. Raise and support the vehicle on jackstands, then remove both front wheel and tire assemblies. Remove the cotter pins and nuts from both tie rod ends. Using tool J-6627 or BT-7101 or equivalent, press the tie rod ends from the steering knuckle. If equipped with an air management pipe, remove the bracket bolt from the crossmember. Remove the 2 rear cradle mounting bolts and lower the rear of the cradle about 4-5 inches (10-13 cm). If equipped, remove the rack and pinion heat shield. Remove the rack and pinion mounting bolts, then the gear assembly through the left wheel opening. To install, place the gear assembly through the left wheel opening and install the mounting bolts. Reinstall the heat shield. Raise the rear of the cradle and install the mounting bolts. Install the bracket bolt to the crossmember under the air management pipe. Reattach the tie rod ends to the steering knuckles, install the retaining nuts, and insert new cotter pins. Reinstall the front wheels and lower the vehicle. Finally, install the intermediate shaft seal and the intermediate shaft-to-stub shaft pinch bolt, then check and adjust the toe-in as necessary.
Related Buick Parts
Browse by Model
Allure Rack And Pinion Cascada Rack And Pinion Century Rack And Pinion Electra Rack And Pinion Enclave Rack And Pinion Encore GX Rack And Pinion Encore Rack And Pinion Envision Rack And Pinion Envista Rack And Pinion Estate Wagon Rack And Pinion LaCrosse Rack And Pinion Lesabre Rack And Pinion Lucerne Rack And Pinion Park Avenue Rack And Pinion Rainier Rack And Pinion Reatta Rack And Pinion Regal Rack And Pinion Rendezvous Rack And Pinion Riviera Rack And Pinion Roadmaster Rack And Pinion Skyhawk Rack And Pinion Skylark Rack And Pinion Somerset Rack And Pinion Terraza Rack And Pinion Verano Rack And Pinion
