My Garage
My Account
Cart
Genuine Buick Shock Absorber
Suspension Shock Absorber- Select Vehicle by Model
- Select Vehicle by VIN
Select Vehicle by Model
orMake
Model
Year
Select Vehicle by VIN
For the most accurate results, select vehicle by your VIN (Vehicle Identification Number).
253 Shock Absorbers found
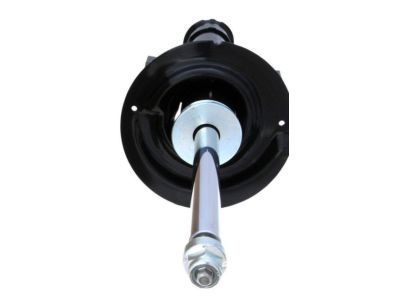
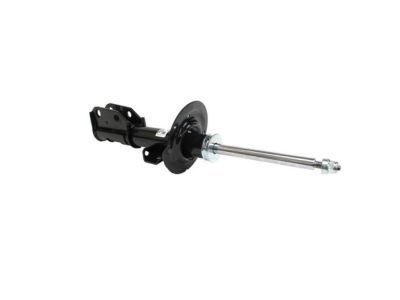
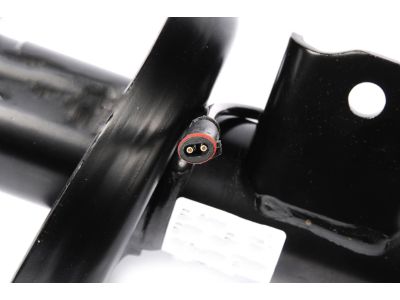
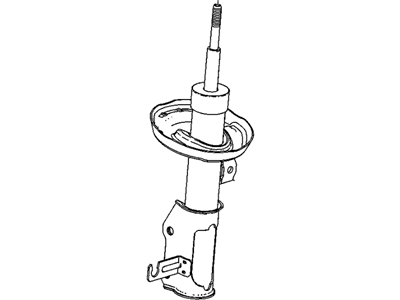
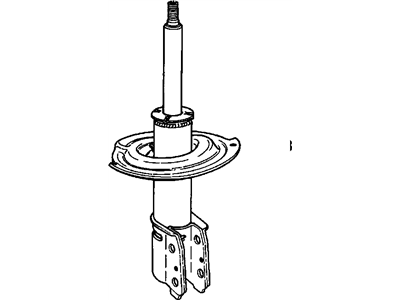
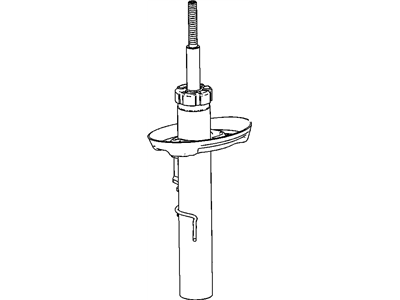
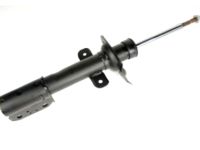
Buick Front Suspension Strut Assembly
Part Number: 22902421$121.92 MSRP: $237.69You Save: $115.77 (49%)Ships in 1-3 Business DaysProduct Specifications- Other Name: Strut Assembly, Front Suspension; Strut
- Position: Front
- Replaces: 15936904, 19209801, 19210395, 19209885, 19181114
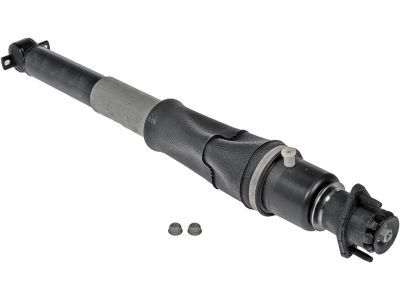
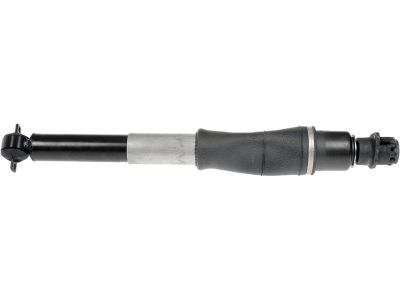
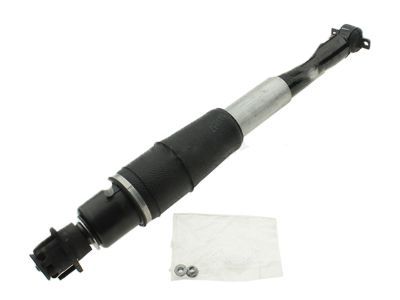
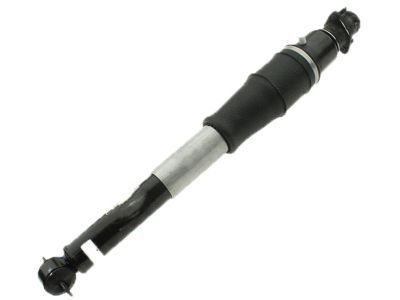
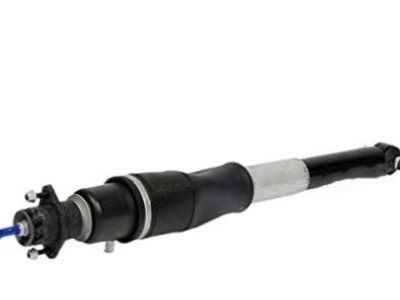
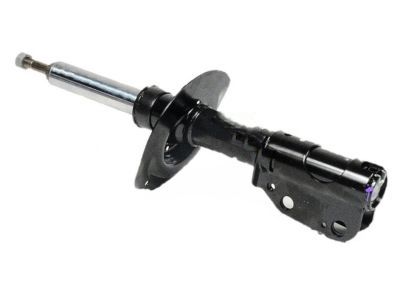
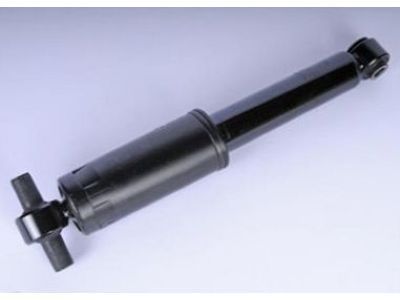
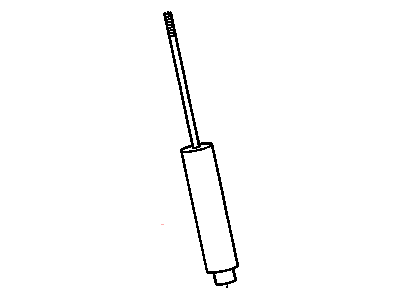
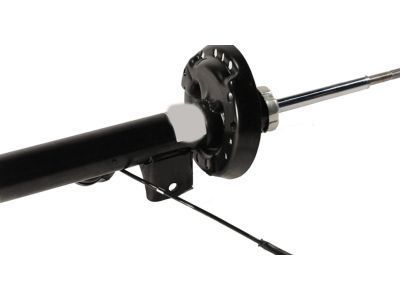
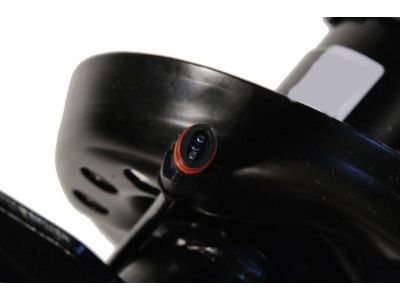
Buick Rear Leveling Shock Absorber Kit
Part Number: 19300025$312.50 MSRP: $609.16You Save: $296.66 (49%)Ships in 1-2 Business DaysProduct Specifications- Other Name: Absorber Kit,Rear Leveling Shock; Shock Absorber
- Position: Rear
- Replaces: 15873313
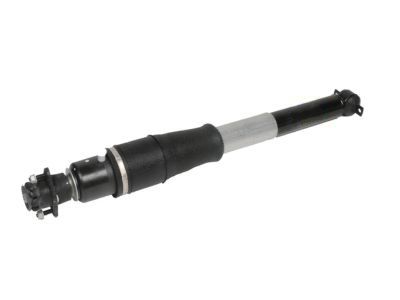
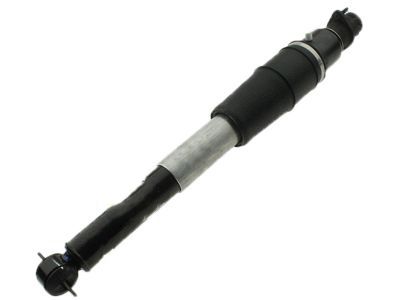
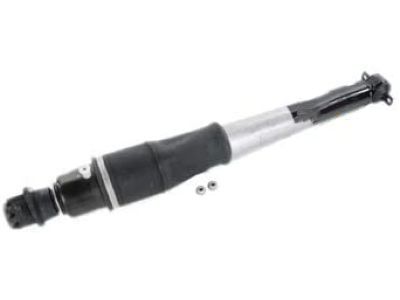
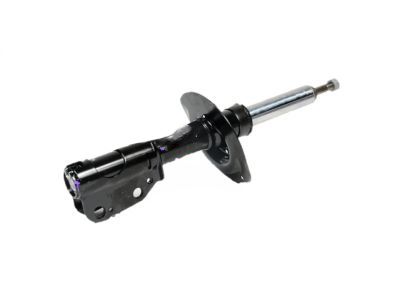
Buick Rear Leveling Shock Absorber Kit
Part Number: 19300026$312.50 MSRP: $609.18You Save: $296.68 (49%)Ships in 1-2 Business DaysProduct Specifications- Other Name: Absorber Kit,Rear Leveling Shock; Shock Absorber
- Position: Rear
- Replaces: 15873314, 15786901
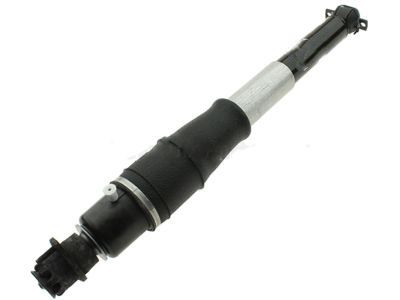
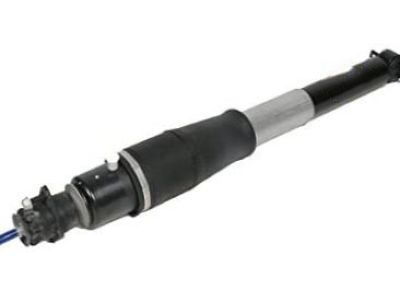
Buick Rear Leveling Shock Absorber Kit
Part Number: 19302769$572.68 MSRP: $1116.34You Save: $543.66 (49%)Ships in 1-2 Business DaysProduct Specifications- Other Name: Absorber Kit,Rear Leveling Shock
; Shock Absorber - Position: Rear
- Replaces: 15211376
Buick Rear Leveling Shock Absorber Kit
Part Number: 19302768$572.68 MSRP: $1116.34You Save: $543.66 (49%)Ships in 1-2 Business DaysProduct Specifications- Other Name: Absorber Kit,Rear Leveling Shock
; Shock Absorber - Position: Rear
- Replaces: 15211375
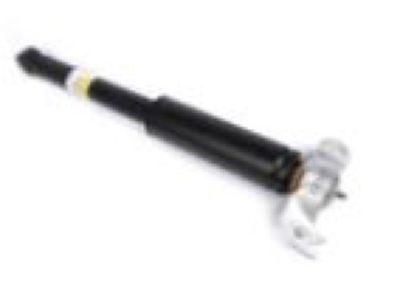
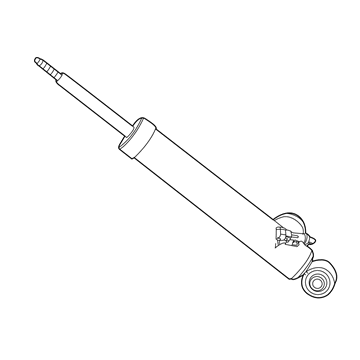
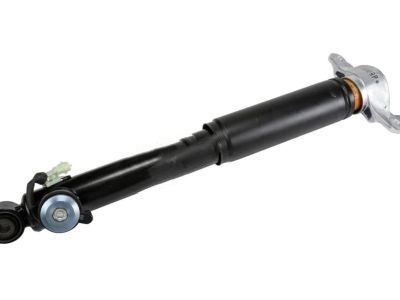
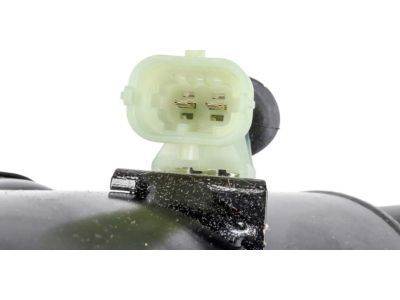
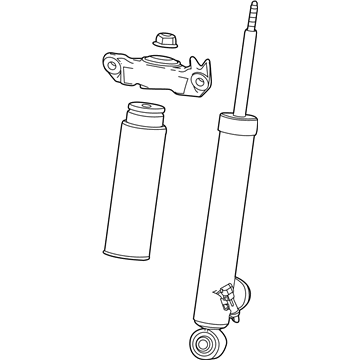
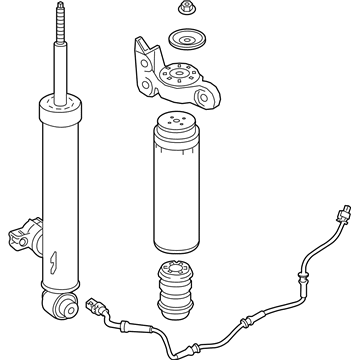
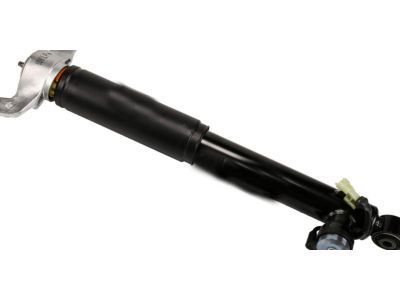
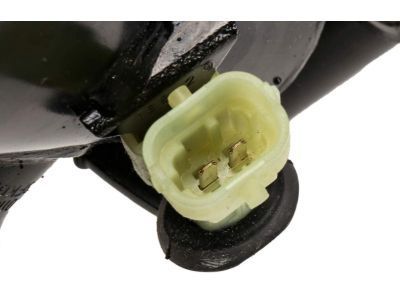
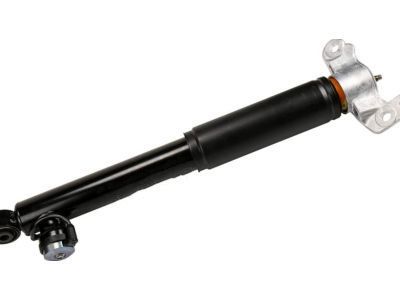
Buick Rear Shock Absorber Assembly With Upper Mount
Part Number: 84185485$171.87 MSRP: $335.02You Save: $163.15 (49%)Ships in 1-2 Business DaysProduct Specifications- Other Name: Absorber Assembly, Rear Shock (W/ Upper Mount) ; Absorber Assembly, Rr Shk (W/ Upr Mt); Shock, Shock Absorber
- Position: Rear Upper
- Replaces: 22950376
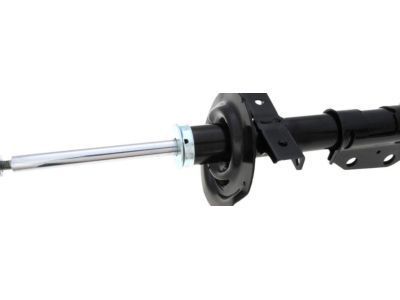
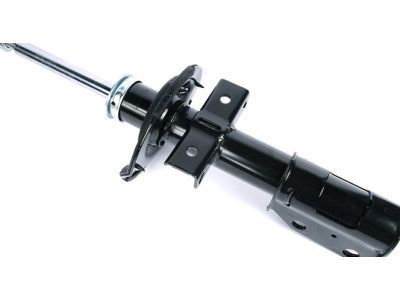
Buick Front Suspension Strut Assembly
Part Number: 22902430$121.92 MSRP: $237.70You Save: $115.78 (49%)Ships in 1-2 Business DaysProduct Specifications- Other Name: Strut Assembly, Front Suspension; Strut
- Position: Front
- Replaces: 15232953
Buick Rear Shock Absorber Assembly With Upper Mount
Part Number: 84185484$155.34 MSRP: $302.80You Save: $147.46 (49%)Ships in 1-2 Business DaysProduct Specifications- Other Name: Absorber Assembly, Rear Shk (W/ Upr Mt); Shock, Shock Absorber
- Position: Rear
- Replaces: 22950375
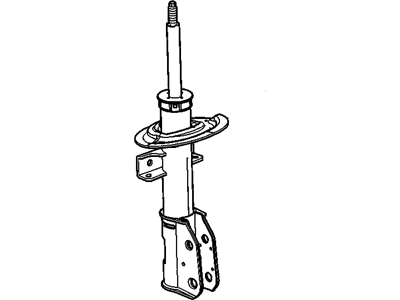
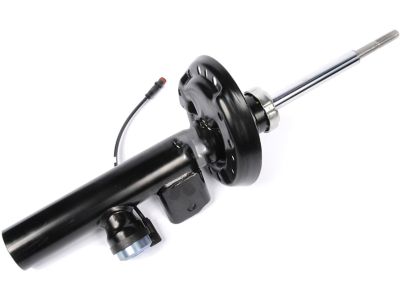
Buick Front Suspension Strut Assembly
Part Number: 23109099$208.23 MSRP: $409.50You Save: $201.27 (50%)Ships in 1-2 Business DaysProduct Specifications- Other Name: Strut Assembly, Front Suspension; Strut
- Position: Front
- Replaces: 13310730
Buick Front Suspension Strut Kit
Part Number: 19300024$670.45 MSRP: $1306.92You Save: $636.47 (49%)Ships in 1 Business DayProduct Specifications- Other Name: Strut Kit,Front Suspension ; Strut Kit, Front And Rear Suspension; Strut
- Position: Front
- Replaces: 15211374
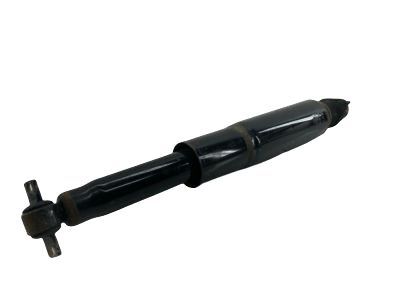
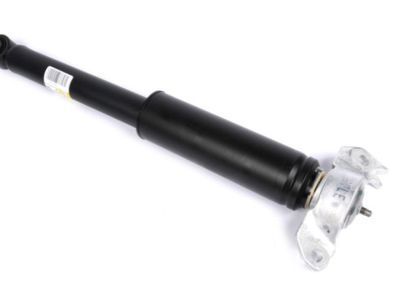
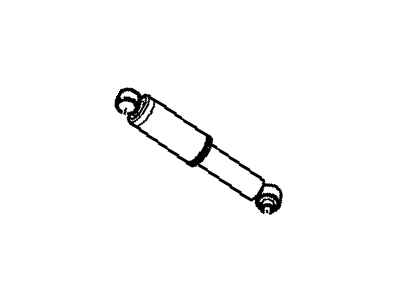
Buick Rear Shock Absorber Assembly
Part Number: 20757505$79.74 MSRP: $156.84You Save: $77.10 (50%)Ships in 1-2 Business DaysProduct Specifications- Other Name: Absorber Assembly, Rear Shock ; Absorber, Front And Rear Suspension; Shock, Shock Absorber
- Position: Rear
- Replaces: 25838254
Buick Front Suspension Strut Assembly
Part Number: 23239954$126.65 MSRP: $244.78You Save: $118.13 (49%)Ships in 1-2 Business DaysProduct Specifications- Other Name: Strut Assembly, Front Suspension ; Strut Assembly, Frt Susp; Strut
- Position: Front
- Replaces: 22790137
Buick Rear Shock Absorber Assembly With Upper Mount
Part Number: 84336158$229.12 MSRP: $416.58You Save: $187.46 (45%)Ships in 1-2 Business DaysProduct Specifications- Other Name: Absorber Assembly, Rear Shk (W/ Upr Mt); Shock
- Position: Rear
- Replaces: 22961780
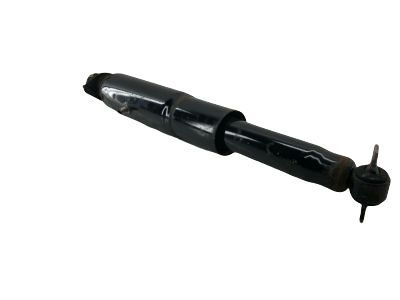
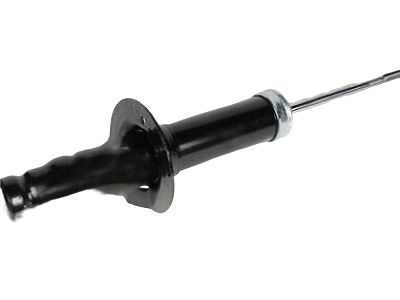
Buick Front Shock Absorber
Part Number: 15198894$117.88 MSRP: $214.33You Save: $96.45 (45%)Ships in 1-2 Business DaysProduct Specifications- Other Name: Absorber,Front Shock ; Absorber, Front And Rear Suspension
- Position: Front
Buick Front Suspension Strut Assembly
Part Number: 23113983$208.23 MSRP: $409.50You Save: $201.27 (50%)Ships in 1-2 Business DaysProduct Specifications- Other Name: Strut Assembly, Front Suspension; Strut
- Position: Front
- Replaces: 13310731
Buick Rear Shock Absorber Assembly
Part Number: 23147603$56.02 MSRP: $109.17You Save: $53.15 (49%)Ships in 1-2 Business DaysProduct Specifications- Other Name: Absorber Assembly, Rear Shock; Shock, Shock Absorber
- Position: Rear
- Replaces: 22937121
Buick Front Suspension Strut Assembly
Part Number: 13319742$260.67 MSRP: $508.12You Save: $247.45 (49%)Ships in 1-3 Business DaysProduct Specifications- Other Name: Strut Assembly, Front Suspension ; Strut, Front And Rear Suspension; Strut
- Position: Front
Buick Rear Shock Absorber Assembly With Upper Mount
Part Number: 84557949$245.72 MSRP: $483.22You Save: $237.50 (50%)Ships in 1-2 Business DaysProduct Specifications- Other Name: Absorber Assembly, Rear Shk (W/ Upr Mt); Shock, Shock Absorber
- Position: Rear
- Replaces: 84213420, 84317033
- Product Specifications
- Other Name: Absorber Assembly, Rear Shock; Shock, Shock Absorber
- Position: Rear
- Replaces: 15159645, 15172343, 15206892, 15894447, 15172340, 25865982, 25820694, 15159648, 15172342, 15894449, 15894448, 25820695
Buick Rear Shock Absorber Assembly With Upper Mount
Part Number: 84336157$231.20 MSRP: $416.58You Save: $185.38 (45%)Product Specifications- Other Name: Absorber Assembly, Rear Shk (W/ Upr Mt); Shock
- Position: Rear
- Replaces: 22961779
| Page 1 of 13 |Next >
1-20 of 253 Results
Buick Shock Absorber
Our platform hosts an impressive inventory of OEM Buick Shock Absorbers. Just to let you know, all our genuine Buick Shock Absorbers are backed by the manufacturer's warranty and are offered at unbeatable prices. Enjoy a smooth shopping experience with our easy return policy and fast delivery service.
Buick Shock Absorber Parts Questions & Experts Answers
- Q: How to remove and install a rear shock absorber on Buick Regal?A:Use a wrench and socket to loosen and remove the lower shock absorber retaining nut and bolt. Purge new shocks of air by repeatedly extending them in their normal position and compressing them while inverted. Begin by raising the vehicle and axle housing, ensuring the vehicle is safely supported on jackstands. Next, remove the nut, retainer, and grommet, or nut and lockwasher, as equipped, which attaches the lower end of the shock absorber to the mounting. Then, take out the two shock absorber upper attaching screws and remove the shock absorber. To install, reverse the removal procedures, tightening the upper bolts to 18-20 ft. lbs. (24-27 Nm) for all models, while the nuts that lock the upper bolts on 1977-87 models should be tightened to 12 ft. lbs. (16 Nm). Finally, tighten the lower nut to 65 ft. lbs. (88 Nm).
- Q: How to remove the rear shock absorber on 2009 and earlier Buick LaCrosse?A:To remove the strut, start by moving the side trim in the trunk compartment to expose the strut upper mounting fasteners. Loosen the mounting fasteners without removing them and pull off the rubber cap on top of the strut if it is equipped. Next, loosen the rear wheel lug nuts, block the front wheels, and raise the rear of the vehicle on jackstands. Remove the rear wheels and support the rear suspension with a floor jack. Detach the stabilizer bar link from the strut and mark the relationship of the strut to the knuckle. Remove the strut-to-knuckle nuts and bolts, separate the strut from the rear knuckle, and remove the upper mounting nuts to take out the strut. Make sure to secure the rear knuckle to prevent damage. To inspect the strut, check for leaking fluid, dents, cracks, and other damage. Also, inspect the coil spring for chips or cracks in the coating and the spring seat for cuts or deterioration. If any issues are found, proceed to the strut disassembly procedure. For installation, guide the knuckle into the strut flange and place the upper part of the strut in position to mount to the body. Install the upper mounting nuts finger-tight and use a soft-face hammer or mallet to install the bolts. Align the marks made and tighten the nuts to the specified torque. Install the stabilizer bar link, wheel, and lug nuts, then lower the vehicle and tighten the lug nuts. Finally, tighten the upper mounting nuts to the specified torque and have the wheel alignment checked and adjusted if necessary.
Related Buick Parts
Browse by Model
Allure Shock Absorber Cascada Shock Absorber Century Shock Absorber Electra Shock Absorber Enclave Shock Absorber Encore GX Shock Absorber Encore Shock Absorber Envision Shock Absorber Envista Shock Absorber Estate Wagon Shock Absorber LaCrosse Shock Absorber Lesabre Shock Absorber Lucerne Shock Absorber Park Avenue Shock Absorber Rainier Shock Absorber Reatta Shock Absorber Regal Shock Absorber Rendezvous Shock Absorber Riviera Shock Absorber Roadmaster Shock Absorber Skyhawk Shock Absorber Skylark Shock Absorber Somerset Shock Absorber Terraza Shock Absorber Verano Shock Absorber
