My Garage
My Account
Cart
Genuine Buick Skylark Oil Pan
Oil Drain Pan- Select Vehicle by Model
- Select Vehicle by VIN
Select Vehicle by Model
orMake
Model
Year
Select Vehicle by VIN
For the most accurate results, select vehicle by your VIN (Vehicle Identification Number).
16 Oil Pans found
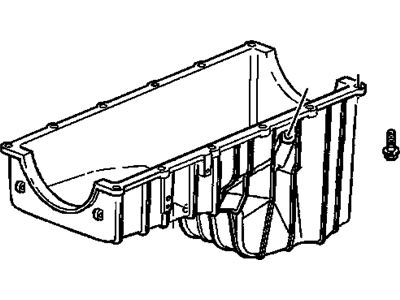
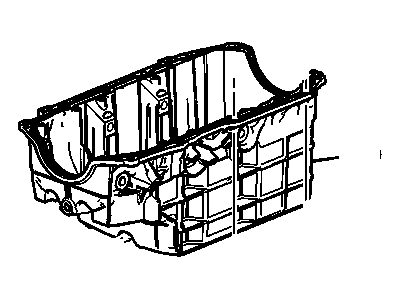
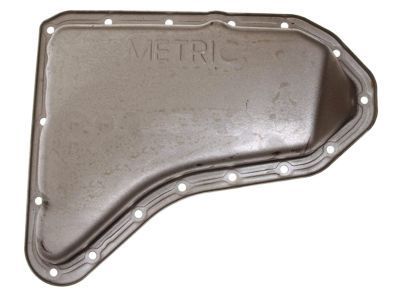
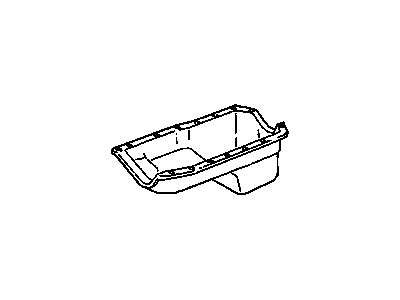
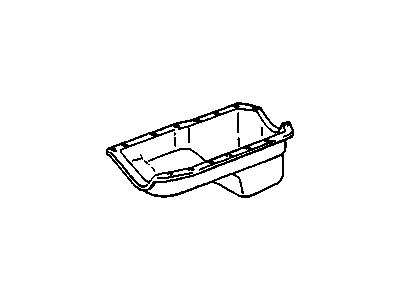
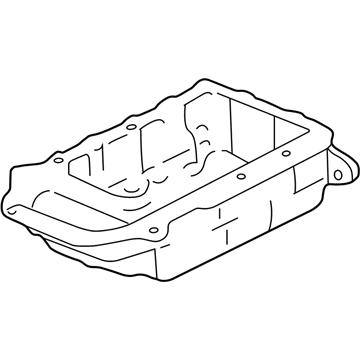
Buick Skylark Oil Pan Assembly
Part Number: 22531766$115.98 MSRP: $233.88You Save: $117.90 (51%)Ships in 1-2 Business DaysBuick Skylark Pan Asm,Oil
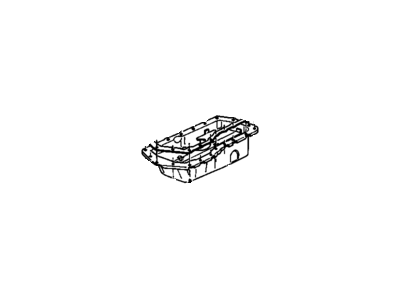
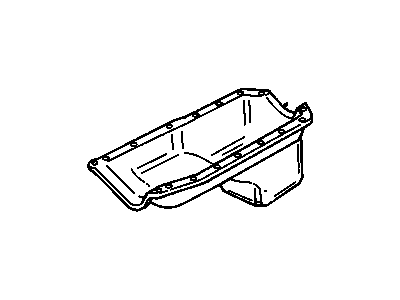
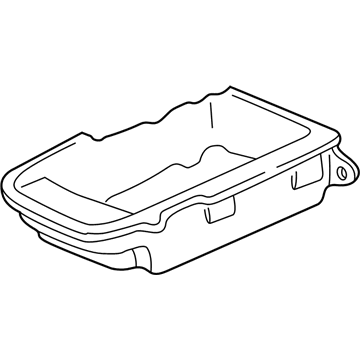
Part Number: 12512670$185.45 MSRP: $276.52You Save: $91.07 (33%)Ships in 1-2 Business Days
Buick Skylark Oil Pan
The Oil Pan plays a vital role of holding engine oil in Buick Skylark vehicles for the purpose of lubrication of the moving parts. In most models of Skylark, there is the wet sump system which is commonly used where the oil is collected and stored at the bottom of the engine in the oil pan and from where the oil pump draws it and circulates it in the engine. This design is used to keep lubrication and cooling going for every engine part, to which oil goes back after circulating in the system of the engine. It used to be produced using stamped steel but today Buick Skylark Oil Pans manufactured may be of cast aluminum for better results. As for the function there is no significant change, while the change in materials is reflective of change in engineering and aesthetics. In general, the Oil Pan plays a critical role in the Buick Skylark's engine, it required to change its parameters continually and guarantee stable functioning.
Each OEM Buick Skylark Oil Pan we offer is competitively priced and comes with the assurance of the manufacturer's warranty for the part. Furthermore, we guarantee the speedy delivery of your orders right to your doorstep. Our hassle-free return policy is also in place for your peace of mind.
Buick Skylark Oil Pan Parts Questions & Experts Answers
- Q: How to disconnect the negative battery terminal and remove the oil pan in V6 engine on Buick Skylark?A:Disconnect the negative battery terminal, then raise the front of the car and support it on jack stands. Drain the engine oil into a suitable container and remove the front exhaust crossover pipe, followed by the flywheel inspection cover and the starter. If equipped with a manual transaxle, remove the nuts securing the Engine Mounting bracket to the engine mount, and raise the front of the engine about 3/4-in (19 mm) to provide clearance for the oil pan removal. A spacer can be fabricated from a block of wood, measuring the height of the engine mount studs and choosing a solid block approximately 3/4-in thicker than this measurement, with drilled holes to fit over the studs. If an engine hoist is unavailable, use a floor jack with a wood block under the oil pan to spread the load and prevent damage. Raise the engine slowly until the wood block spacer can be placed between the engine mount and the engine mount bracket, checking clearances as it is raised, particularly at the front engine strut. Lower the engine onto the wood block, ensuring it is firmly supported, and if using a hoist, keep the lifting chains secured. Remove the oil pan bolts and the oil pan, using a rubber mallet if necessary to break the seal. Clean the gasket sealing surfaces on the engine block and oil pan with degreaser, ensuring all sealer and gasket material is removed. Apply a 1/8-in (3 mm) diameter bead of RTV or equivalent sealer around the pan's sealing flange before positioning the oil pan against the engine block and installing the mounting bolts, torquing them to specifications. If the engine has been raised, lower it onto the engine mount and install the retaining nuts, torquing them to specifications. The remainder of the installation follows the reverse of the removal procedure. Finally, fill the engine with the correct grade of oil, start the engine, and check the pan for leaks.
