My Garage
My Account
Cart
Genuine Buick Trailing Arm
Trailing Control Arm- Select Vehicle by Model
- Select Vehicle by VIN
Select Vehicle by Model
orMake
Model
Year
Select Vehicle by VIN
For the most accurate results, select vehicle by your VIN (Vehicle Identification Number).
61 Trailing Arms found
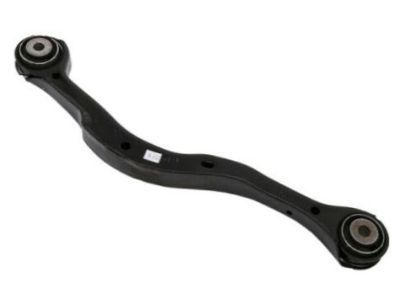
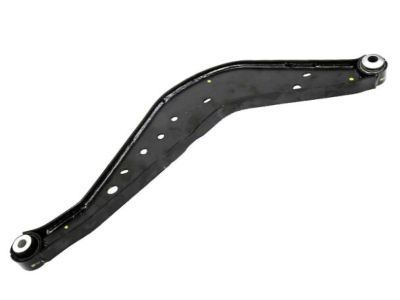
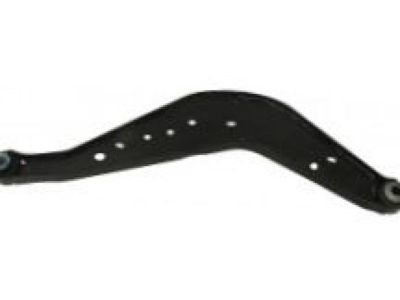
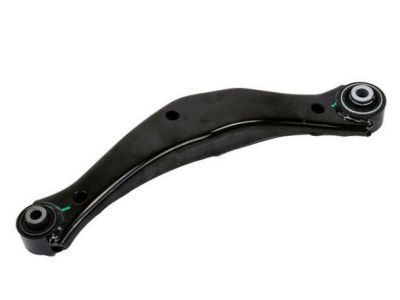
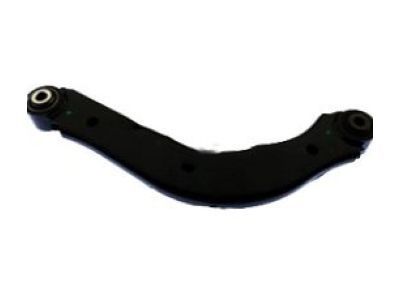
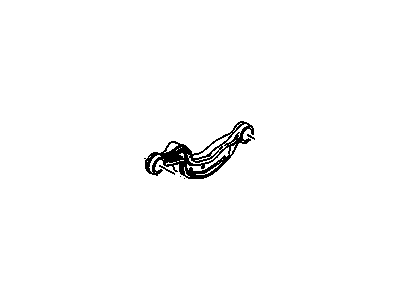
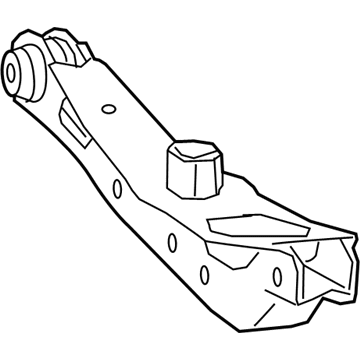
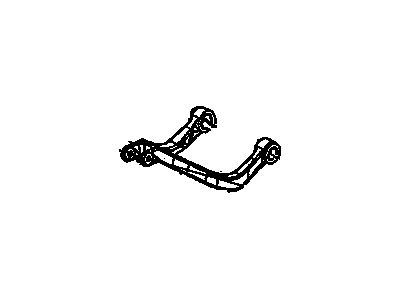
Buick Link Assembly, Rear Suspension Upper Trailing
Part Number: 84199654$54.08 MSRP: $86.25You Save: $32.17 (38%)Ships in 1-2 Business DaysProduct Specifications- Other Name: Link Assembly, Rear Susp Upr Trailing; Trailing Arm, Upper Link
- Position: Rear Upper
- Replaces: 23346671
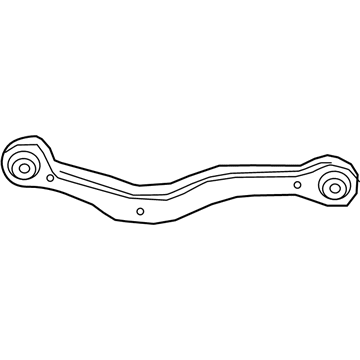
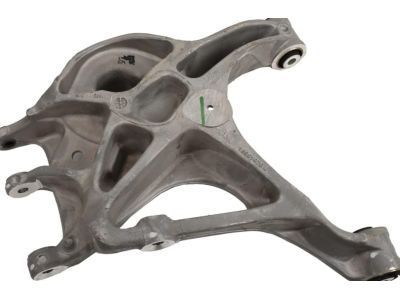
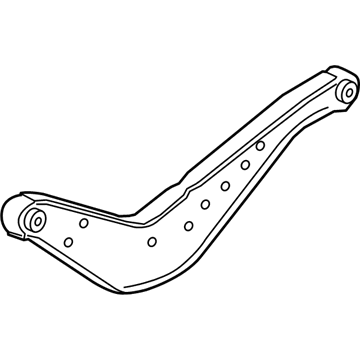
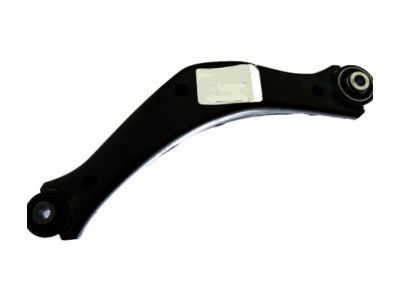
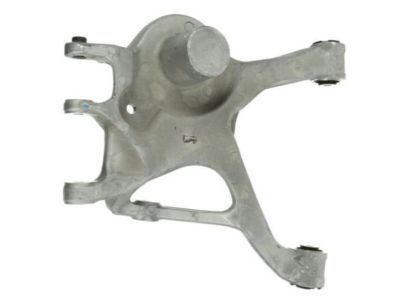
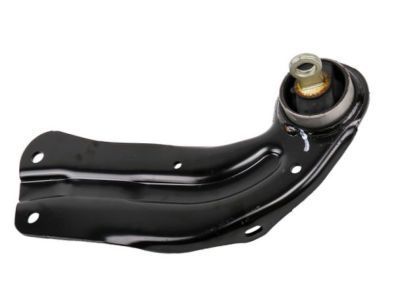
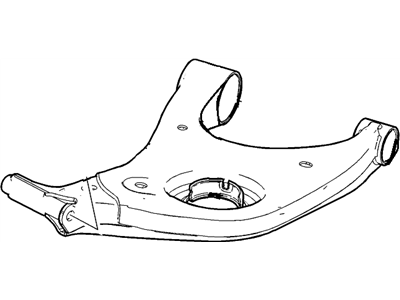
Buick Rear Lower Suspension Control Arm Assembly
Part Number: 13219164$57.00 MSRP: $97.48You Save: $40.48 (42%)Ships in 1-2 Business DaysProduct Specifications- Other Name: Arm Assembly, Rear Suspension Lower Control ; Arm, Rear Axle Control Arm; Lower Control Arm
- Position: Rear Lower
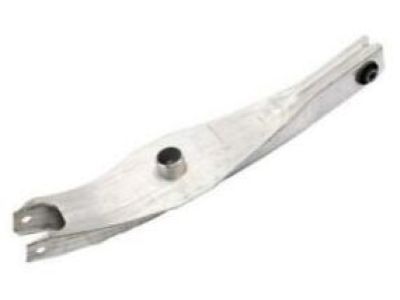
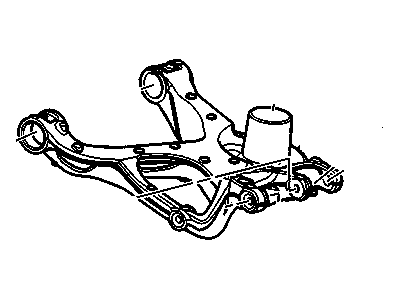
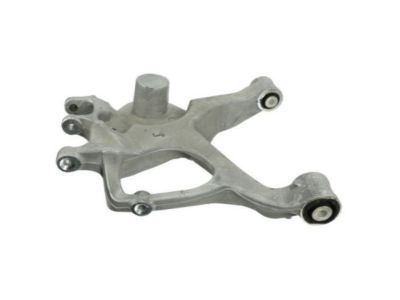
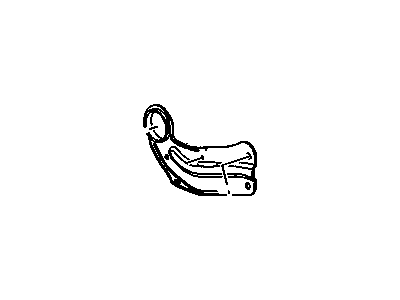
Buick Rear Lower Suspension Control Arm Assembly
Part Number: 22915856$393.72 MSRP: $673.22You Save: $279.50 (42%)Ships in 1-2 Business DaysProduct Specifications- Other Name: Arm Assembly, Rear Suspension Lower Control ; Arm, Rear Axle Control Arm; Lower Control Arm
- Position: Rear Lower
- Replaces: 15951979
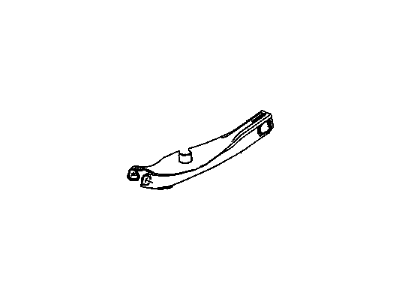
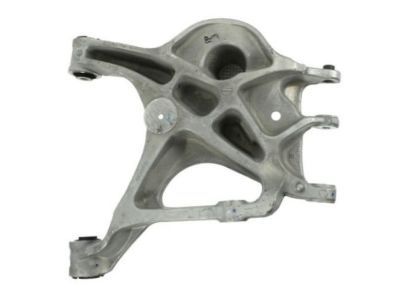
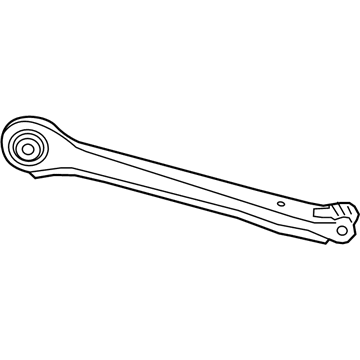
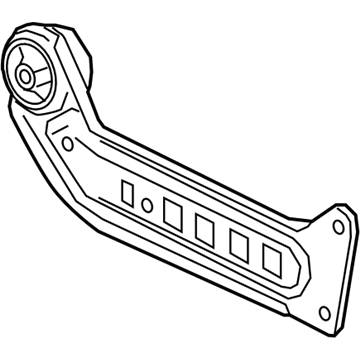
Buick Link Assembly, Rear Susp Adj
Part Number: 84149392$53.31 MSRP: $91.17You Save: $37.86 (42%)Ships in 1-2 Business DaysProduct Specifications- Other Name: Rear Arm, Upper Control Arm
- Position: Rear
- Replaces: 84708921, 23350588
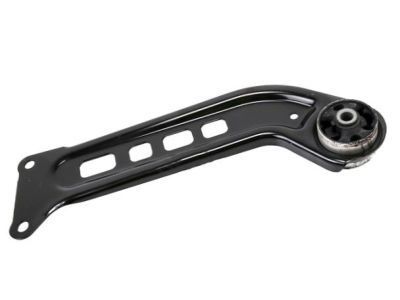
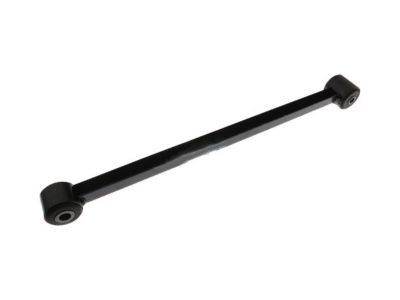
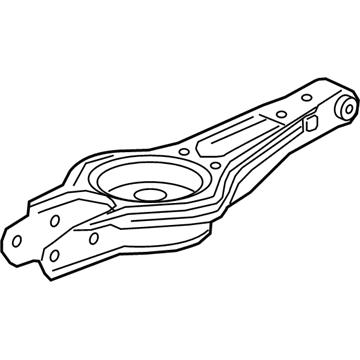
Buick Rear Suspension Trailing Arm Assembly
Part Number: 15820927$60.40 MSRP: $102.38You Save: $41.98 (41%)Ships in 1-2 Business DaysProduct Specifications- Other Name: Arm Assembly, Rear Suspension Trailing ; Arm, Rear Axle Control Arm; Trailing Arm
- Position: Rear
- Replaces: 10244461
Buick Rear Upper Suspension Control Arm Assembly
Part Number: 20900531$107.64 MSRP: $188.43You Save: $80.79 (43%)Ships in 1-2 Business DaysProduct Specifications- Other Name: Arm Assembly, Rear Suspension Upper Control; Rear Upper Control Arm, Upper Control Arm
- Position: Rear Upper
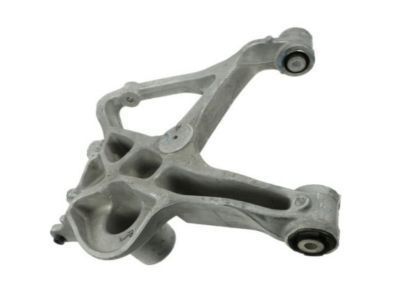
Buick Rear Lower Suspension Control Arm Assembly
Part Number: 15951978$404.27 MSRP: $685.25You Save: $280.98 (41%)Ships in 1-2 Business DaysProduct Specifications- Other Name: Arm Assembly, Rear Suspension Lower Control ; Arm, Rear Axle Control Arm; Lower Control Arm
- Position: Rear Lower
Buick Rear Upper Suspension Control Arm Assembly
Part Number: 23216530$136.33 MSRP: $236.63You Save: $100.30 (43%)Ships in 1-2 Business DaysProduct Specifications- Other Name: Arm Assembly, Rear Suspension Upper Control; Rear Upper Control Arm, Upper Control Arm
- Position: Rear Upper
- Replaces: 20921466
Buick Rear Suspension Control Arm Assembly
Part Number: 22927292$81.42 MSRP: $199.56You Save: $118.14 (60%)Ships in 1-2 Business DaysProduct Specifications- Other Name: Arm Assembly, Rear Suspension Control ; Arm, Rear Axle Control Arm; Control Arm, Front Upper Control Arm, Trailing Arm
- Position: Rear
- Replaces: 13219145
Buick Link Assembly, Rear Suspension Lower Trailing
Part Number: 84354706$46.10 MSRP: $78.16You Save: $32.06 (42%)Ships in 1-2 Business DaysProduct Specifications- Other Name: Link Assembly, Rear Susp Lwr Trailing; Lower Arm, Trailing Arm
- Position: Rear Lower
- Replaces: 84199674
Buick Rear Lower Suspension Control Arm Assembly
Part Number: 84382664$49.01 MSRP: $78.15You Save: $29.14 (38%)Ships in 1-2 Business DaysProduct Specifications- Other Name: Arm Assembly, Rear Susp Lwr Cont; Lower Control Arm
- Position: Rear Lower
- Replaces: 84143517, 84031533
Buick Rear Upper Suspension Control Arm Assembly
Part Number: 20900532$100.02 MSRP: $172.08You Save: $72.06 (42%)Ships in 1-2 Business DaysProduct Specifications- Other Name: Arm Assembly, Rear Suspension Upper Control; Rear Upper Control Arm, Upper Control Arm
- Position: Rear Upper
Buick ARM ASM-RR SUSP TRAILING
Part Number: 42793827$48.80 MSRP: $83.47You Save: $34.67 (42%)Ships in 1-2 Business DaysProduct Specifications- Other Name: Trailing Arm
- Replaces: 84119273, 23328163
Buick Rear Lower Suspension Control Arm Assembly
Part Number: 23214430$282.06 MSRP: $456.60You Save: $174.54 (39%)Ships in 1-2 Business DaysProduct Specifications- Other Name: Arm Assembly, Rear Suspension Lower Control; Lower Control Arm, Rear Lower Control Arm
- Position: Rear Lower
- Replaces: 23182015, 20921462
Buick Rear Lower Suspension Control Arm Assembly
Part Number: 23214431$282.06 MSRP: $456.59You Save: $174.53 (39%)Ships in 1-2 Business DaysProduct Specifications- Other Name: Arm Assembly, Rear Suspension Lower Control; Lower Control Arm, Rear Lower Control Arm
- Position: Rear Lower
- Replaces: 20921463, 23182016
Buick Rear Lower Suspension Control Arm Assembly
Part Number: 84309090$52.43 MSRP: $90.41You Save: $37.98 (43%)Ships in 1-2 Business DaysProduct Specifications- Other Name: Arm Assembly, Rear Suspension Lower Control; Lower Control Arm
- Position: Rear Lower
- Replaces: 23350585, 84708923, 84149390
Buick Rear Upper Suspension Control Arm Assembly
Part Number: 23216531$136.33 MSRP: $236.63You Save: $100.30 (43%)Ships in 1-2 Business DaysProduct Specifications- Other Name: Arm Assembly, Rear Suspension Upper Control; Rear Upper Control Arm, Upper Control Arm
- Position: Rear Upper
- Replaces: 20921469
Buick Link Assembly, Rear Suspension Upper Trailing
Part Number: 84199653$49.93 MSRP: $85.39You Save: $35.46 (42%)Ships in 1-2 Business DaysProduct Specifications- Other Name: Link Assembly, Rear Susp Upr Trailing; Trailing Arm, Upper Link
- Position: Rear Upper
- Product Specifications
- Other Name: Arm Assembly, Rear Suspension Upper Control; Rear Upper Control Arm, Upper Control Arm
- Position: Rear Upper
- Replaces: 22830017, 13230592
- Product Specifications
- Other Name: Arm Assembly, Rear Suspension Upper Control ; Arm, Rear Axle Control Arm; Upper Control Arm
- Position: Rear Upper
- Replaces: 10412909
| Page 1 of 4 |Next >
1-20 of 61 Results
Buick Trailing Arm
Our platform hosts an impressive inventory of OEM Buick Trailing Arms. Just to let you know, all our genuine Buick Trailing Arms are backed by the manufacturer's warranty and are offered at unbeatable prices. Enjoy a smooth shopping experience with our easy return policy and fast delivery service.
Buick Trailing Arm Parts Questions & Experts Answers
- Q: How to remove the Trailing Arm on 2010 and later Buick LaCrosse?A:To take off the upper trailing arm for any model, loosen lug nuts on wheels, lift up the vehicle and secure with jack stands. Pull out the bolt of the ABS wheel speed sensor harness from the trailing arm. Use a floor jack to brace the lower control arm and then unfasten nut as well as bolt leading into knuckle of upper trailing arm. Rear suspension models with RPO GNE should have their alignment marks created on an adjuster cam for upper trailing with respect to subframe prior to removal of nut and cam. Additionally remove pivot bolt. In contrast, cars that have been outfitted with GNC rear suspension must lose their inner pivot bolts for respective upper trailing arms. Upon removal, these are replaced in reverse order. Finally bring lower control arm back up to normal ride height and tighten fasteners accordingly according to torque specification supplied by manufacturer of your car.Use new fasteners during installation of RPO GNC rear suspension for upper trailing arm.Raise outer end of trailing arm using floor jack in order to attain normal ride height-tight all bolts according to torque specifications given by manufacturer.Install wheel and lug nuts; lower vehicle and tighten lug nuts (to specified torque). Check wheel alignment if necessary.Cut away coil spring first when removing lower run bar.For cars that come equipped with RPO GNE rear suspension remove shock absorber's bottom mounting bolt or make sure you mark the adjuster cam against the sub-frame in case it has RPO GNC rear suspension.Proceed by detaching said arms from sub-frame whereupon they can be removed after taking out their corresponding pivot bolts.Place trailing arm while simulating normal ride height near outer end using hoist.Raised outer end of running bar using jack stand making it appear like how it would be under normal operating conditions-Tighten every single nut having made reference to specifications furnished by automaker.Put wheels back onto vehicle; let down automobile onto pavement while observing correct torque for tightening lug nuts.Get wheel alignment checked. Remove the coil springs to take down trailing arm.Putting it in a different way, RPO GNE rear suspension will require one to eradicate shock absorbers by taking off its bottom mounting bolt or if it is powered by RPO GNC rear suspension, marking the adjuster cam on the sub-frame.Remove trailing arm subframe pivot bolts and detach arms from subframes-lift outer end of trailing arm with hoist in order to simulate normal ride height and tighten all bolts according to the required torque specifications.Installation of wheels and their fastening nuts should be done; vehicles lowered, while nuts are tightened at required degree.Remove lower link-to-knuckle bolt then remove links.Raise outer end of running bar using jack stand making it appear like how it would be under normal operating conditions-Tighten every single nut having made reference to specifications furnished by automaker.Put wheels back onto vehicle; let down automobile onto pavement while observing correct torque for tightening lug nuts.Check wheel alignment if necessary.
Related Buick Parts
Browse by Model
Allure Trailing Arm Century Trailing Arm Electra Trailing Arm Enclave Trailing Arm Envision Trailing Arm Estate Wagon Trailing Arm LaCrosse Trailing Arm Lesabre Trailing Arm Lucerne Trailing Arm Park Avenue Trailing Arm Rainier Trailing Arm Reatta Trailing Arm Regal Trailing Arm Rendezvous Trailing Arm Riviera Trailing Arm Roadmaster Trailing Arm Terraza Trailing Arm
