My Garage
My Account
Cart
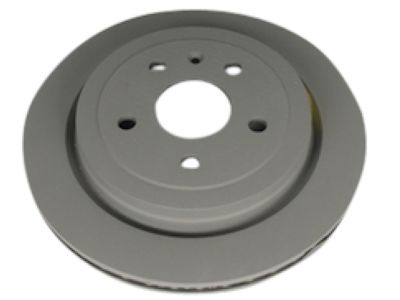
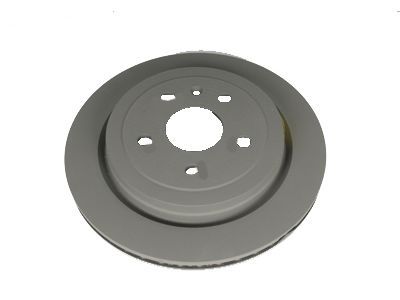
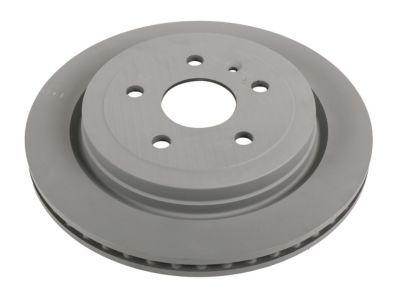
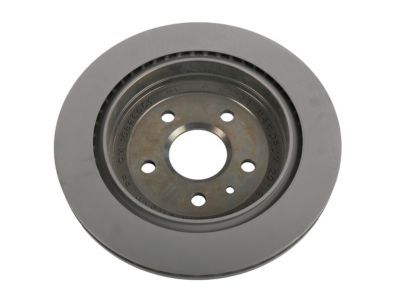
Genuine Cadillac CTS Brake Disc
Disc Rotor- Select Vehicle by Model
- Select Vehicle by VIN
Select Vehicle by Model
orMake
Model
Year
Select Vehicle by VIN
For the most accurate results, select vehicle by your VIN (Vehicle Identification Number).
23 Brake Discs found
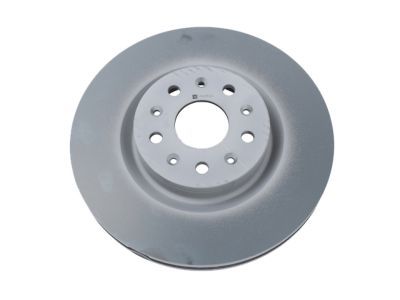
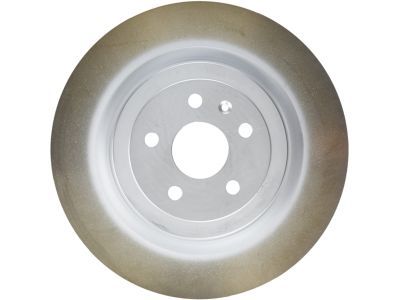
Cadillac CTS Front Brake Rotor
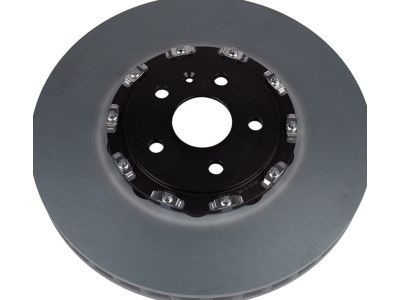
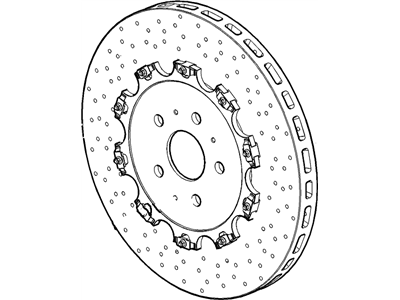
Part Number: 13528522$89.53 MSRP: $176.06You Save: $86.53 (50%)Ships in 1-3 Business DaysCadillac CTS Front Brake Rotor Assembly
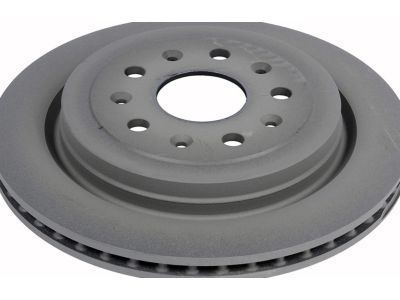
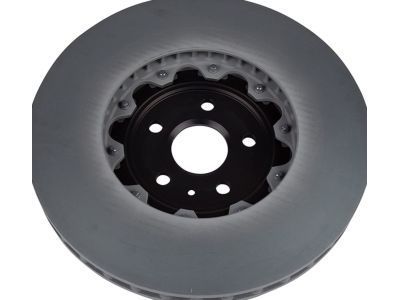
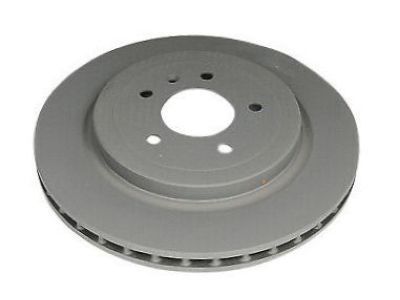
Part Number: 84271643$541.98 MSRP: $926.76You Save: $384.78 (42%)Cadillac CTS Rear Brake Rotor
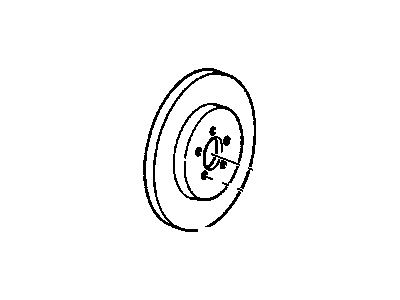
Part Number: 92245929$181.59 MSRP: $498.06You Save: $316.47 (64%)Ships in 1-2 Business DaysCadillac CTS Rear Brake Rotor Assembly
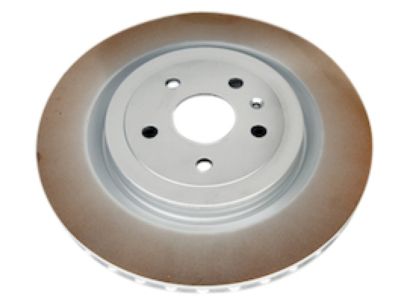
Part Number: 20808621$74.99 MSRP: $146.17You Save: $71.18 (49%)Ships in 1 Business DayCadillac CTS ROTOR-FRT BRK (CTD)
Part Number: 13547575$135.64 MSRP: $264.40You Save: $128.76 (49%)Ships in 1-2 Business DaysCadillac CTS ROTOR-RR BRK
Part Number: 85589610$150.27 MSRP: $295.50You Save: $145.23 (50%)Ships in 1-2 Business DaysCadillac CTS ROTOR-FRT BRK
Part Number: 13549526$128.41 MSRP: $250.32You Save: $121.91 (49%)Ships in 1-2 Business DaysCadillac CTS Rear Brake Rotor
Part Number: 15240719$90.75 MSRP: $178.45You Save: $87.70 (50%)Ships in 1-2 Business DaysCadillac CTS Front Brake Rotor Assembly
Part Number: 25851237$296.69 MSRP: $583.45You Save: $286.76 (50%)Ships in 1-2 Business DaysCadillac CTS Rear Brake Rotor Assembly
Part Number: 20808622$52.90 MSRP: $146.04You Save: $93.14 (64%)Ships in 1 Business DayCadillac CTS ROTOR ASM,FRT BRK
Part Number: 19419984$650.63 MSRP: $1279.50You Save: $628.87 (50%)Ships in 1-2 Business DaysCadillac CTS Front Brake Rotor
Part Number: 25750248$129.31 MSRP: $235.09You Save: $105.78 (45%)Ships in 1-2 Business DaysCadillac CTS Front Brake Rotor
Part Number: 19303812$96.97 MSRP: $176.31You Save: $79.34 (45%)Ships in 1-2 Business DaysCadillac CTS ROTOR ASM,FRT BRK
Part Number: 19419983$589.74 MSRP: $1008.41You Save: $418.67 (42%)Ships in 1-3 Business DaysCadillac CTS Front Brake Rotor
Part Number: 23495624$155.83 MSRP: $245.00You Save: $89.17 (37%)Ships in 1-2 Business DaysCadillac CTS Front Brake Rotor
Part Number: 23495625$155.83 MSRP: $245.00You Save: $89.17 (37%)Ships in 1-2 Business DaysCadillac CTS Front Brake Rotor Assembly
Part Number: 20808620$90.33 MSRP: $162.02You Save: $71.69 (45%)
| Page 1 of 2 |Next >
1-20 of 23 Results
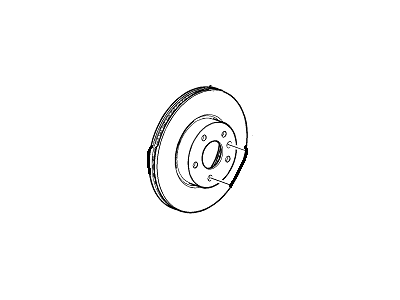
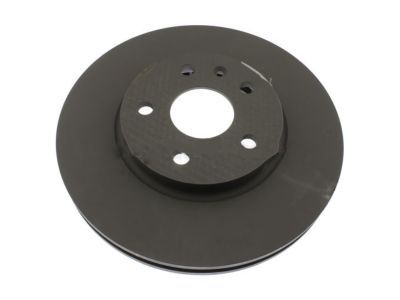
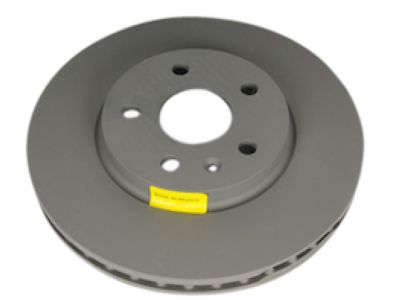
Cadillac CTS Brake Disc
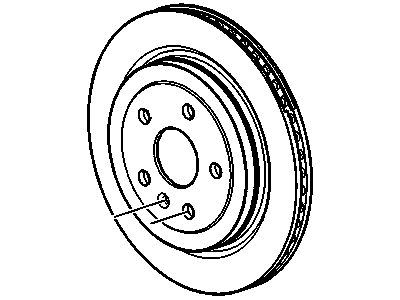
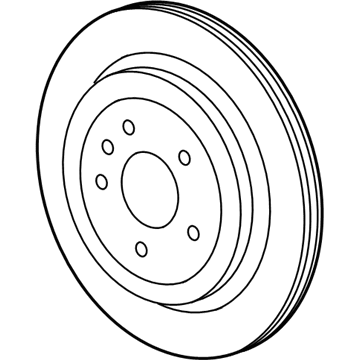
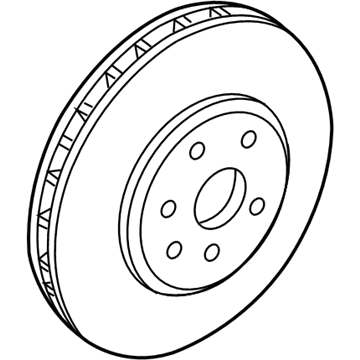
The Brake Disc in Cadillac CTS vehicles is a crucial component of the disc brake that has the principal functions of providing safety in stopping the vehicle. These rotors are commonly being produced from gray iron and while these have simple designs, some incorporate fins or vanes with the purpose of facilitating heat dissipation. In years, such modifications as drilled or slotted rotors have been install to enhance performance by helping in heat dissipation and dispersion of water, but they result in excessive pad wear. A Brake Disc must be maintained because catastrophic problems such as warping, scarring, and rusting reduce braking performance. To overcome difficulties concerning thickness differences it is necessary to inspect the components more often and to apply appropriate machining methods which will help to avoid failures in due course. Such aspects as durability and heat tolerance are particularly improved in high-performance models through the use advanced materials in their construction to boost the rate of optimum braking in varying drive modes.
Each OEM Cadillac CTS Brake Disc we offer is competitively priced and comes with the assurance of the manufacturer's warranty for the part. Furthermore, we guarantee the speedy delivery of your orders right to your doorstep. Our hassle-free return policy is also in place for your peace of mind.
Cadillac CTS Brake Disc Parts Questions & Experts Answers
- Q: How to Inspect and Replace Brake Discs on Cadillac CTS?A:Before you work, use the jackstand to lift the car and keep it supported on the jackstands. Hold the brake caliper, leave the brake hose connected, then lift it off and secure the caliper in place with a length of wire. Look at both sides of the rotor for deep score marks; light damage and small grooves are fine, but deep scoring means you need new rotors and resurfacing. Look at both sides of the brake disc-if the vehicle knbuces when you apply the brakes, the disc might not be round. An automotive machine shop should resurface the disc if you find runout when you reattach the cap nuts (in the opposite direction) and measure the difference from the disc's edge with a dial gauge-as long as it's less than the allowed amount. Make sure the machine shop doesn't grind the disc too thin but leaves the minimum thickness cast or stamped onto the disc, which you can measure with a micrometer. First exit the caliper for CTS-V models, next reverse the lug nuts, then unscrew and pull off the screw on the hub-attached plate to extract the disc total. Before putting the disc in place, scrape off dirt and rust from the hub surface and clean the entire hub-facing side of the disc center with wire brush. Put a little bit of high-temperature anti-seize on both the wheel hub's edge and the raised area next to it. Put the disc over the stud, put the bolt through its hole, and turn it to the recommended tightness. Mount the caliper and its bracket, and fasten the bolts according to the recommended torque forces. Put the wheel on, let the car hit the ground, and properly tighten the wheel lugs until they meet the prescribed torque rating. Pull down on the brake three times to let the brake pad touch the disc, then double-check the brakes work correctly before you can drive.
