My Garage
My Account
Cart
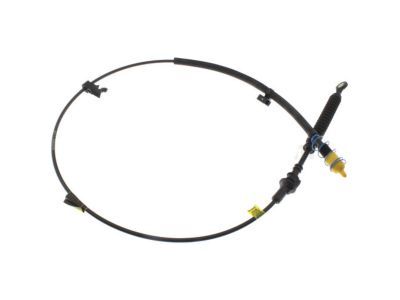
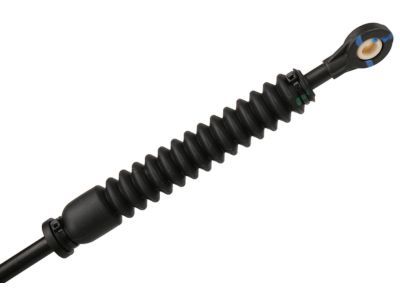
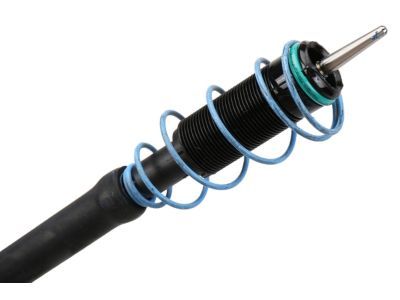
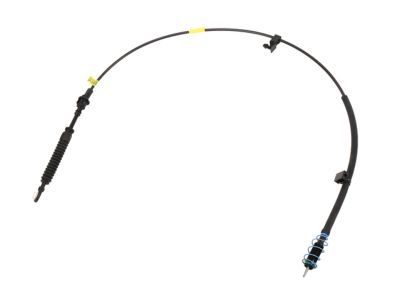
Genuine Cadillac Escalade Shift Cable
Transmission Shift Cable- Select Vehicle by Model
- Select Vehicle by VIN
Select Vehicle by Model
orMake
Model
Year
Select Vehicle by VIN
For the most accurate results, select vehicle by your VIN (Vehicle Identification Number).
12 Shift Cables found
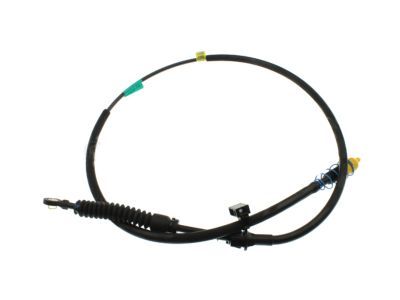
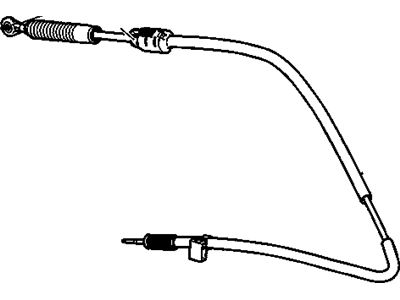
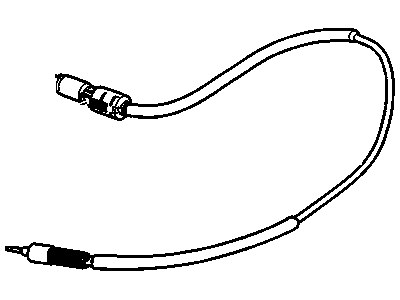
Cadillac Escalade Automatic Transmission Control Lever Cable Assembly (At Trns)
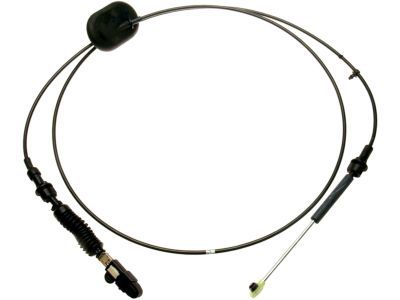
Part Number: 20787608$59.17 MSRP: $98.94You Save: $39.77 (41%)Ships in 1-2 Business DaysCadillac Escalade Automatic Transmission Range Select Lever Cable
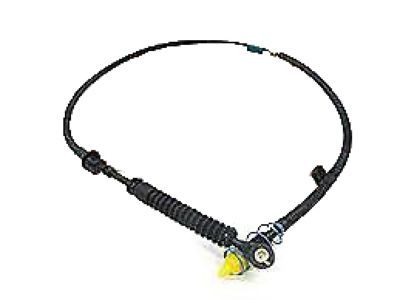
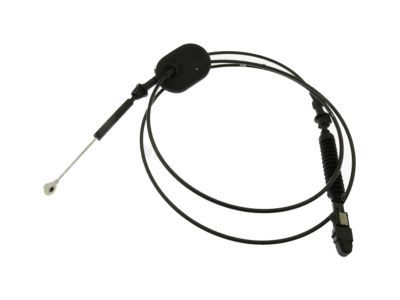
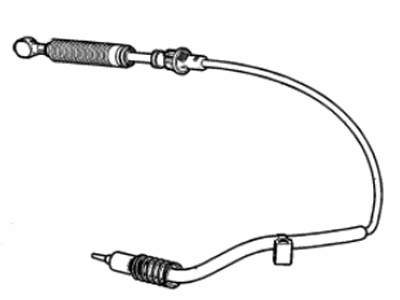
Part Number: 15037353$95.48 MSRP: $163.27You Save: $67.79 (42%)Cadillac Escalade Cable Assembly, A/Trns Range Sel Lvr (At Trns)
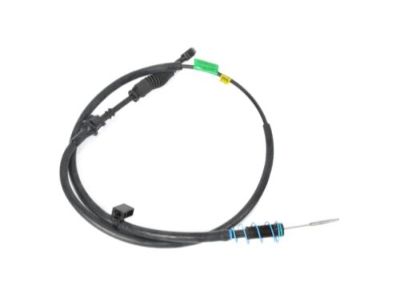
Part Number: 84507731$58.28 MSRP: $99.65You Save: $41.37 (42%)Ships in 1-2 Business DaysCadillac Escalade Automatic Transmission Control Lever Cable Assembly (At Trns)
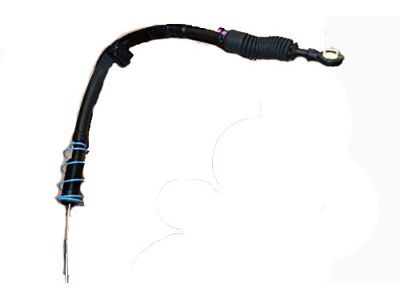
Part Number: 20787609$47.09 MSRP: $80.53You Save: $33.44 (42%)Ships in 1-2 Business DaysCadillac Escalade CABLE ASM-A/TRNS RANGE SEL LVR
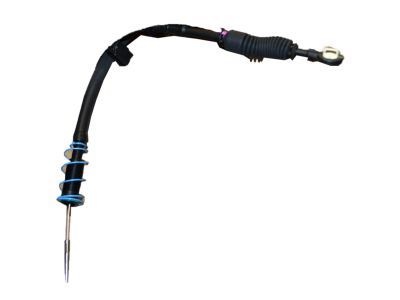
Part Number: 86532014$31.15 MSRP: $53.73You Save: $22.58 (43%)Ships in 1-2 Business DaysCadillac Escalade Cable Assembly, A/Trns Range Sel Lvr (At Trns)
Part Number: 84525957$58.28 MSRP: $99.65You Save: $41.37 (42%)Ships in 1-2 Business DaysCadillac Escalade CABLE KIT,A/TRNS RANGE SEL LVR
Part Number: 19434387$130.18 MSRP: $222.60You Save: $92.42 (42%)Ships in 1-2 Business DaysCadillac Escalade Automatic Transmission Shifter Cable Assembly (At Trns)
Part Number: 84525959$47.19 MSRP: $74.21You Save: $27.02 (37%)Ships in 1-2 Business DaysCadillac Escalade Automatic Transmission Shifter Cable Assembly (At Trns)
Part Number: 84507729$47.53 MSRP: $81.98You Save: $34.45 (43%)Ships in 1-2 Business DaysCadillac Escalade Automatic Transmission Control Lever Cable Assembly (At Trns)
Part Number: 20787612$52.54 MSRP: $79.62You Save: $27.08 (35%)Cadillac Escalade Cable Assembly, A/Trns Range Sel Lvr (At Trns)
Part Number: 84507732$44.73 MSRP: $70.35You Save: $25.62 (37%)Ships in 1-3 Business DaysCadillac Escalade CABLE ASM,A/TRNS RANGE SEL LVR
Part Number: 19434392$36.41 MSRP: $62.27You Save: $25.86 (42%)
Cadillac Escalade Shift Cable
Each OEM Cadillac Escalade Shift Cable we offer is competitively priced and comes with the assurance of the manufacturer's warranty for the part. Furthermore, we guarantee the speedy delivery of your orders right to your doorstep. Our hassle-free return policy is also in place for your peace of mind.
Cadillac Escalade Shift Cable Parts Questions & Experts Answers
- Q: How to replace the shift cable on Cadillac Escalade?A:To remove shift cable, one should first remove the connection of the cable from negative terminal of battery, engage the parking brake and put the car transmission in park. Secure the rear wheels from turning, they should be on the ground, next elevate the front of the vehicle with the jack and firmly place it on the jack stands. Remove the shift cable from the car by unscrewing it with a screwdriver, unhinging the cable and also removing a retaining clip that is attached to a cable bracket that is found on the transmission. Within the vehicle do the following: Pull down the knee bolster located under the steering column, disengage the shift cable ball socket from the shift lever ball pivot, and retract the cable retainer that is fixed on the steering column bracket. Subsequently, take off the door sill plate and left kick panel, after which one will unmask the cable to the cable grommet under the carpet. Remove the grommet and then you pull through the upper end of the cable through the hole in the floor to get it out. Removal is performed in the opposite way to installation. To set, make sure the driver's shift lever and transmission shift lever are in park position; if a lock is available pull away the lock which is usually covered by a white cover by use of pliers. With both ends of the cable in hands, adjust the outside diameter of the shift lever end to fit the inside diameter of the transmission end and while in position, migrate the transmission end inside in order to engage the inner wire completely and be sure that the blue spring has compressed. It Pays to Avoid Holding the Transmission End during this Process not to Mis-adjust. This will reduce the tension in the cable; ease the blue spring so it is free standing and release the lower end of the cable. Last, take off the piece of white plastic on the other end of the shift lever and place the connector retain on the cables while ensuring that it locks and the white collar slides back into place as a final check, test the vehicle for proper shifting.
Related Cadillac Escalade Parts
Browse by Year
2020 Shift Cable 2019 Shift Cable 2018 Shift Cable 2017 Shift Cable 2016 Shift Cable 2015 Shift Cable 2014 Shift Cable 2013 Shift Cable 2012 Shift Cable 2011 Shift Cable 2010 Shift Cable 2009 Shift Cable 2008 Shift Cable 2007 Shift Cable 2005 Shift Cable 2004 Shift Cable 2003 Shift Cable 2002 Shift Cable 2000 Shift Cable 1999 Shift Cable
