My Garage
My Account
Cart
Genuine Cadillac Escalade Wheel Hub
Wheel Axle Hub- Select Vehicle by Model
- Select Vehicle by VIN
Select Vehicle by Model
orMake
Model
Year
Select Vehicle by VIN
For the most accurate results, select vehicle by your VIN (Vehicle Identification Number).
23 Wheel Hubs found
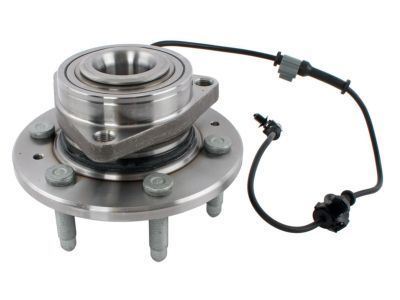
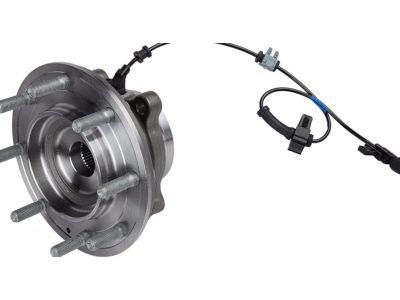
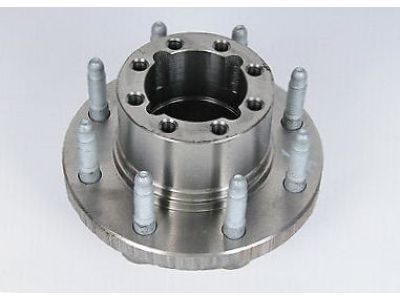
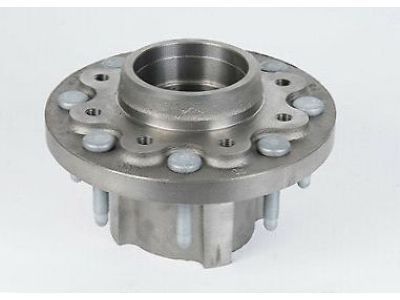
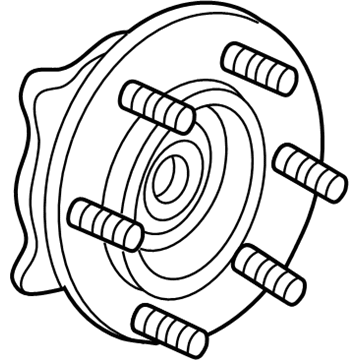
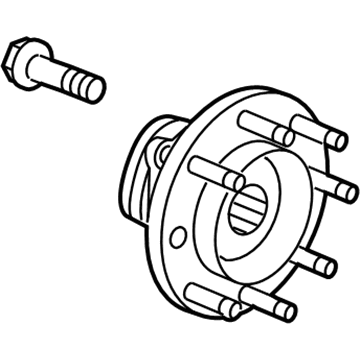
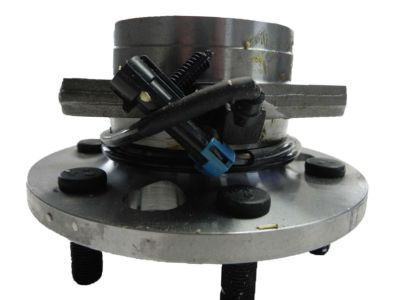
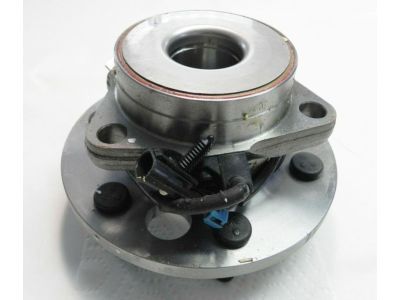
Cadillac Escalade Hub Assembly, Front Whl (W/ Brg & Whl Spd Sen)
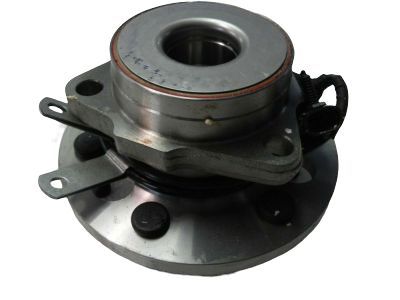
Part Number: 84856654$215.23 MSRP: $423.26You Save: $208.03 (50%)Ships in 1-2 Business DaysCadillac Escalade Hub Assembly, Front Whl (W/ Brg & Whl Spd Sen)
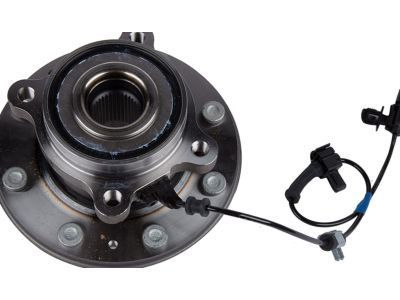
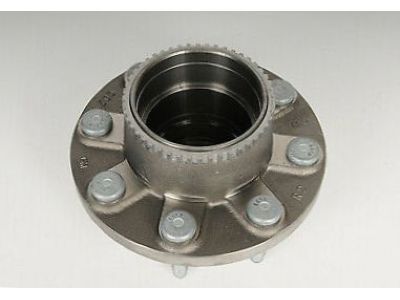
Part Number: 84856655$213.20 MSRP: $415.60You Save: $202.40 (49%)Ships in 1 Business DayCadillac Escalade Front Wheel Bearing (W/ Brg & Whl Spd Sen)
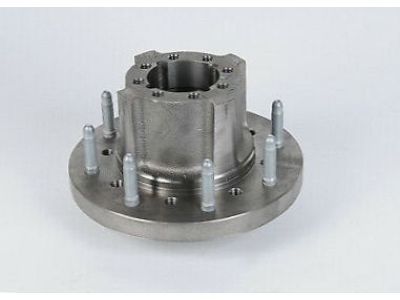
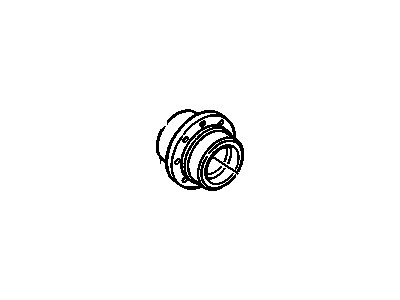
Part Number: 84459706$280.67 MSRP: $570.21You Save: $289.54 (51%)Cadillac Escalade Rear Wheel Bearing
Part Number: 25843093$266.63 MSRP: $519.76You Save: $253.13 (49%)Ships in 1-2 Business DaysCadillac Escalade Rear Wheel Bearing
Part Number: 23455948$290.59 MSRP: $571.47You Save: $280.88 (50%)Cadillac Escalade Rear Wheel Bearing
Part Number: 20945052$264.53 MSRP: $463.25You Save: $198.72 (43%)Ships in 1-2 Business DaysCadillac Escalade Rear Wheel Bearing
Part Number: 3977397$227.82 MSRP: $388.52You Save: $160.70 (42%)Cadillac Escalade Rear Wheel Bearing
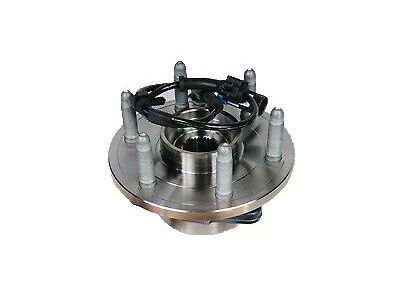
Part Number: 352982$240.56 MSRP: $421.27You Save: $180.71 (43%)Cadillac Escalade Hub Assembly, Front Whl (W/ Brg & Whl Spd Sen)
Part Number: 84869190$183.11 MSRP: $356.94You Save: $173.83 (49%)Cadillac Escalade Hub Assembly, Front Whl (W/ Brg & Whl Spd Sen)
Part Number: 84869191$183.11 MSRP: $356.94You Save: $173.83 (49%)Cadillac Escalade Hub Assembly, Front Whl
Part Number: 13536046$142.28 MSRP: $274.94You Save: $132.66 (49%)Ships in 1-2 Business DaysCadillac Escalade HUB ASM,FRT WHL (W/ WHL SPD SEN) <SEE GUIDE/BFO>
Part Number: 19419365$154.59 MSRP: $281.08You Save: $126.49 (45%)Ships in 1-2 Business DaysCadillac Escalade Hub Assembly, Front Whl (W/ Brg & Whl Spd Sen)
Part Number: 84964448$221.82 MSRP: $426.79You Save: $204.97 (49%)Cadillac Escalade Hub Assembly, Front Whl (W/ Brg & Whl Spd Sen)
Part Number: 84856653$242.57 MSRP: $472.84You Save: $230.27 (49%)Ships in 1-2 Business DaysCadillac Escalade HUB,RR WHL(W/BRG)
Part Number: 13536121$129.43 MSRP: $235.32You Save: $105.89 (45%)Cadillac Escalade Hub Assembly, Front Whl
Part Number: 13536045$113.23 MSRP: $222.66You Save: $109.43 (50%)Ships in 1-2 Business DaysCadillac Escalade HUB ASM,FRT WHL (W/ BRG & WHL SPD SEN)
Part Number: 19419501$390.51 MSRP: $703.62You Save: $313.11 (45%)
| Page 1 of 2 |Next >
1-20 of 23 Results
Cadillac Escalade Wheel Hub
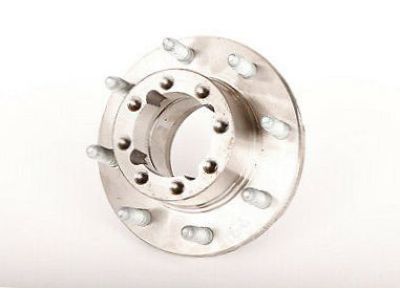
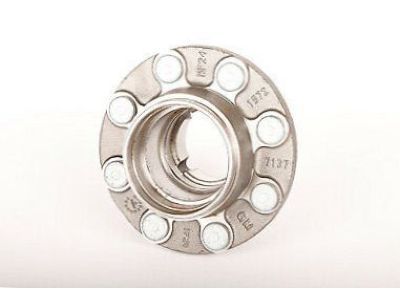
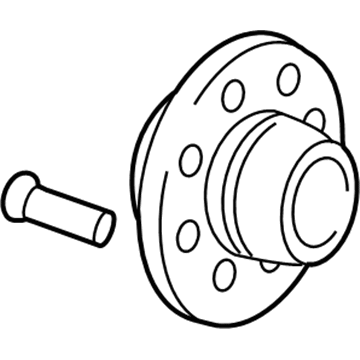
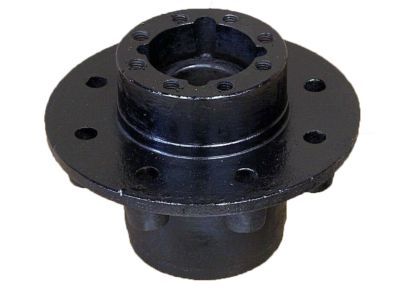
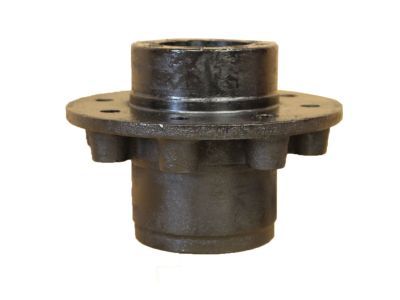
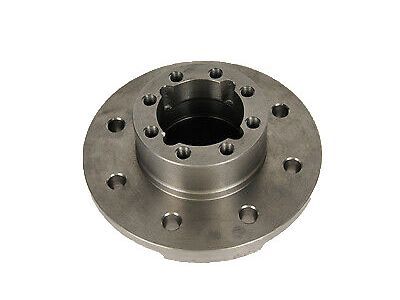
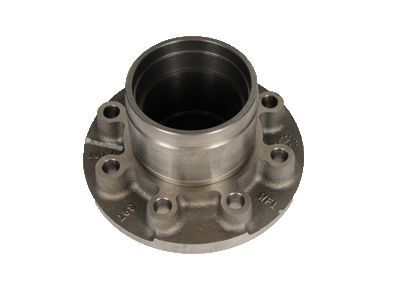
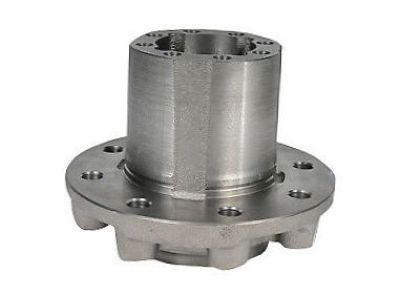
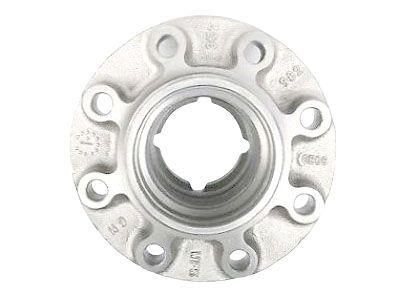
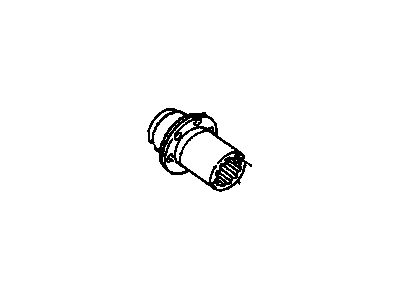
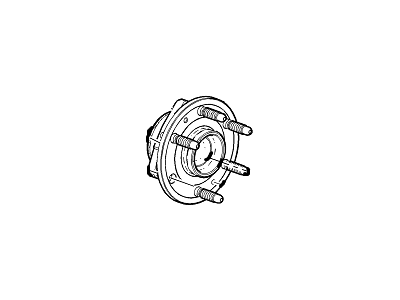
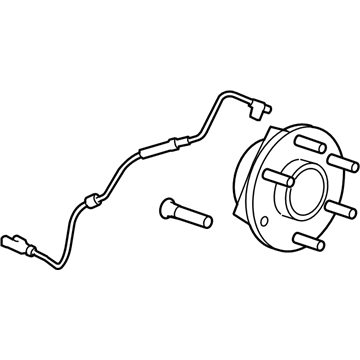
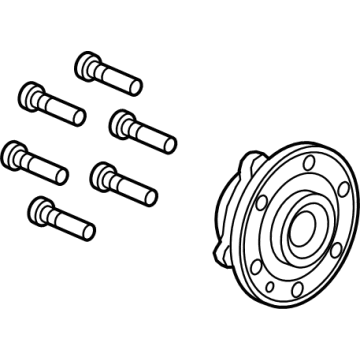
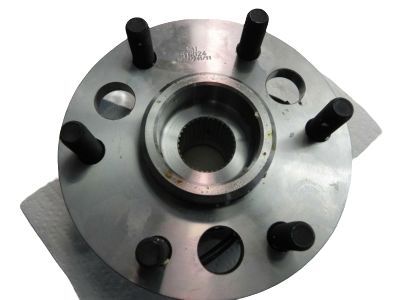
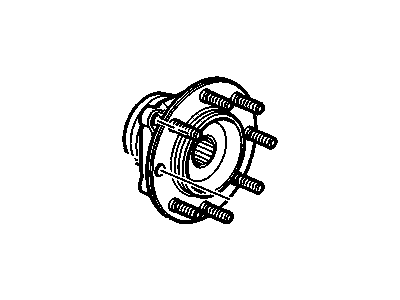
Cadillac Escalade vehicles' Wheel Hub plays a central responsibility in determining optimal wheel rotation while at the same time connecting the wheel to the vehicle safely. Located between the brake components and the drive axle, the Wheel Hub Assembly (WHA) is characterized by splined teeth that have the ability of engaging the shaft of the axle to drive the wheels. A roller bearing within the WHA improves the rotation of non driven wheels thus the Cadillac Escalade performance. As for Wheel Hubs, it can be stated that while manufacturing Cadillac Escalade there were used different Wheel Hubs, the main difference being the design and purpose. A Wheel Hub is fixed on the car's chassis and the wheel, tightened on the wheel bolts however, a specific force must be applied while tightening the bolts to avoid mechanical problem. The importance of the Wheel Hub in Cadillac Escalade vehicles can be ascertained with the aid of its vast application in the automotive industry because of its value for safety in operation.
Each OEM Cadillac Escalade Wheel Hub we offer is competitively priced and comes with the assurance of the manufacturer's warranty for the part. Furthermore, we guarantee the speedy delivery of your orders right to your doorstep. Our hassle-free return policy is also in place for your peace of mind.
Cadillac Escalade Wheel Hub Parts Questions & Experts Answers
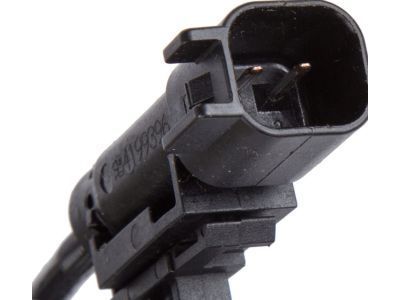
- Q: How is the front wheel hub removed and replaced on Cadillac Escalade?A:The hub and bearing assembly is sealed for life and must be replaced as a unit if worn or damaged. To remove it, first loosen the front wheel lug nuts, raise the vehicle, and support it securely on jackstands before removing the wheel. For 4WD models, remove the hub cover and unscrew the driveaxle/hub nut using a socket and large breaker bar, bracing a large prybar across two wheel studs or inserting a large screwdriver into the disc cooling vanes to prevent the hub from turning. Next, remove the brake disc and the ABS wheel speed sensor from the hub. From the back side of the Steering Knuckle, remove the hub retaining bolts-three for 1500 models and four for 2500/3500 models. As the bolts are unscrewed, push in on the driveaxle and pull the hub and bearing out of the knuckle. Remove the disc shield and then the hub from the steering knuckle, ensuring not to pull outward on the driveaxle to avoid separating the inner CV joint. If the hub assembly does not come out easily, tap it from side to side or use water to help free it. For installation, clean the mating surfaces on the steering knuckle, bearing flange, and knuckle bore, ensuring the O-ring is removed with the hub assembly and a new O-ring is installed on the back of the hub. Insert the hub and bearing assembly into the steering knuckle and, for 4WD models, onto the end of the driveaxle, lubricating the splines with multipurpose grease. Position the disc shield and install the bolts, tightening them to the proper torque specifications. Install the wheel speed sensor, brake disc, caliper mounting bracket, and caliper. For 4WD models, install the driveaxle/hub nut and tighten it to the specified torque. Finally, install the wheel, lower the vehicle, and tighten the lug nuts to the correct torque.
Related Cadillac Escalade Parts
Browse by Year
2024 Wheel Hub 2023 Wheel Hub 2022 Wheel Hub 2021 Wheel Hub 2020 Wheel Hub 2019 Wheel Hub 2018 Wheel Hub 2017 Wheel Hub 2016 Wheel Hub 2015 Wheel Hub 2014 Wheel Hub 2013 Wheel Hub 2012 Wheel Hub 2011 Wheel Hub 2010 Wheel Hub 2009 Wheel Hub 2008 Wheel Hub 2007 Wheel Hub 2006 Wheel Hub 2005 Wheel Hub 2004 Wheel Hub 2003 Wheel Hub 2002 Wheel Hub 2000 Wheel Hub 1999 Wheel Hub
